- Secure order
- Easy return shipment
- Service-Hotline 04231 - 66811
Instructions No. 3109
Difficulty: Advanced
Working time: 1 hour 30 Minutes
Preparing the templates
First print out the templates that you want to transfer to the bottle. Cut out the templates with a small margin. Then cut the graphite paper to fit the templates.
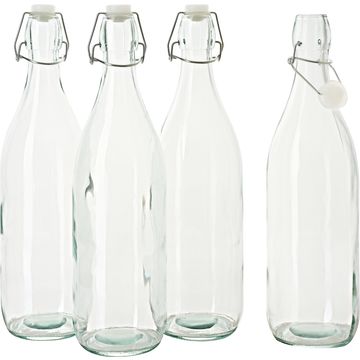
transferring the motif to the bottle
Place the template on the matt side of the graphite paper. Fix both parts to the bottle with adhesive tape. Now carefully trace the motif with a bamboo skewer or other pointed object. The pressure will transfer the graphite onto the bottle and your motif will be visible. Make sure you don't press too hard so as not to leave any scratches on the glass bottle.
Tracing and coloring
Now take a POSCA marker and color in the transferred motif. Be careful, as the graphite can easily smudge.
Firing in the oven
The lettering must now be baked in the oven so that the color holds. Set the oven to 160 °C and preheat it. Bake the bottle for 45 minutes at top and bottom heat. Leave the bottle to cool in the oven after firing. This step ensures that the color is fixed and no longer smudges.
Decorating the bottle
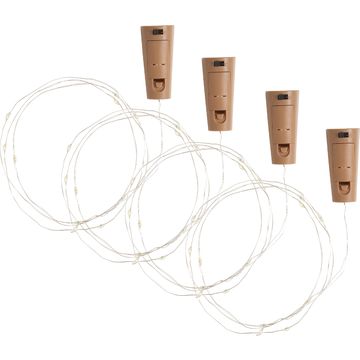
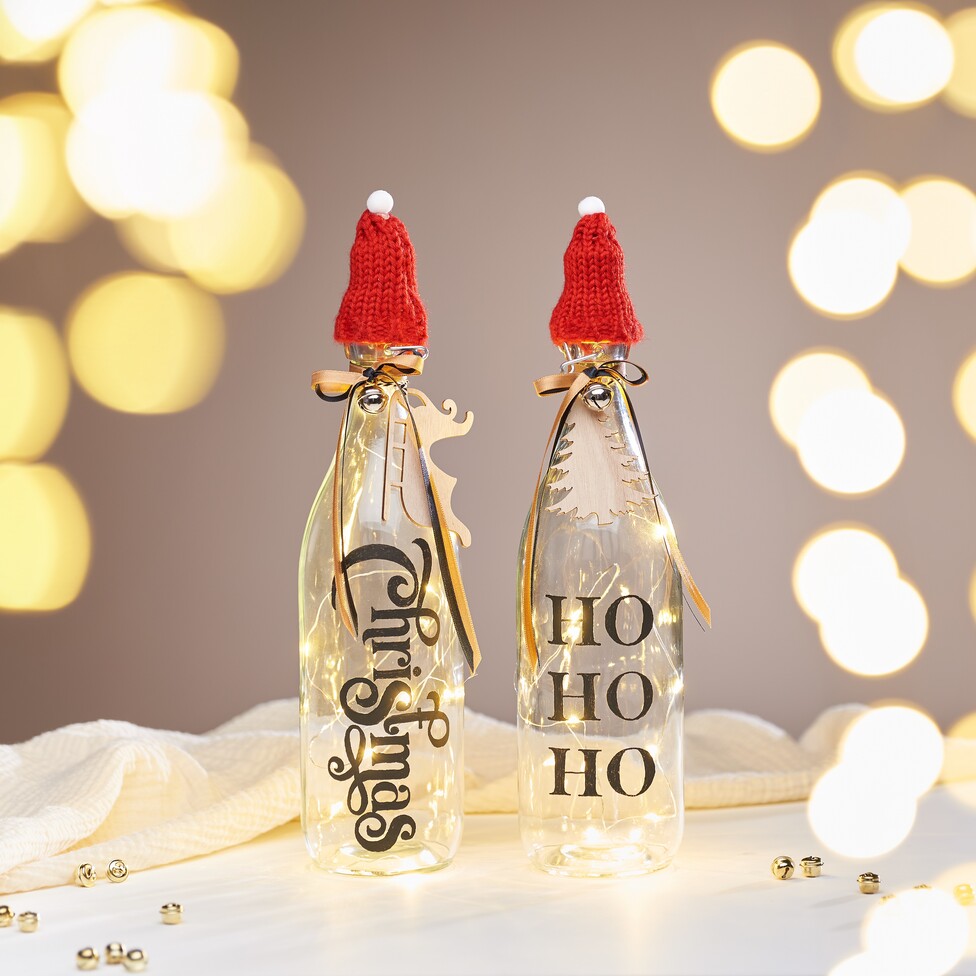
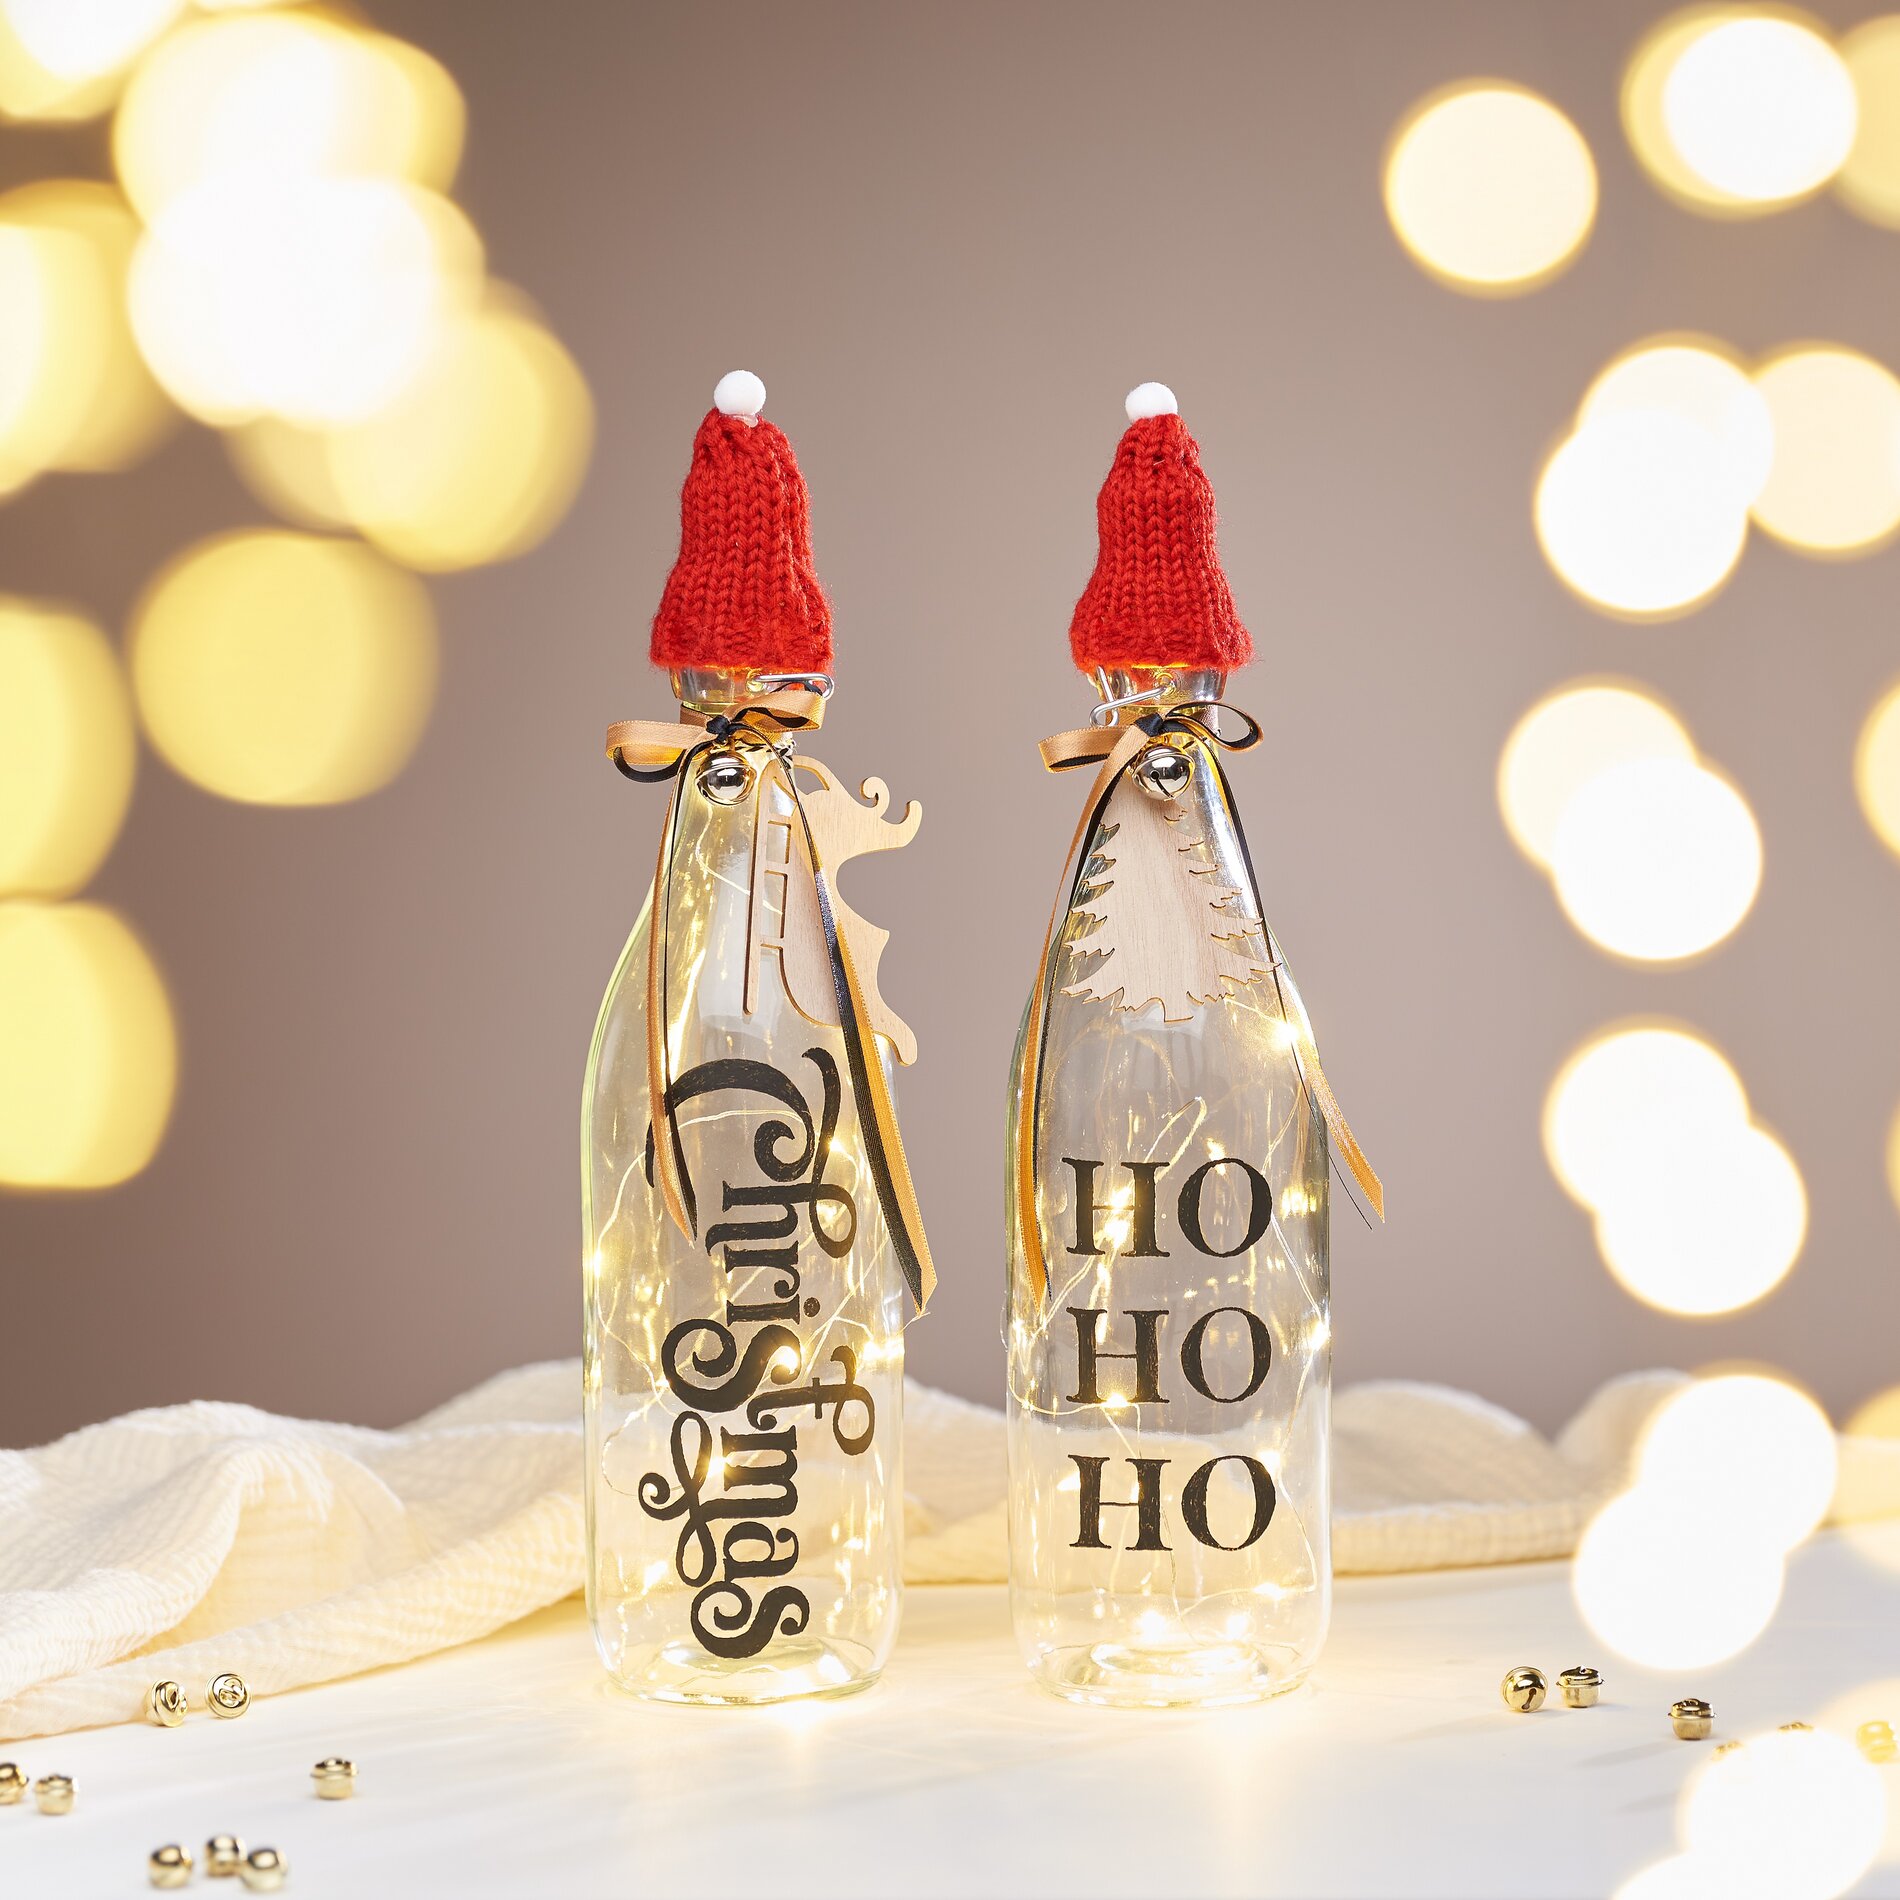
Now comes the fun part: decorating! Tie a cord, for example a cotton cord Duo, around the neck of the bottle and attach wooden pendants to it. Cut ribbons to size and tie them to the bottle together with a small clip. For a special effect, you can place a chain of light in the bottle.
Finish off with a hat and pompom
To give your bottle a Christmassy finish, stick a small pompom on a hat and pull it over the cork of the chain of light. bottle. This will make your bottle look like a little Santa Claus and create a festive atmosphere.
Additional tip
The pop cap on the handle of your bottle can be removed and easily reattached. Fold up the clip and attach it to the top of the bottle opening with a little hot glue. This makes it easier to decorate the bottle without the clip getting in the way.