- Secure order
- Easy return shipment
- Service-Hotline 04231 - 66811
Instructions No. 3519
Difficulty: Beginner
Working time: 1 hour


Place a folded sheet of paper on your multifunctional folding board. Use the folding axe to draw evenly spaced lines on the Paper. These lines will help you to fold the Paper more easily and accurately later.
Folding technique: concertina effect
Start by folding the first strip inwards. Then turn the sheet over and fold the next row inwards again. Repeat this process alternately to create a beautiful accordion effect.
Cutting the paper to size
Cut the folded Paper to the desired length. You could also do this beforehand, but this way you can make several trees without having to fold them repeatedly.
Fix the folds
Sew handicraft glue to one end of the folded ends and press them together. It helps to use a clothespin to hold the tree in place while the glue dries.
Attaching the folding trees
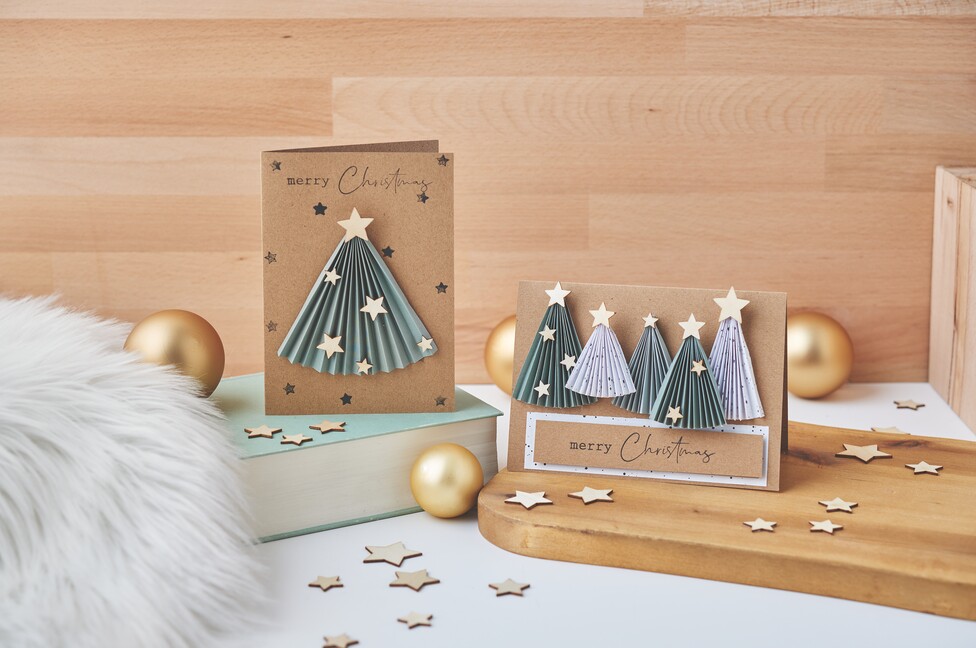
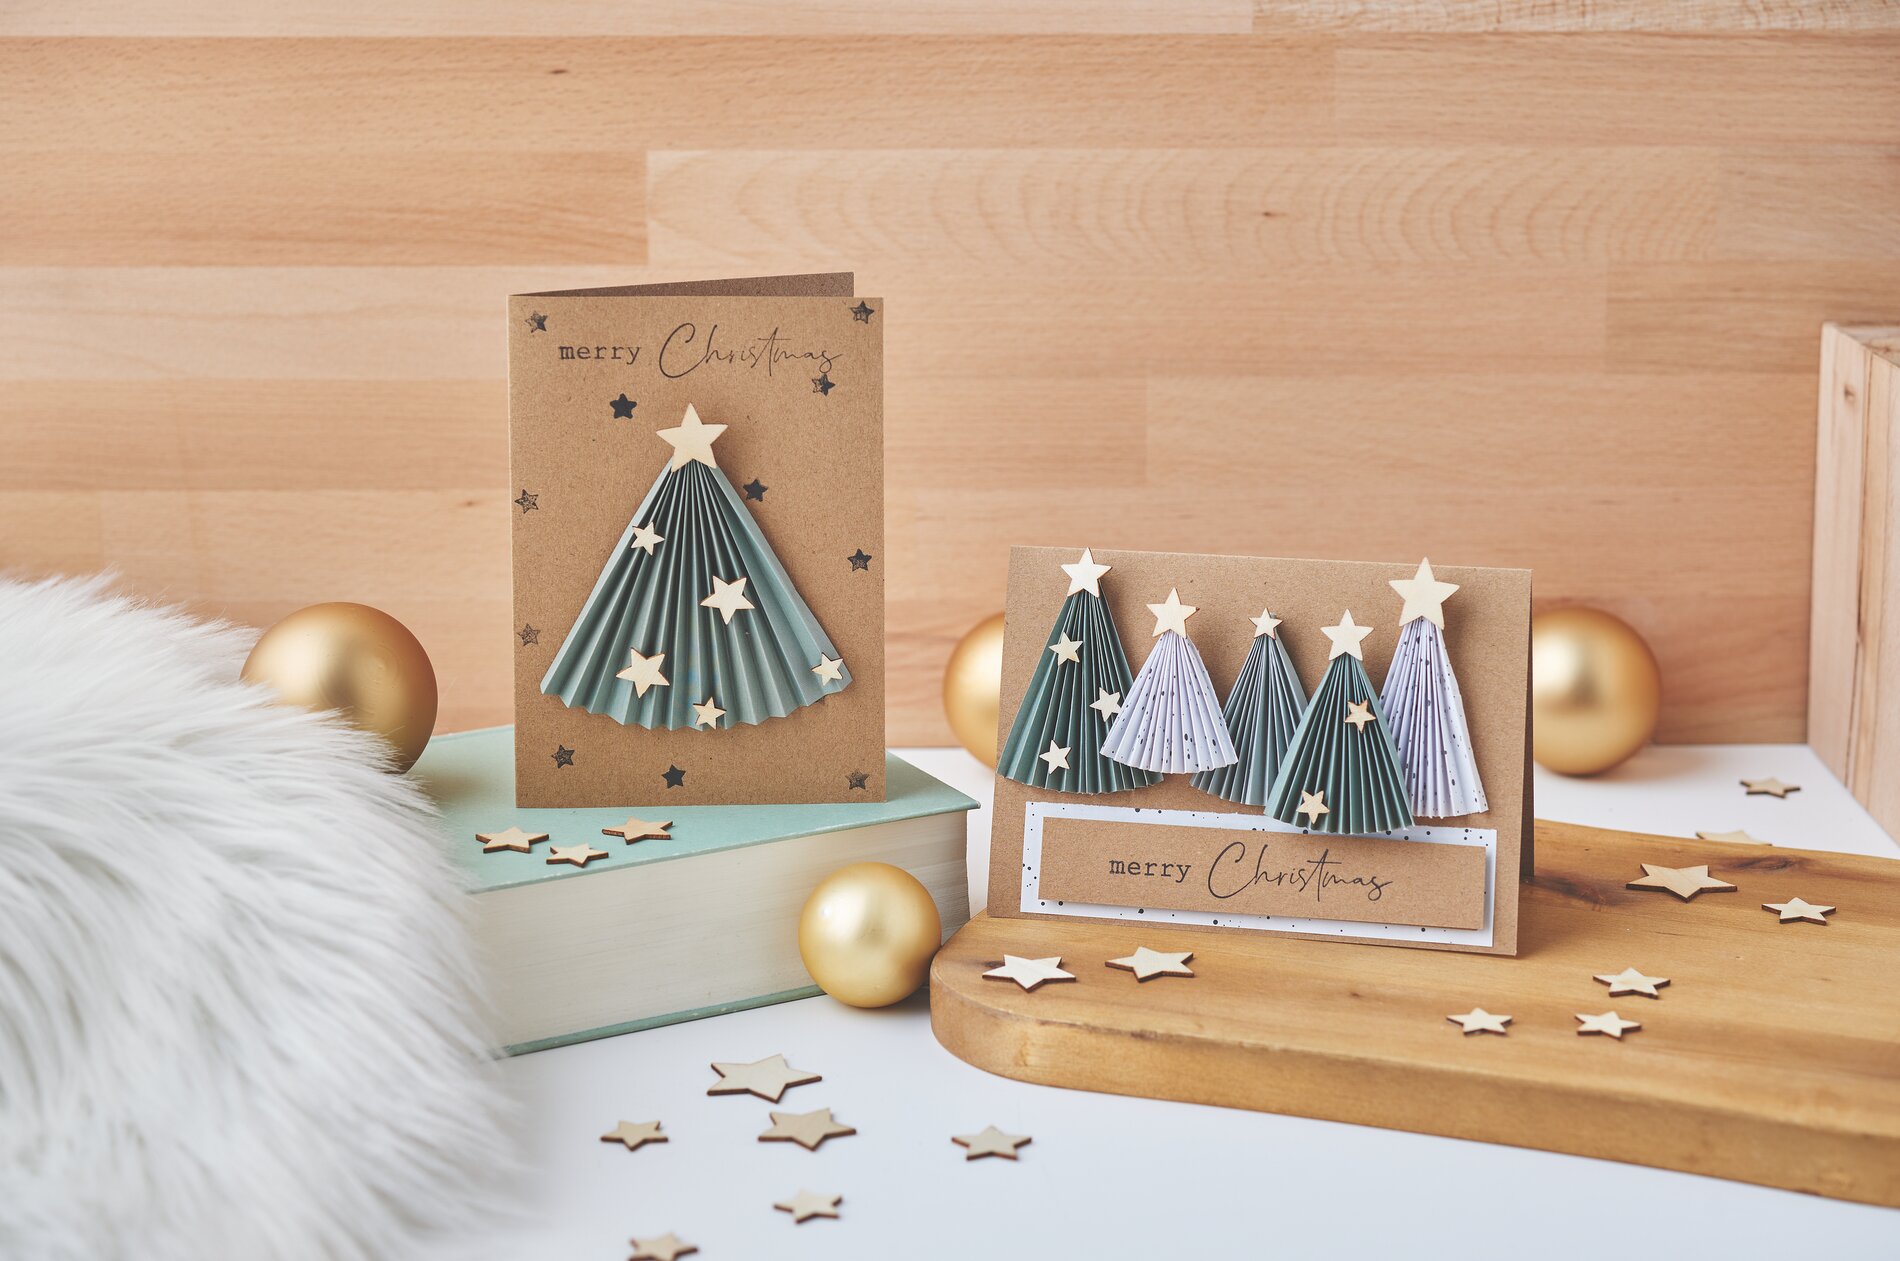
Once the glue has dried, fan out the unglued part a little. Coat the back of the tree with glue and place it on the folded card.
Stamping for that special touch
Choose a silicone stamp and place it on a clear stamp holder. Dab it with the ink pads and press it firmly onto the card. To achieve an additional 3D effect, you can also stamp on a separate card, cut out the lettering and stick it to a strip of the folded sheets using 3D-glue pads . You can then attach this lettering to your card.
Decorating the Christmas card
Embellish your trees with a few scattered stars. These small details will add the finishing touch to your crafts.
Final cleaning
Don't forget to clean your stamps with stamp cleaner after work. This will keep them in good condition for longer and ready for your next creative project.
Now that you know how to create a festive Christmas card with folding trees, visit our online store and discover our extensive range of craft materials. Whether it's Paper, stamps or glue - you'll find everything you need for your creative projects! Start crafting your unique christmas cards today!