- Secure order
- Easy return shipment
- Service-Hotline 04231 - 66811
Instructions No. 3154
Difficulty: Beginner
Working time: 1 hour


Step 1: Cut metallic- and glitter paper to size
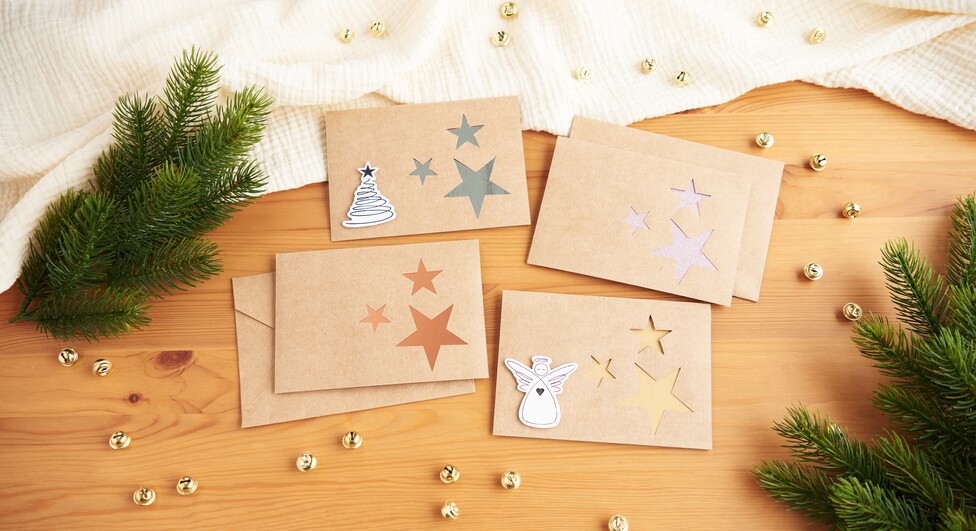
Cut the metallic- and glitter paper to the dimensions 10 x 14 cm. These shimmering papers give your christmas cards a special sparkle and make them real eye-catchers.
Step 2: Glue on the papers
Now stick the cut metallic- and glitter papers to the inside of the card using double-sided adhesive tape . Double-sided adhesive tape is ideal as it does not leave any unsightly glue marks and is very adhesive.
Step 3: Stamp and cut out the motifs
Select some stamps with Christmas motifs and place your silicone stamp on the holder. Dab the stamp with ink pads. Turn the holder over and press the stamp lightly onto the white cardboard.
Then use a pencil to delicately draw a border around the stamped motifs and carefully cut them out. These motifs will be the highlight of your christmas cards.
Step 4: Glue on the motifs
Glue the cut-out motifs to the cards using 3D-glue pads . 3D-glue pads creates a raised effect that gives your christmas cards more depth and dimension. Place the motifs as desired to personalize your cards.