- Secure order
- Easy return shipment
- Service-Hotline 04231 - 66811
Instructions No. 3089
Difficulty: Beginner
Working time: 1 hour
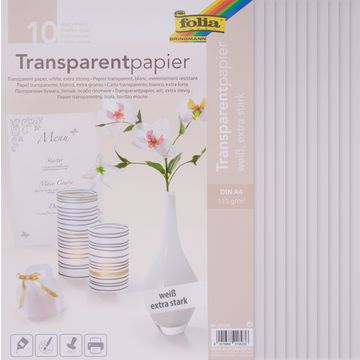
Step 1: Prepare vellum paper
Fold a 1 cm wide adhesive edge on the short side of the tracing paper. If you want to design your light bags in different heights, cut the other two transparent papers at the long sides by 1.5 cm and 3 cm respectively.
Step 2: Stamp vellum paper
Now place your personalized stamp motif on the Paper. Take the silicone stamp and attach it to the clear stamp holder. Dab the stamp evenly with the ink pads and press it centrally onto the vellum paper. Make sure that the adhesive edge is in the middle and your stamp motif is clearly visible.
Step 3: Gluing the paper together
Take the double-sided adhesive tape and glue the vellum paper together at the 1 cm wide adhesive edge to form a cylinder. Press the glued area firmly so that the cylinder is stable. Close the top of the cylinder opening with the adhesive tape.
Step 4: Attach the wooden spatula
To add the finishing touches to your bags of lights, now glue the wooden spatulas to both sides of the cylinder opening. It is best to use hot glue for this, as it offers particularly strong adhesion.
Call-to-action
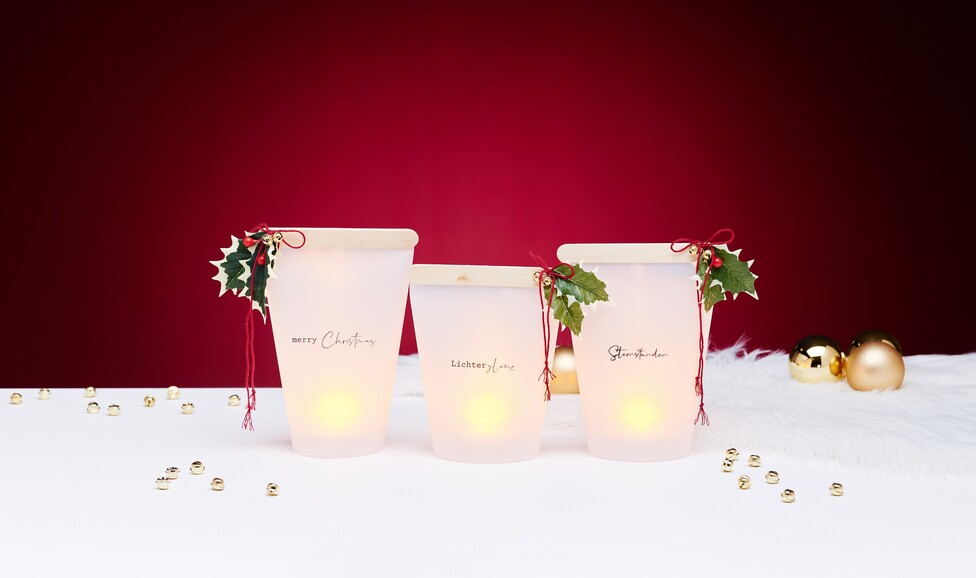
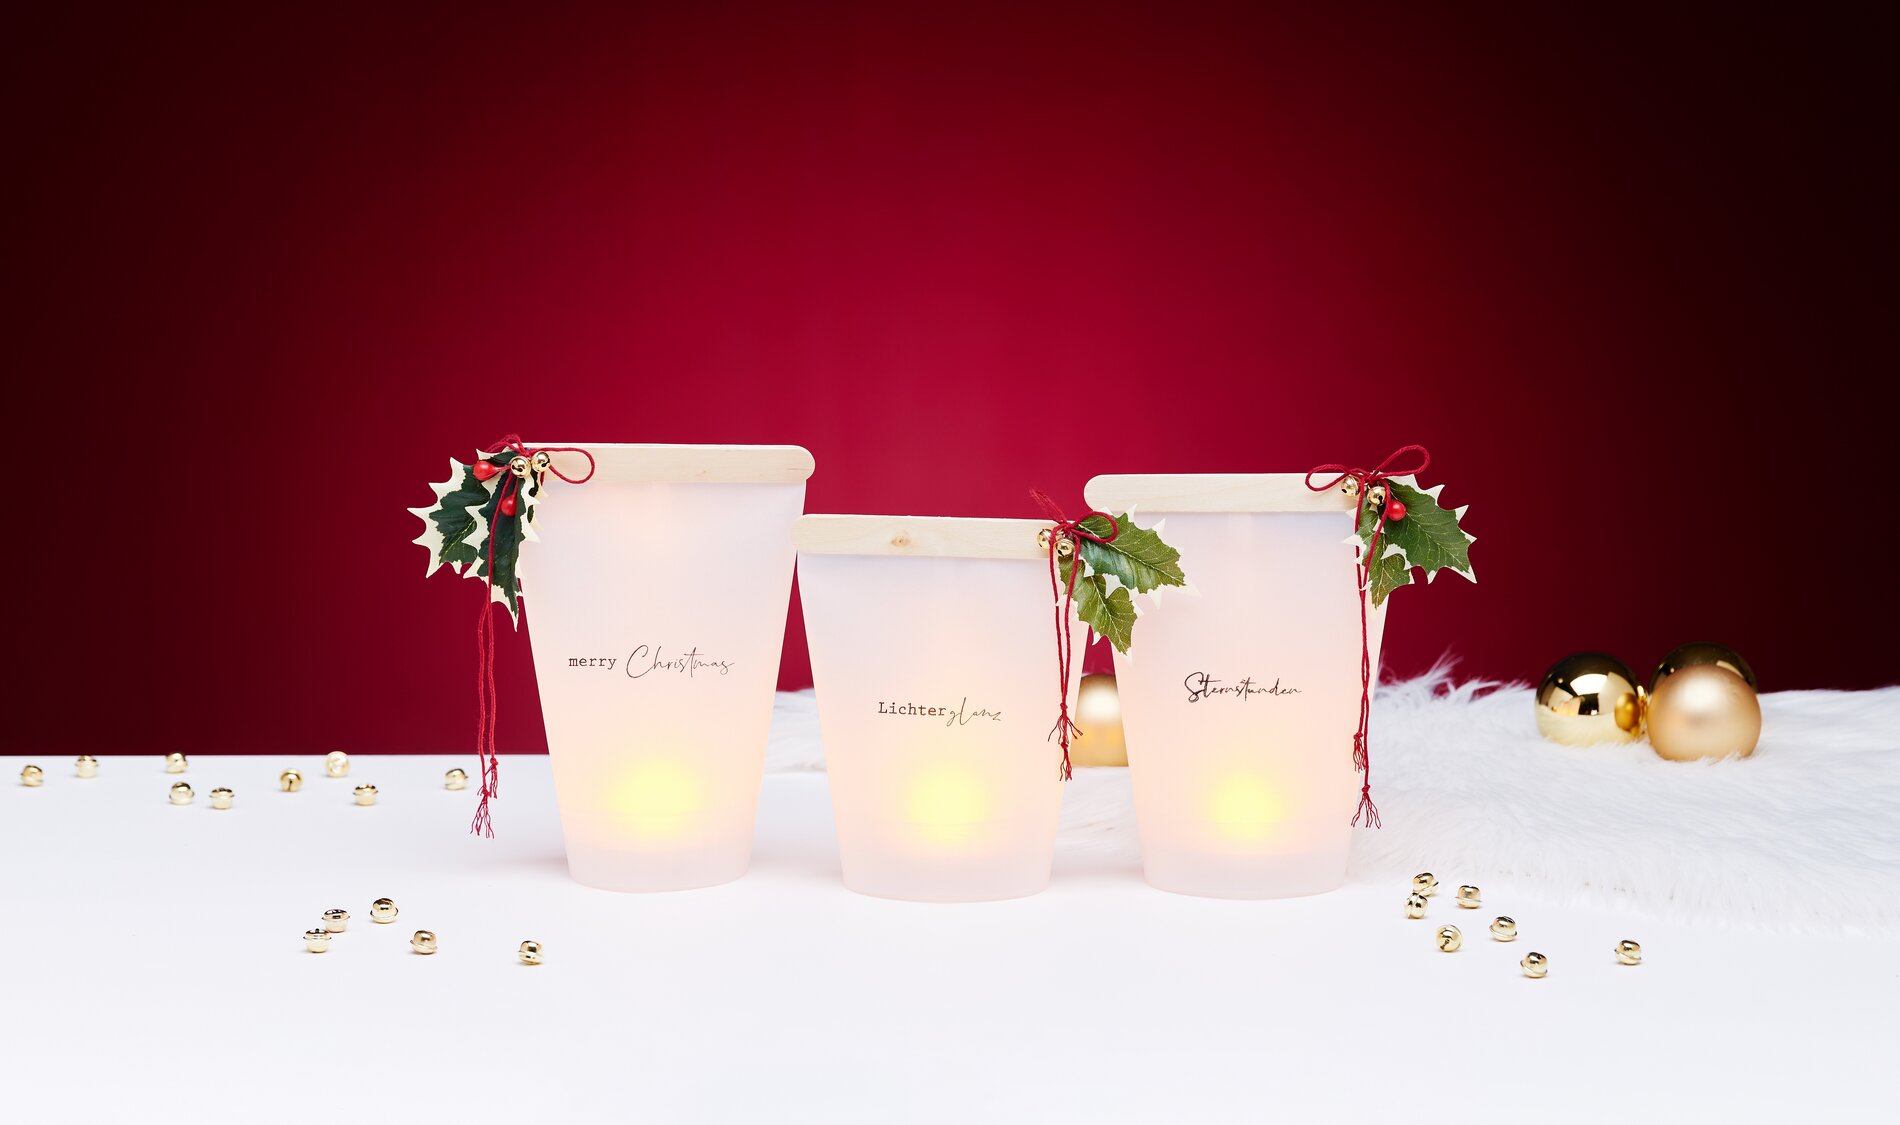
Turn your home into a true decorative paradise with these unique light bags! You can find all the materials you need easily and conveniently in our online store. Start your next DIY-Project today and bring light into your four walls!