- Secure order
- Easy return shipment
- Service-Hotline 04231 - 66811
Instructions No. 3508
Difficulty: Beginner
Working time: 2 Hours
To ensure that your christmas crib is standing on a stable base, start by gluing the moss mat to a plywood board. Make sure to apply the moss mat evenly to achieve a nice look. Once the moss mat is in place, take a sharp knife or scissors and cut off the overhanging moss cleanly.
Building the crib structure
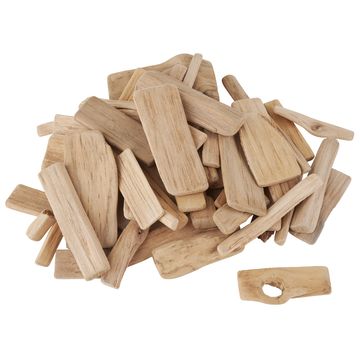
The next step is to glue the driftwood into a shelter or directly into the crib structure. Use different pieces driftwood, to create a robust and natural-looking structure. Make sure that the timbers are well connected to each other so that the christmas crib remains stable.
Attaching decorations and figures
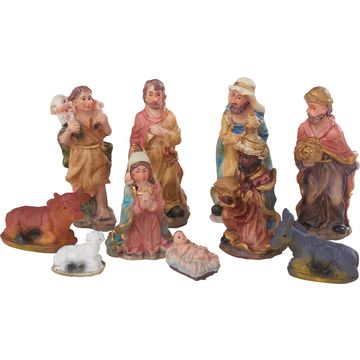
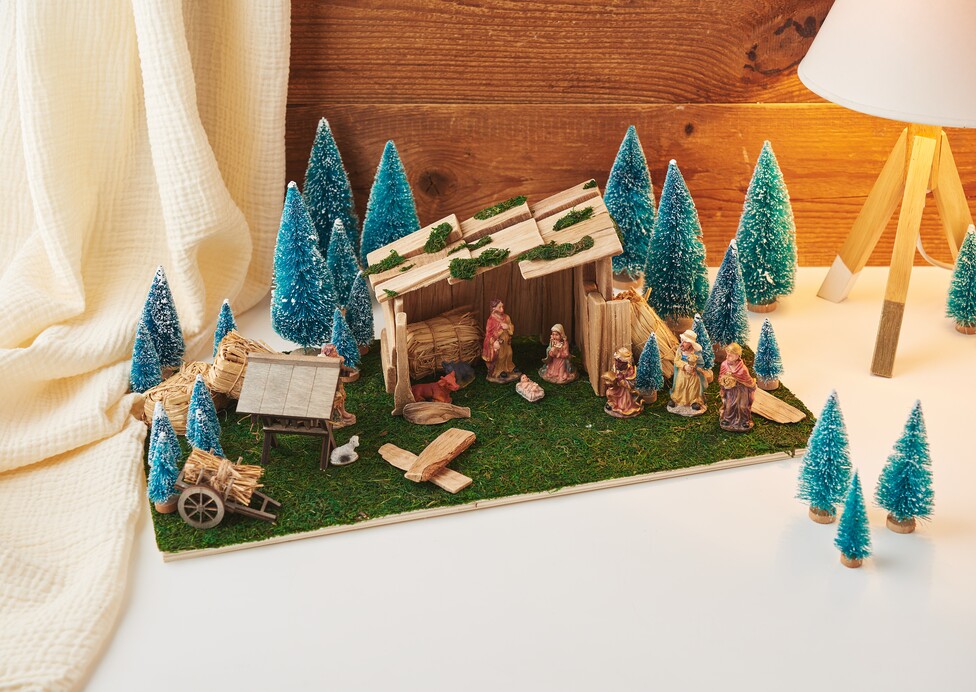
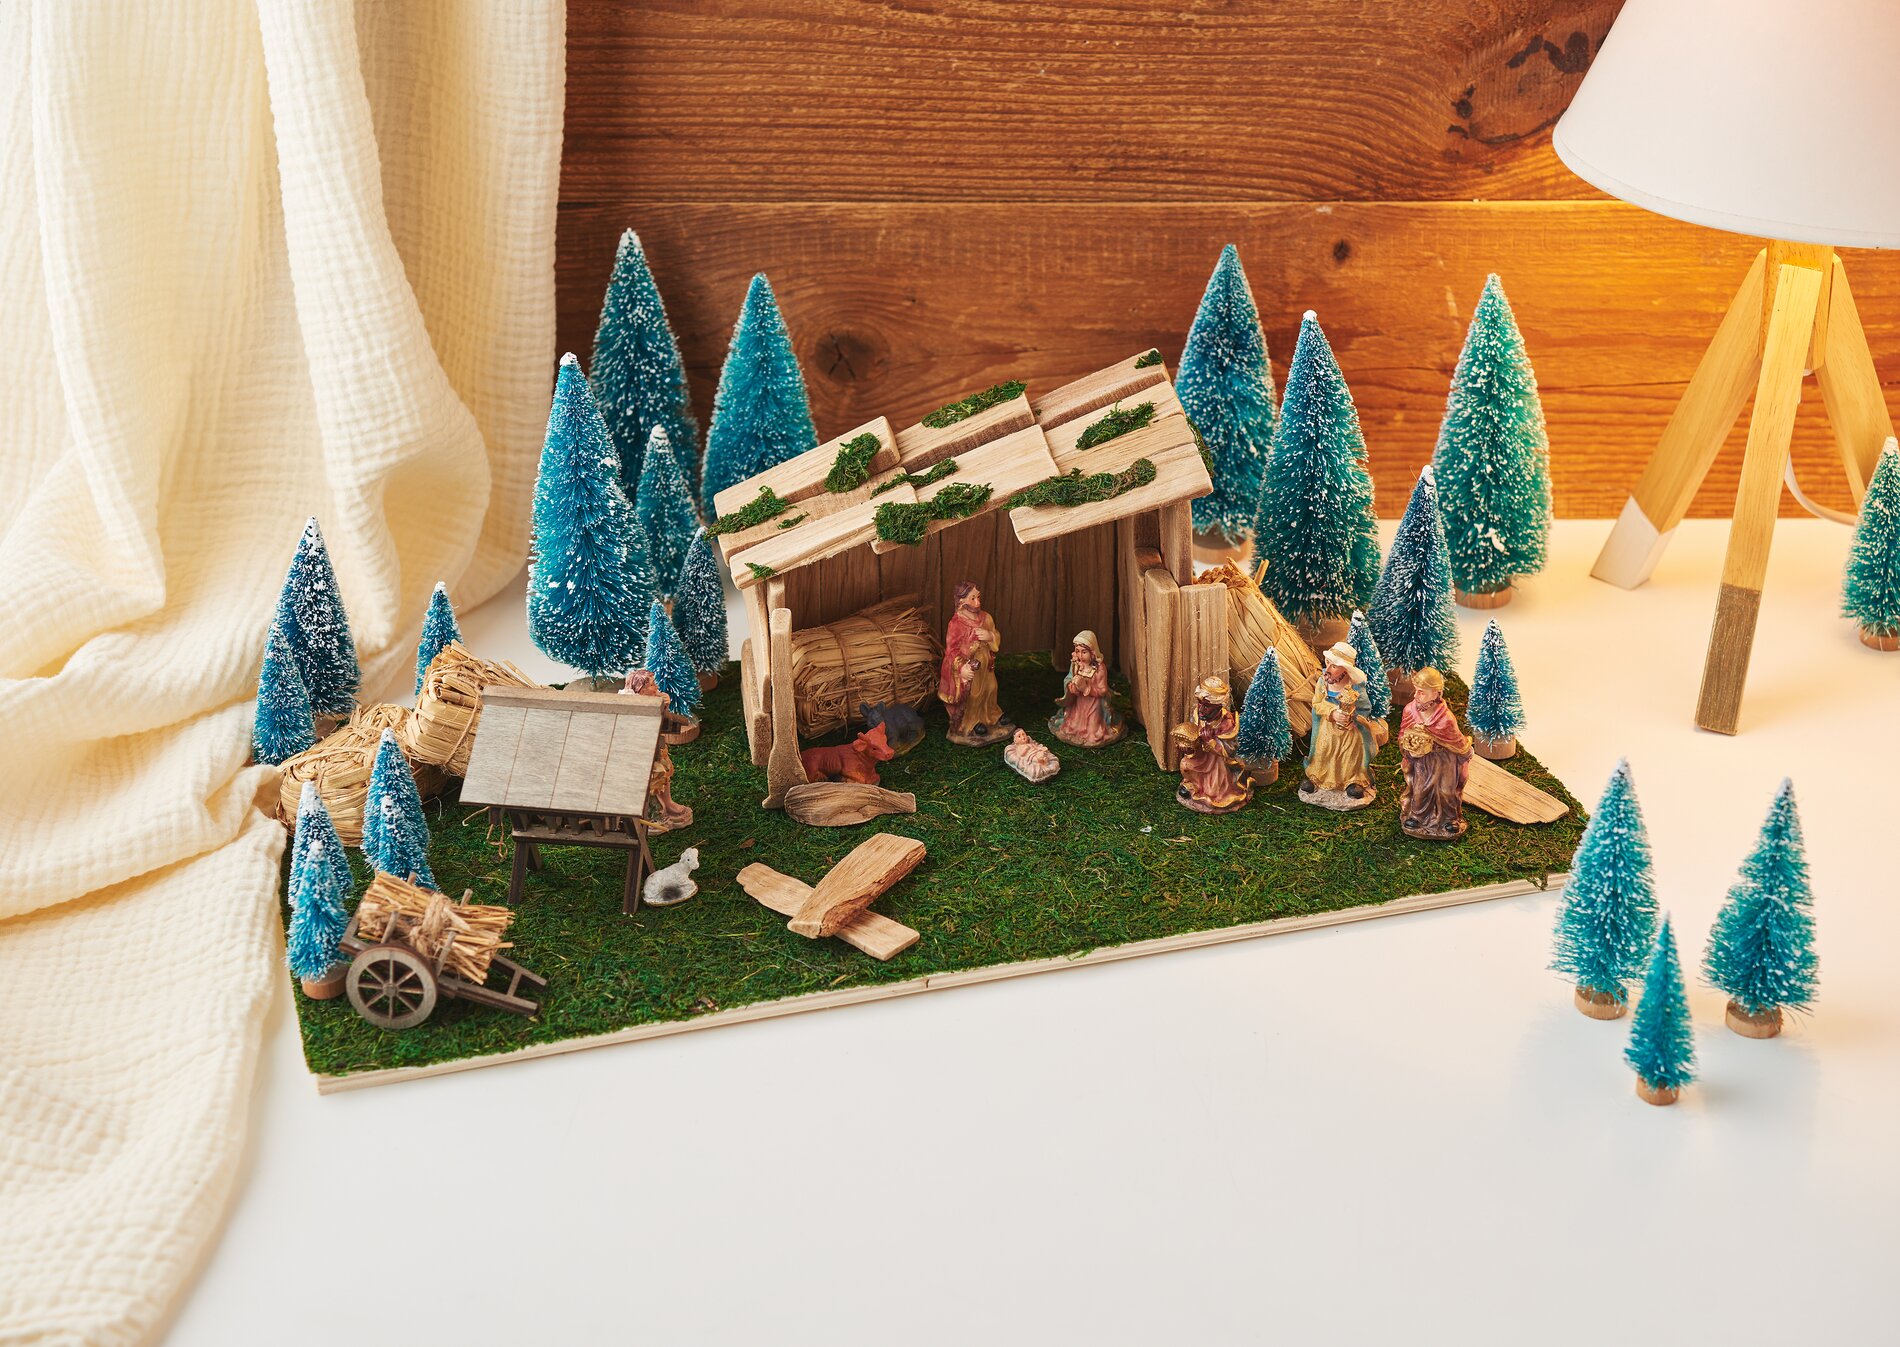
Once your crib structure is in place, you can start attaching the decorative elements. Now glue the christmas crib, straw cart, the manger, the bale of straw and the fir trees in the desired places. There are no limits to your imagination here - design the landscape to your taste. Then place the figures to bring the scene to life.
Designing the roof
Finally, you need to design the roof of your christmas crib . To do this, cut small pieces from the remaining moss mat and stick them onto the roof of your shelter. The moss roof gives your christmas crib an organic, natural look and rounds off the overall picture perfectly.
Ready to create your own DIY christmas crib from driftwood ? Visit our online store today, where you will find all the materials you need to get started right away. Don't miss out on the opportunity to brighten up your home with a home-made decoration that will turn heads!