- Secure order
- Easy return shipment
- Service-Hotline 04231 - 66811
Instructions No. 3242
Difficulty: Beginner
Working time: 2 Hours
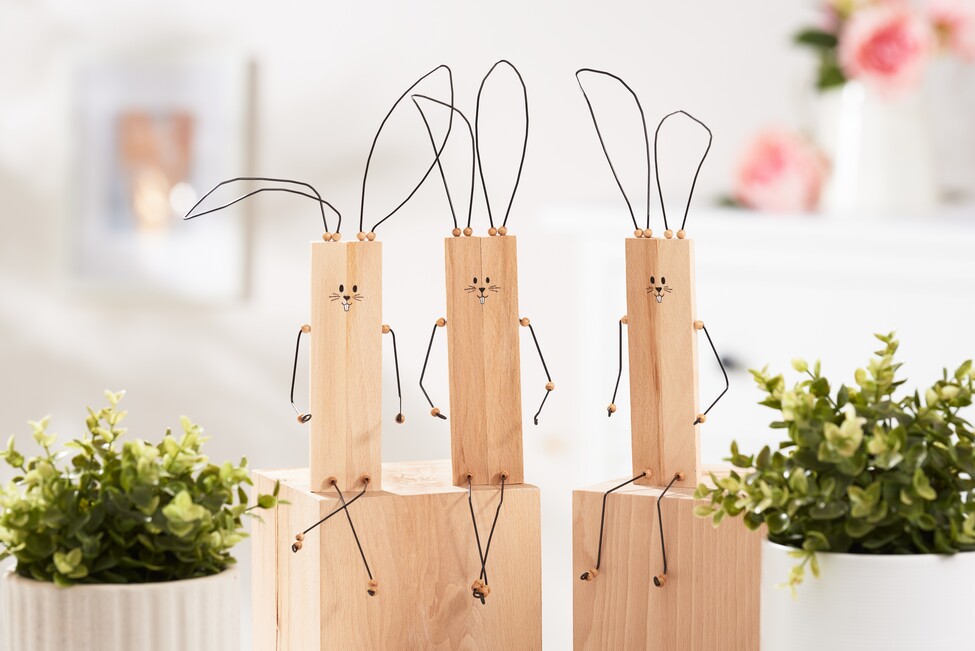

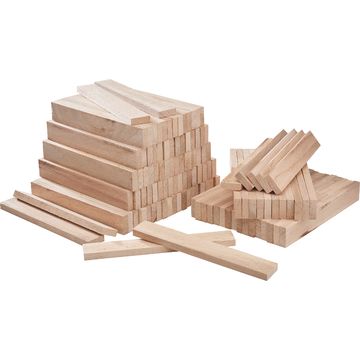
Start by gluing two craft blocks together at their long, narrow edges. Make sure you use a sturdy adhesive that sticks well and gives your blocks the necessary hold.
While the blocks are drying, it's time to cut the plug wire to the required length. You will need a piece of 30 cm for each ear, 15 cm for each leg and 11 cm for each arm. Cut the wire carefully with wire cutters.
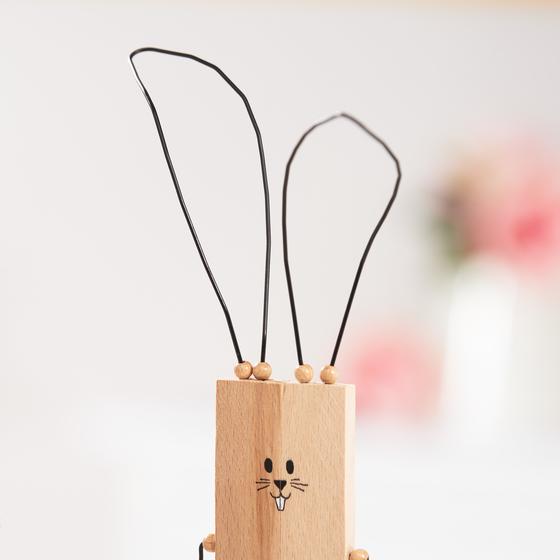
Then bend one end of the wire pieces for the arms and legs to make them stable and thread on the beads. These give your bunnies a charming look. Shape the wire ends of the ears into the desired shape as desired.
Before you start working with paint, it is a good idea to sketch out the faces of your bunnies with a pencil. This way you can be sure that all the details are in the right place. Once you are satisfied, paint the faces with the color of your choice. This is where you can be creative and give your bunnies a unique expression.
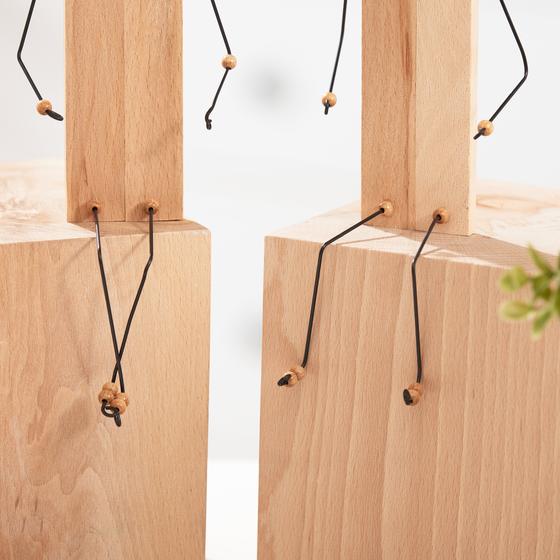
To attach the wire, you need to drill a few holes in the blocks. Drill two holes at the bottom for the legs and find a point at the top at 5.5 cm for the arms. Finally, drill two holes at the top for each ear. Be careful here so that the holes are all the same size and the wire fits through well.
Insert the wire legs through the bottom holes and bend the wire at the back to secure them. Secure them at the front with a little glue and the pearl. Then apply some glue to the ends of the wire arms and ears and push them through the corresponding holes. Press on the beads to secure them. Done!