- Secure order
- Easy return shipment
- Service-Hotline 04231 - 66811
Instructions No. 3602
Difficulty: Beginner
Working time: 2 Hours
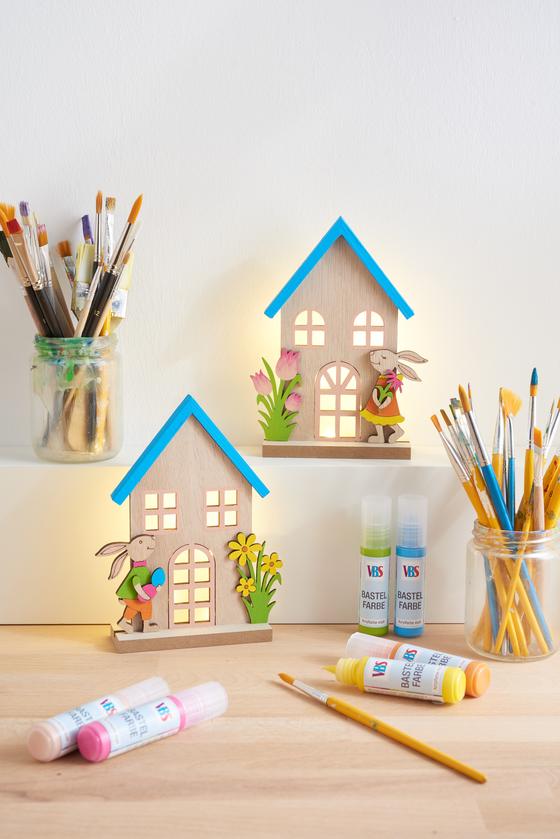

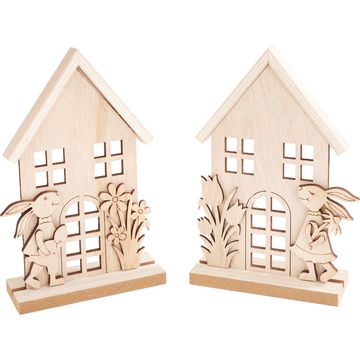
Start by carefully painting the wood-building kit with the craft paints of your choice. There are no limits to your creativity here. Whether you choose pastel spring colors or bold tones is entirely up to you. Leave the painted wooden parts to dry well afterwards so that the colors don't run and the next steps are easier.
lamp foil cut to sizePlace the dried houses on the lamp foil. Draw the outlines of the houses on the foil with a pen or pencil and carefully cut them out with scissors. lamp foil is a material that is well suited for backlighting and gently distributes the glow of the LED lights.
Attach the foil and lightsUse hot glue to stick the cut-out pieces of lamp foil to the back of your painted houses. Be careful when doing this as hot glue can get very hot. Make sure that the foil adheres well so that the light does not escape directly through the edges later. Then attach the Micro-LED-chain of light to the back of the house by sticking the lights on evenly.
Now carefully slide your decorated house into the insertion rail provided. This ensures stability and allows the houses to be set up flexibly in different locations.
Attach the figures and roofsGlue the intended figures together with VBS handicraft glue and then attach them to the front of your bunny houses. The VBS handicraft glue is ideal for such tasks as it dries quickly and adheres strongly. Finally, glue the roofs to the houses. Make sure that everything sticks well and that the roofs are stable.
Your wonderfully bright bunny houses are ready! With these instructions, you have created unique decorative pieces. Go to our materials list to conveniently order all the materials you need online, from craft paints to the micro LED-chain of light,. Start your next creative project today and let your imagination run wild!