- Secure order
- Easy return shipment
- Service-Hotline 04231 - 66811
Instructions No. 3435
Difficulty: Beginner
Working time: 1 hour


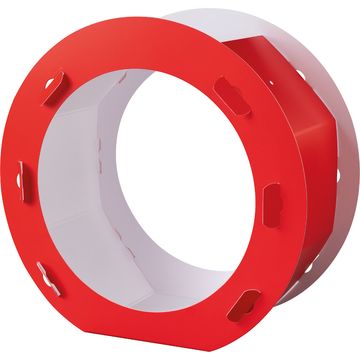
Start by cutting out two circles from vellum paper . To do this, place the blank on the vellum paper and outline it with a pencil to get the matching circles. Then glue the circles to the inside of the lantern blank. This will create the shining base for your lantern.
Closing the blankCarefully fold the blank together. Make sure to glue the protruding pieces flat together using handicraft glue . This will fix the shape of your apple lantern and ensure that it remains stable.
Create a leaf for the appleCut out a leaf from green coloured paper . To give it more dimension, fold it in half and then draw fine leaf veins with a green felt-tip pen. Glue the finished leaf to the top edge of the blank. This will give your lantern the typical apple look.
chenille wire as a playful detailTake a piece of chenille wire, a flexible material also known as pipe cleaner, and wrap it around a pen to create a curl. Stick this curl behind the leaf as a style. Repeat this step on the other side of the lantern to create a symmetrical look.
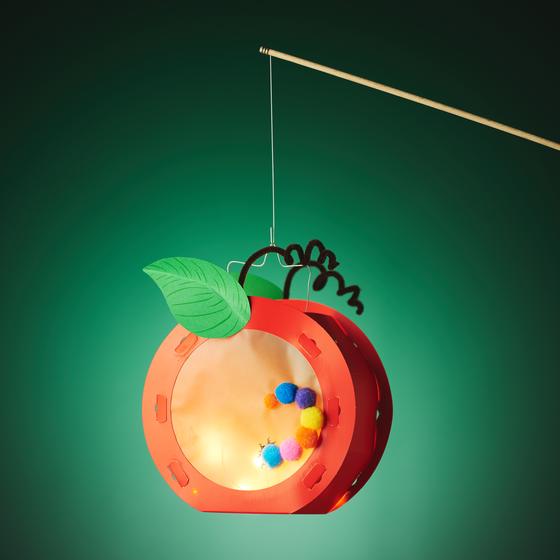
Decorate both sides of the lantern with colorful pompoms. These represent the body of the little caterpillar. Attach wobbly eyes to one of the pompoms and complete the cheeky facial expression with a mouth made from black coloured paper. Draw a small hole on the vellum paper with a black felt-tip pen through which the caterpillar appears to climb in and out of the apple.
Attach the lantern hangerShape the lantern handle, also known as the carrying handle, and insert it through the holes provided in the blank. This step is important so that you can easily carry your apple lantern on your lantern parade.

Last but not least, it's time to light up your apple lantern. Place a candle, a tea light or a battery-operated chain of light in the lantern. Please note that real candles can pose a fire risk, so LED tea lights or chains of lights are a safe and recommended alternative to keep the apple glowing safely. This will give your work of art the final glow.
Presenting the apple lanternNow your apple lantern is ready to be presented. Attach it to a lantern rod and it will be the highlight of any lantern parade.
Bring your creativity to life!
Are you ready to make your own apple lantern with worm? With these step-by-step instructions, nothing stands in the way of your crafting adventure. Visit our online store to discover all the materials you need and give your creative projects a breath of fresh air!