- Secure order
- Easy return shipment
- Service-Hotline 04231 - 66811
Instructions No. 3033
Difficulty: Beginner
Working time: 4 Hours
Immerse yourself in the fascinating world of designing with craft blocks. Create your own lantern from blocks with these simple DIY-Instructions. The foil can be designed entirely according to your wishes. Find out here how you can conjure up beautiful lighting creations from wooden blocks.

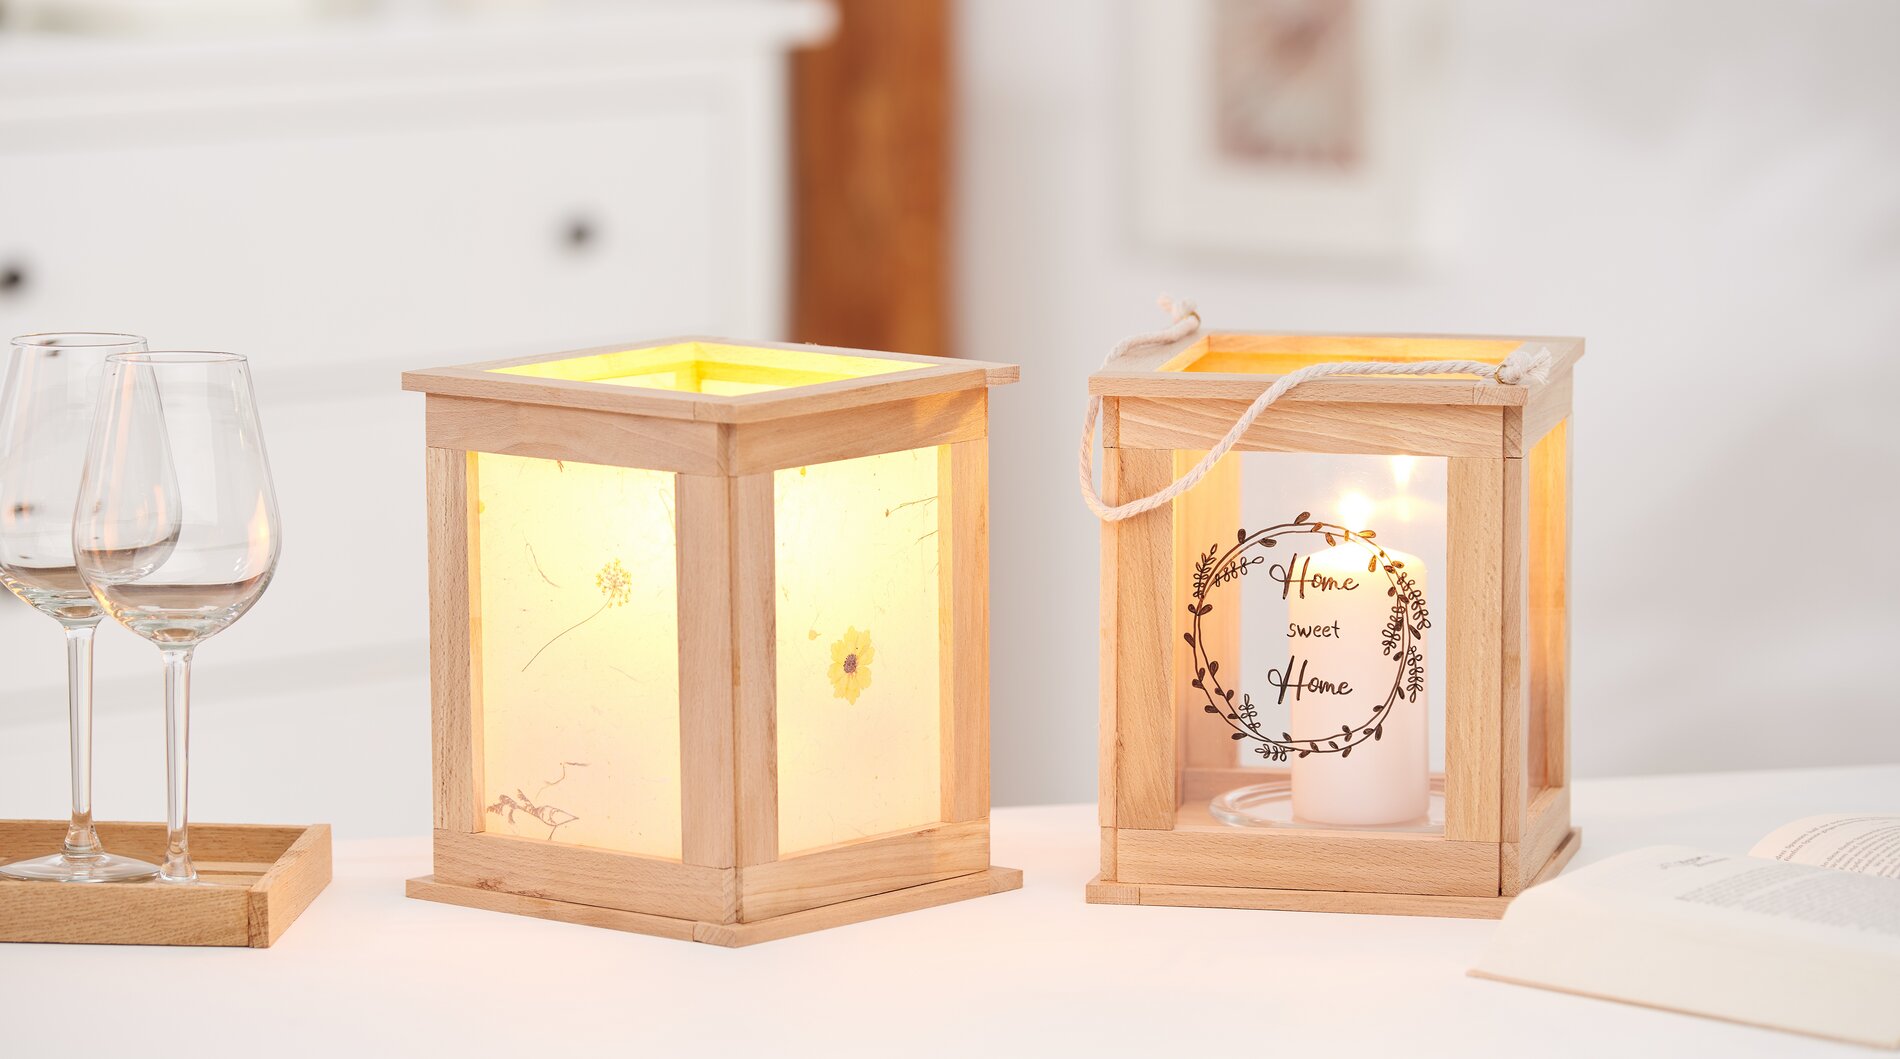
For one lantern, you will need 30 craft blocks made from the wood of your choice. Tip: For a smoother surface, you can sand the blocks before gluing them together.
For the base of the lantern, glue 6 blocks together on the long, narrow sides with VBS handicraft glue together. Glue one block upright at each end of this base. Now take 4 blocks and glue them together at the narrow edges to form a rectangular frame. Repeat this process three times so that you have four frames.
Cut the pinwheel foil in the middle so that you have four A5-sized sheets. If you like, you can design these with the STAEDTLER Intense Black markers or another permanent marker.
Tip: Print out any motif or lettering and place it under the foil. This way you can easily trace the lines.
Stick each frame with VBS handicraft glue the pinwheel foil. Once dry, stick it to the bottom of the lantern.
Glue two square frames from 8 blocks. Glue these to the top and bottom of the lantern.
If you want to hang your lantern, screw two eyelets into the top frame and pull a cord through them, knotting it at both ends.
Tip: You can also cover the frame of your lantern with different types of paper: vellum paper, Natural papers or lamp foil, that you can design with napkin or straw silk paper . The possibilities are endless.


