- Secure order
- Easy return shipment
- Service-Hotline 04231 - 66811
Instructions No. 3422
Difficulty: Beginner
Working time: 2 Hours
The Advent season is fast approaching and the anticipation of Christmas is omnipresent. That's why, in the last part of our „DIY-Gifts" series, I would like to show you how you can quickly and easily make a charming Christmas tree memory. It's perfect as a small gift and is also a wonderful way to shorten the waiting time for the Christ Child or Santa Claus.
Step 1: Glaze the wooden sticks
Start by coating the wooden sticks with wood stain . You can use a paintbrush to do this. Make sure that you do not glaze the entire stick, as most of it will be covered afterwards. For the memory game, we need 12 pairs, i.e. 24 sticks. Allow the glaze to dry well - this goes very quickly with a thin coat of paint.

Step 2: Make the templates
Print out the template for the Christmas trees. For extra stability, you can stick them onto cardboard and cut them out. Alternatively, you can also draw your own templates. Make sure that the smaller stencil is sized so that it leaves enough margin on the larger stencil .

Step 3: Create the motif page
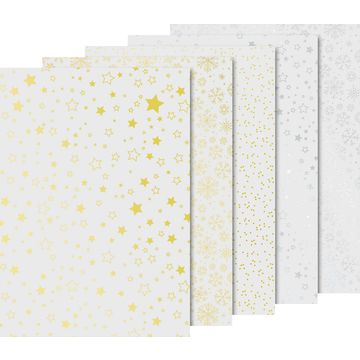
Select as many designs from the motif cardboard block as you need for your memory game - 12 in our case. Use the SMALLER fir tree-stencil to draw two trees per design and then cut them out.
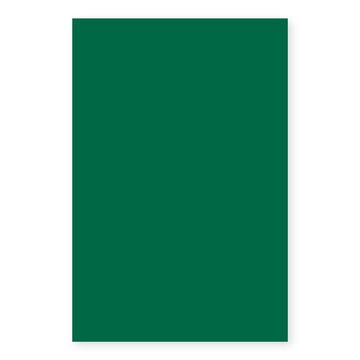
<img src="/tn.php?id=158345&width=533&height=400&templang=en" alt="motif paper für selbstgemachte memory spiele" title="Memory: Motif page" width="533" height="400" style="float: left;"> <img src="/tn.php?id=158346&width=533&height=400&templang=en" alt="motif paper für selbstgemachte memory spiele" title="Memory: Motif page 2" width="533" height="400" style="float: left;">For the reverse side, we use a plain, single-colored craft cardboard sheet in dark green. This side will remain on top later and should not have any other motifs or decorations. Use the LARGER stencil, to cut out 24 fir trees.

Step 5: Assembling the individual parts
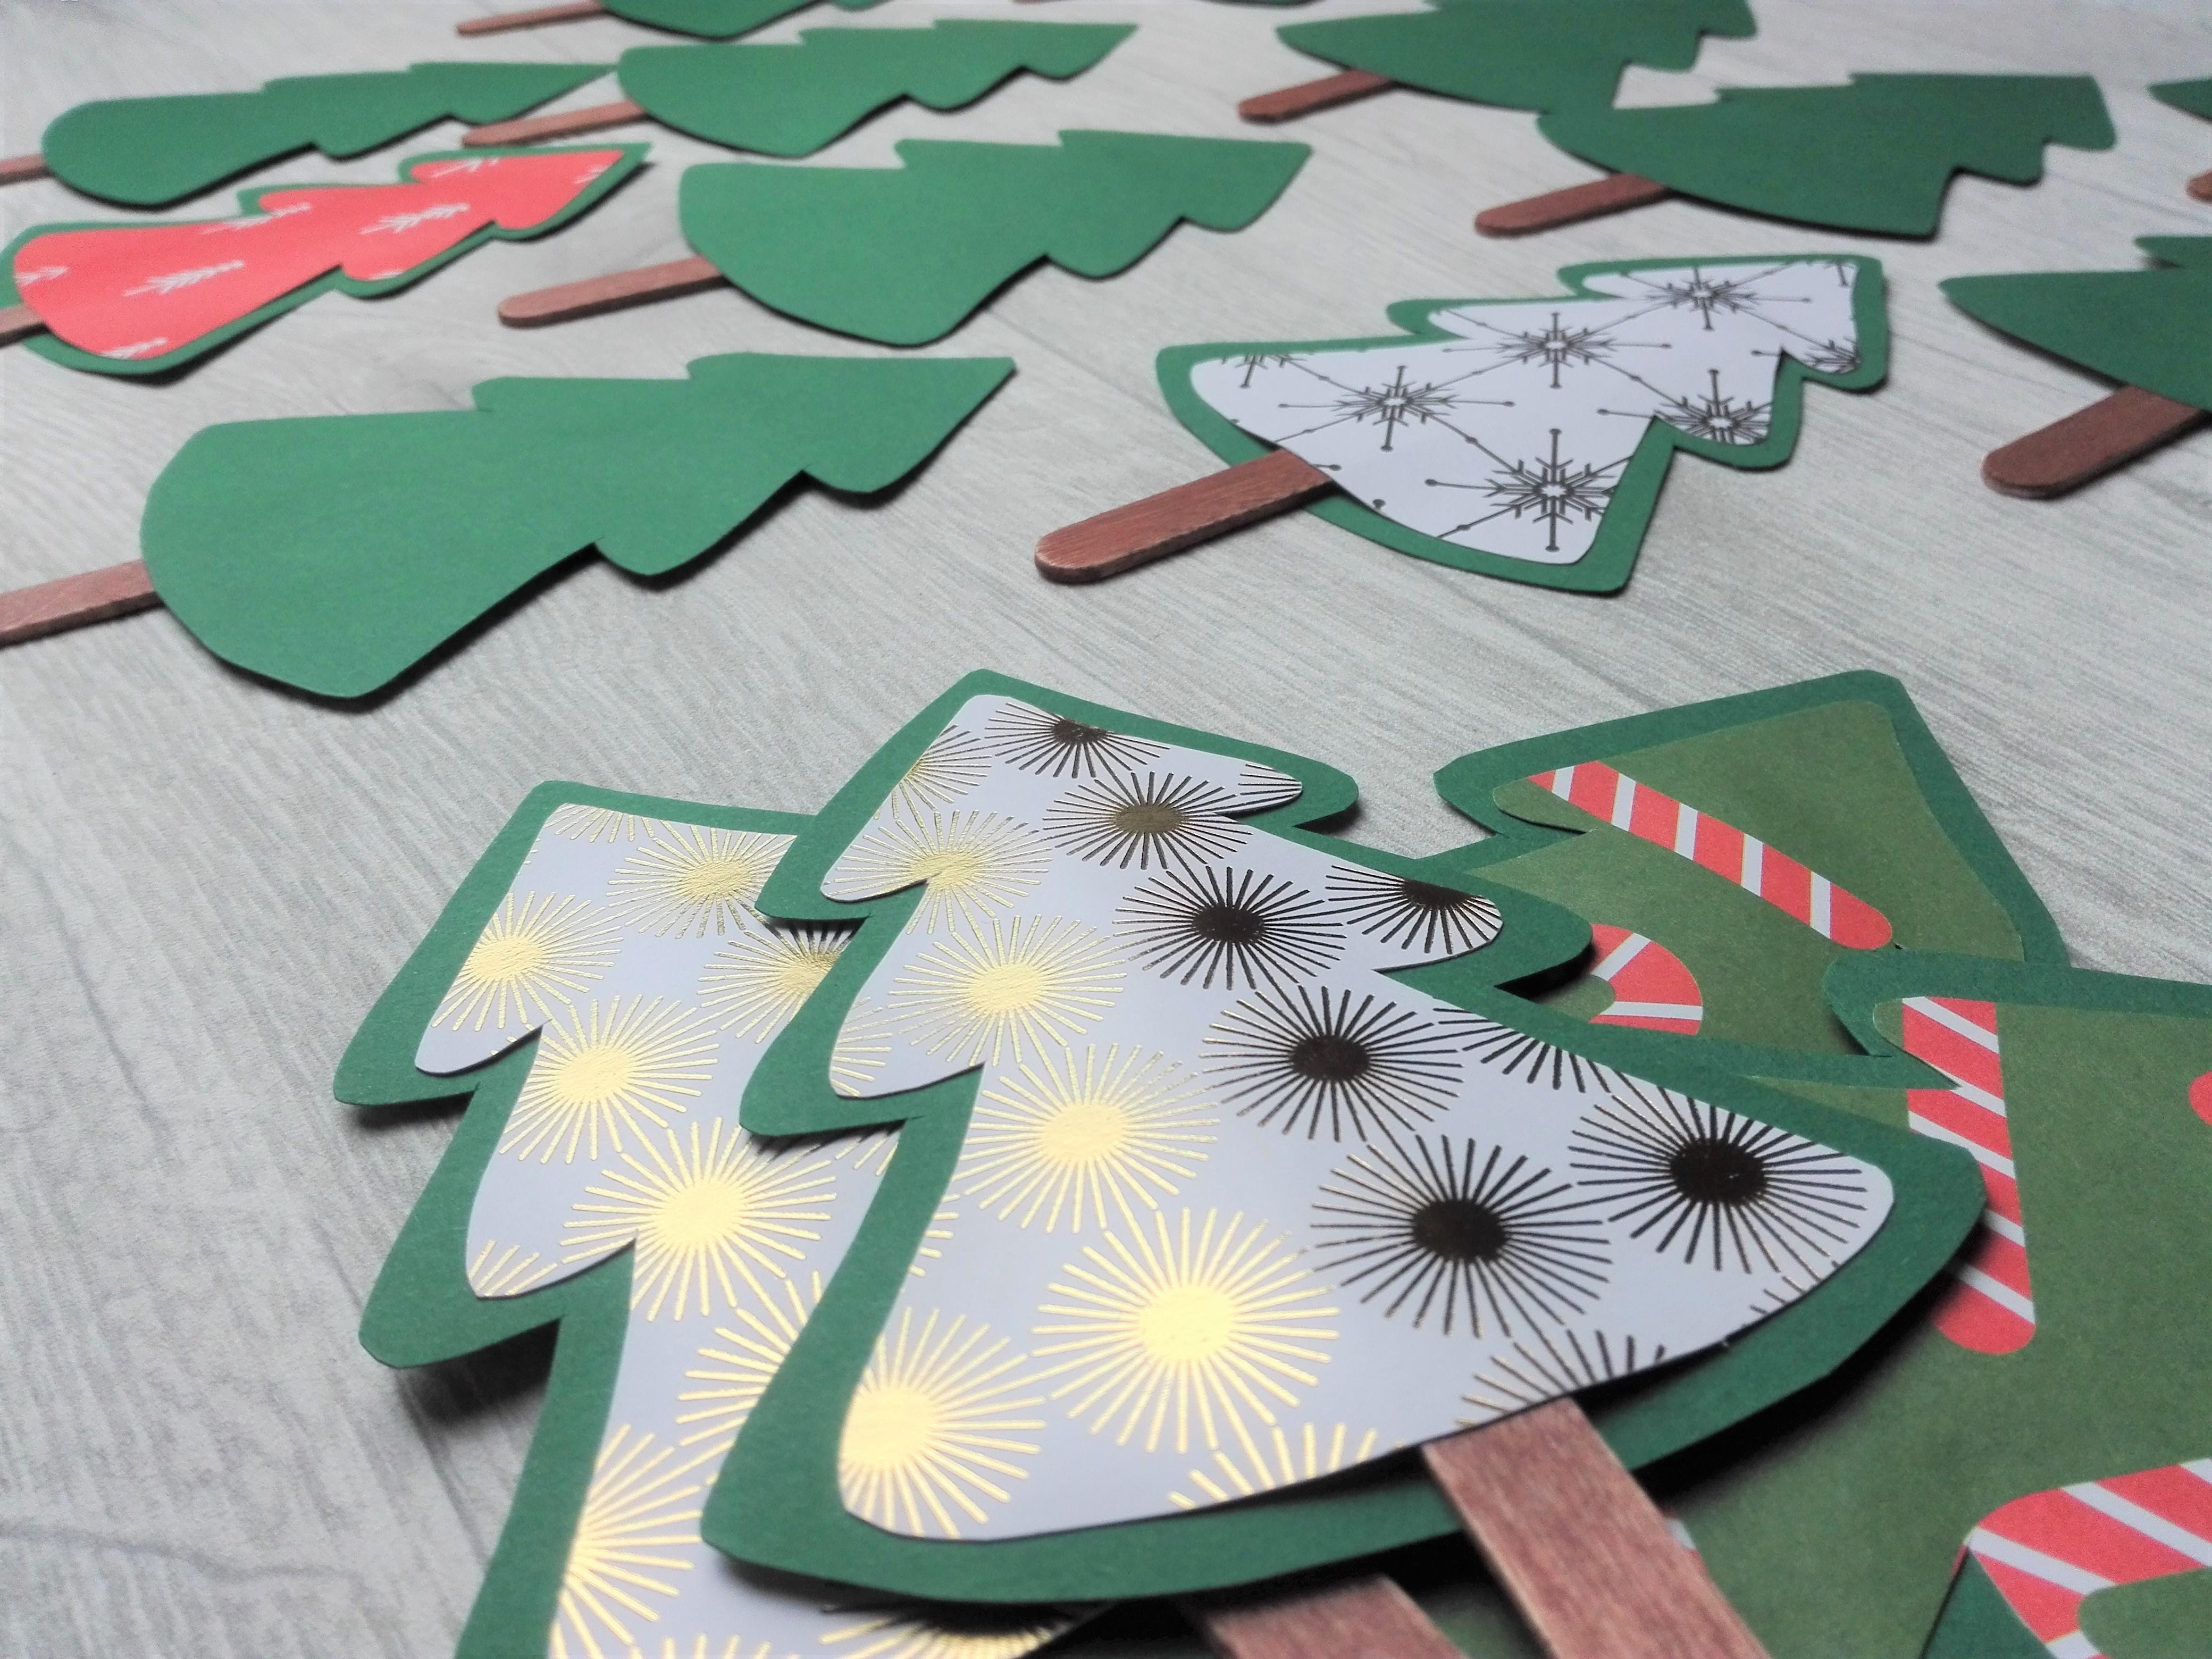
Now let's put the trees together. Place a green tree in front of you, then glue a wooden stick in the middle of it. Make sure that the stick sticks out about the same distance on each tree so as not to spoil the fun. Glue a tree from motif cardboard on top and your first fir tree is ready. Repeat this with all the others.

Once everything is dry, the game can begin! It looks just great, like a little fir forest on the table.


Now you're ready for a wonderful Christmas experience! Look forward to enjoyable, contemplative days with your loved ones. Did you like our DIY-Liked our ideas? Then take a look at our online store to purchase the materials you need and start your creative adventure. Merry Christmas and a Happy New Year!
Have fun crafting!