- Secure order
- Easy return shipment
- Service-Hotline 04231 - 66811
Instructions No. 3215
Difficulty: Beginner
Working time: 2 Hours

Step 1: Transfer templates
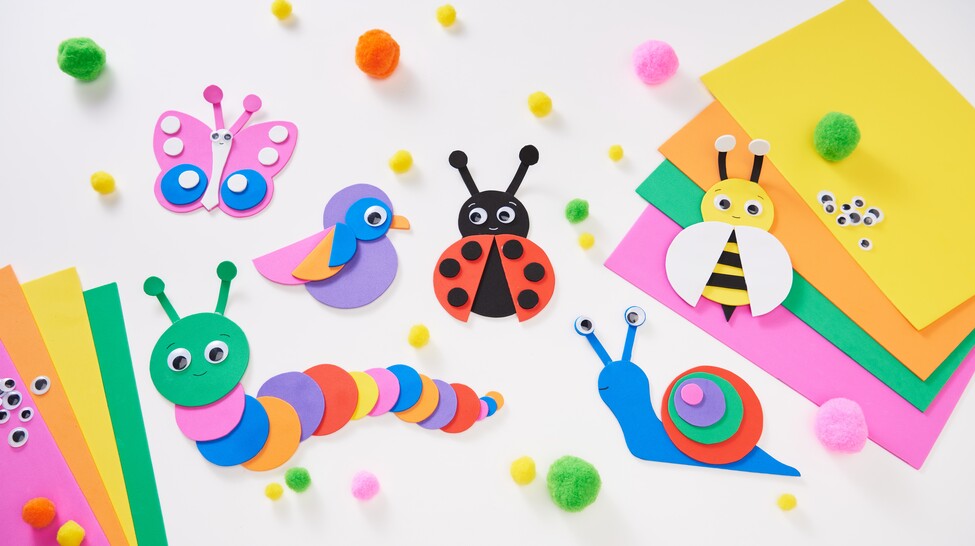
Download the templates. Place them on the foam sheets and trace the outlines with a pencil. Make sure to position the foam sheets in good light so that all lines are clearly visible.
Step 2: Cut out foam sheets
Using sharp scissors, carefully cut out the outline of your animal from the foam sheets . Try to work precisely so that the shape is exactly how you want it. If you are helping younger children with the craft, supervise this step to avoid accidents.
Step 3: Glue the parts together
Now that you have cut out all the parts of your animal, the fun part begins - gluing them together! Use foam rubber glue to attach the individual parts of your foam sheets-animal to each other. For example, glue the wings to the body of the ladybug or attach the wings to the middle of the butterfly. Allow the glue to dry sufficiently to ensure that everything is firmly attached.
Step 4: Attach wobbly eyes
wobbly eyes give your animals a lively and playful look. Glue the eyes onto the designated areas of your foam sheets-animal.
Step 5: Paint on the facial features
Finally, you can give your animal some personality by painting on the mouth and eyebrows with a fine felt-tip pen or a permanent marker .
Now that you know all about crafting with foam sheets , it's time to bring your own creations to life. Whether alone or with friends and family - this crafting fun is guaranteed to bring joy and enthusiasm!


