- Secure order
- Easy return shipment
- Service-Hotline 04231 - 66811
Instructions No. 3255
Difficulty: Beginner
Working time: 1 hour

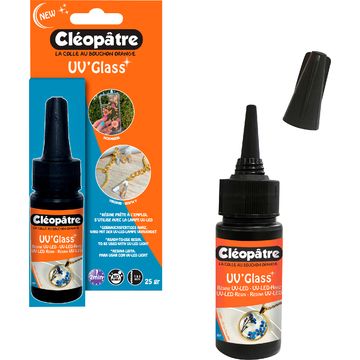
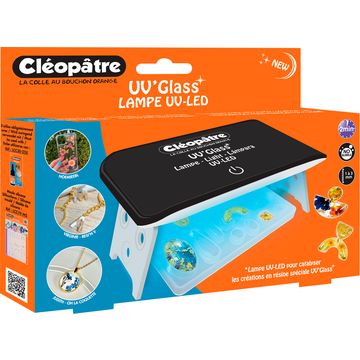
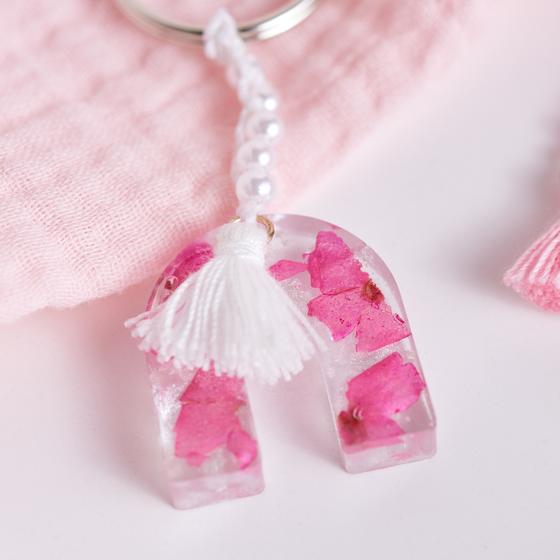
Step 1: Pour the first layer of resin
Start by pouring a thin layer of resin, about 1-2 mm thick, into your chosen mold. Place this under the UV lamp and cure the resin for one minute.
Step 2: Add creative decorations
Now it's time to decorate your masterpiece. Add decorative elements such as dried flowers and/or glitter to your semi-cured resin layer. These will give your key ring a personal and unique touch. apply another layer of resin over this decoration and cure it again under the UV lamp for one minute.
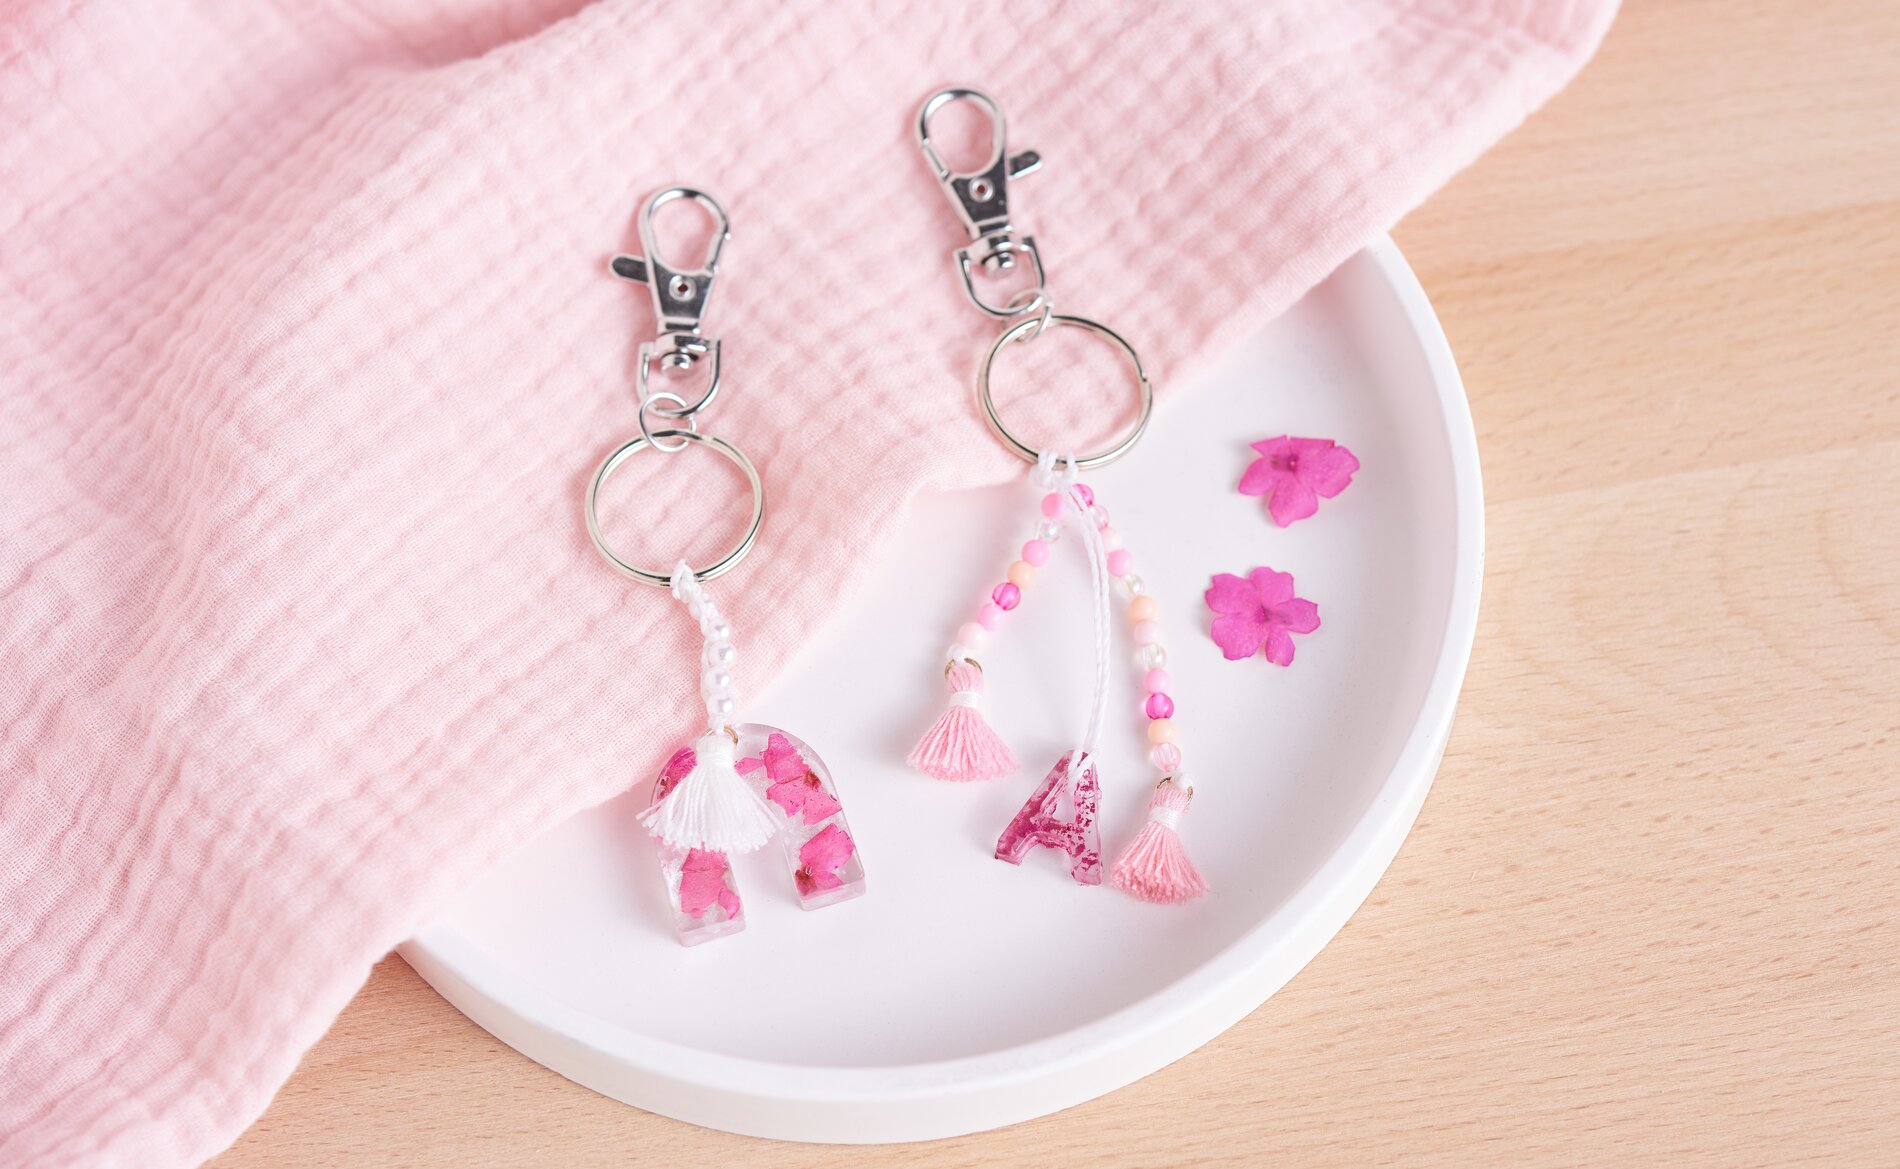
Step 3: Remove the creation from the mold
After hardening, carefully remove your creation from the mold. If the resin still feels a little sticky, simply give it a few more minutes under the UV lamp. Be sure to take a short break between each curing process to avoid overheating the materials, which could result in an unsightly surface.
Step 4: Finishing the key ring
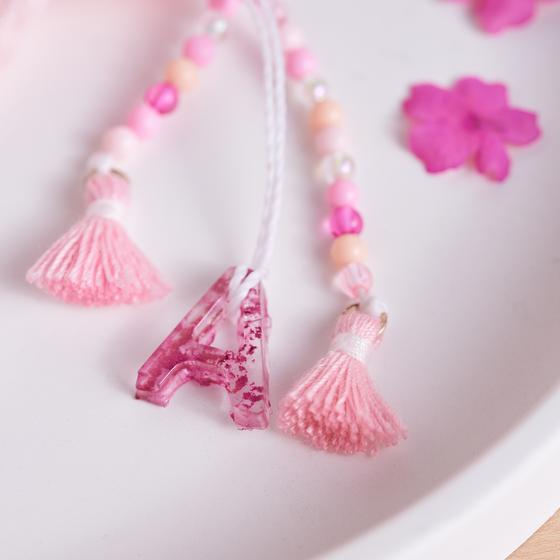
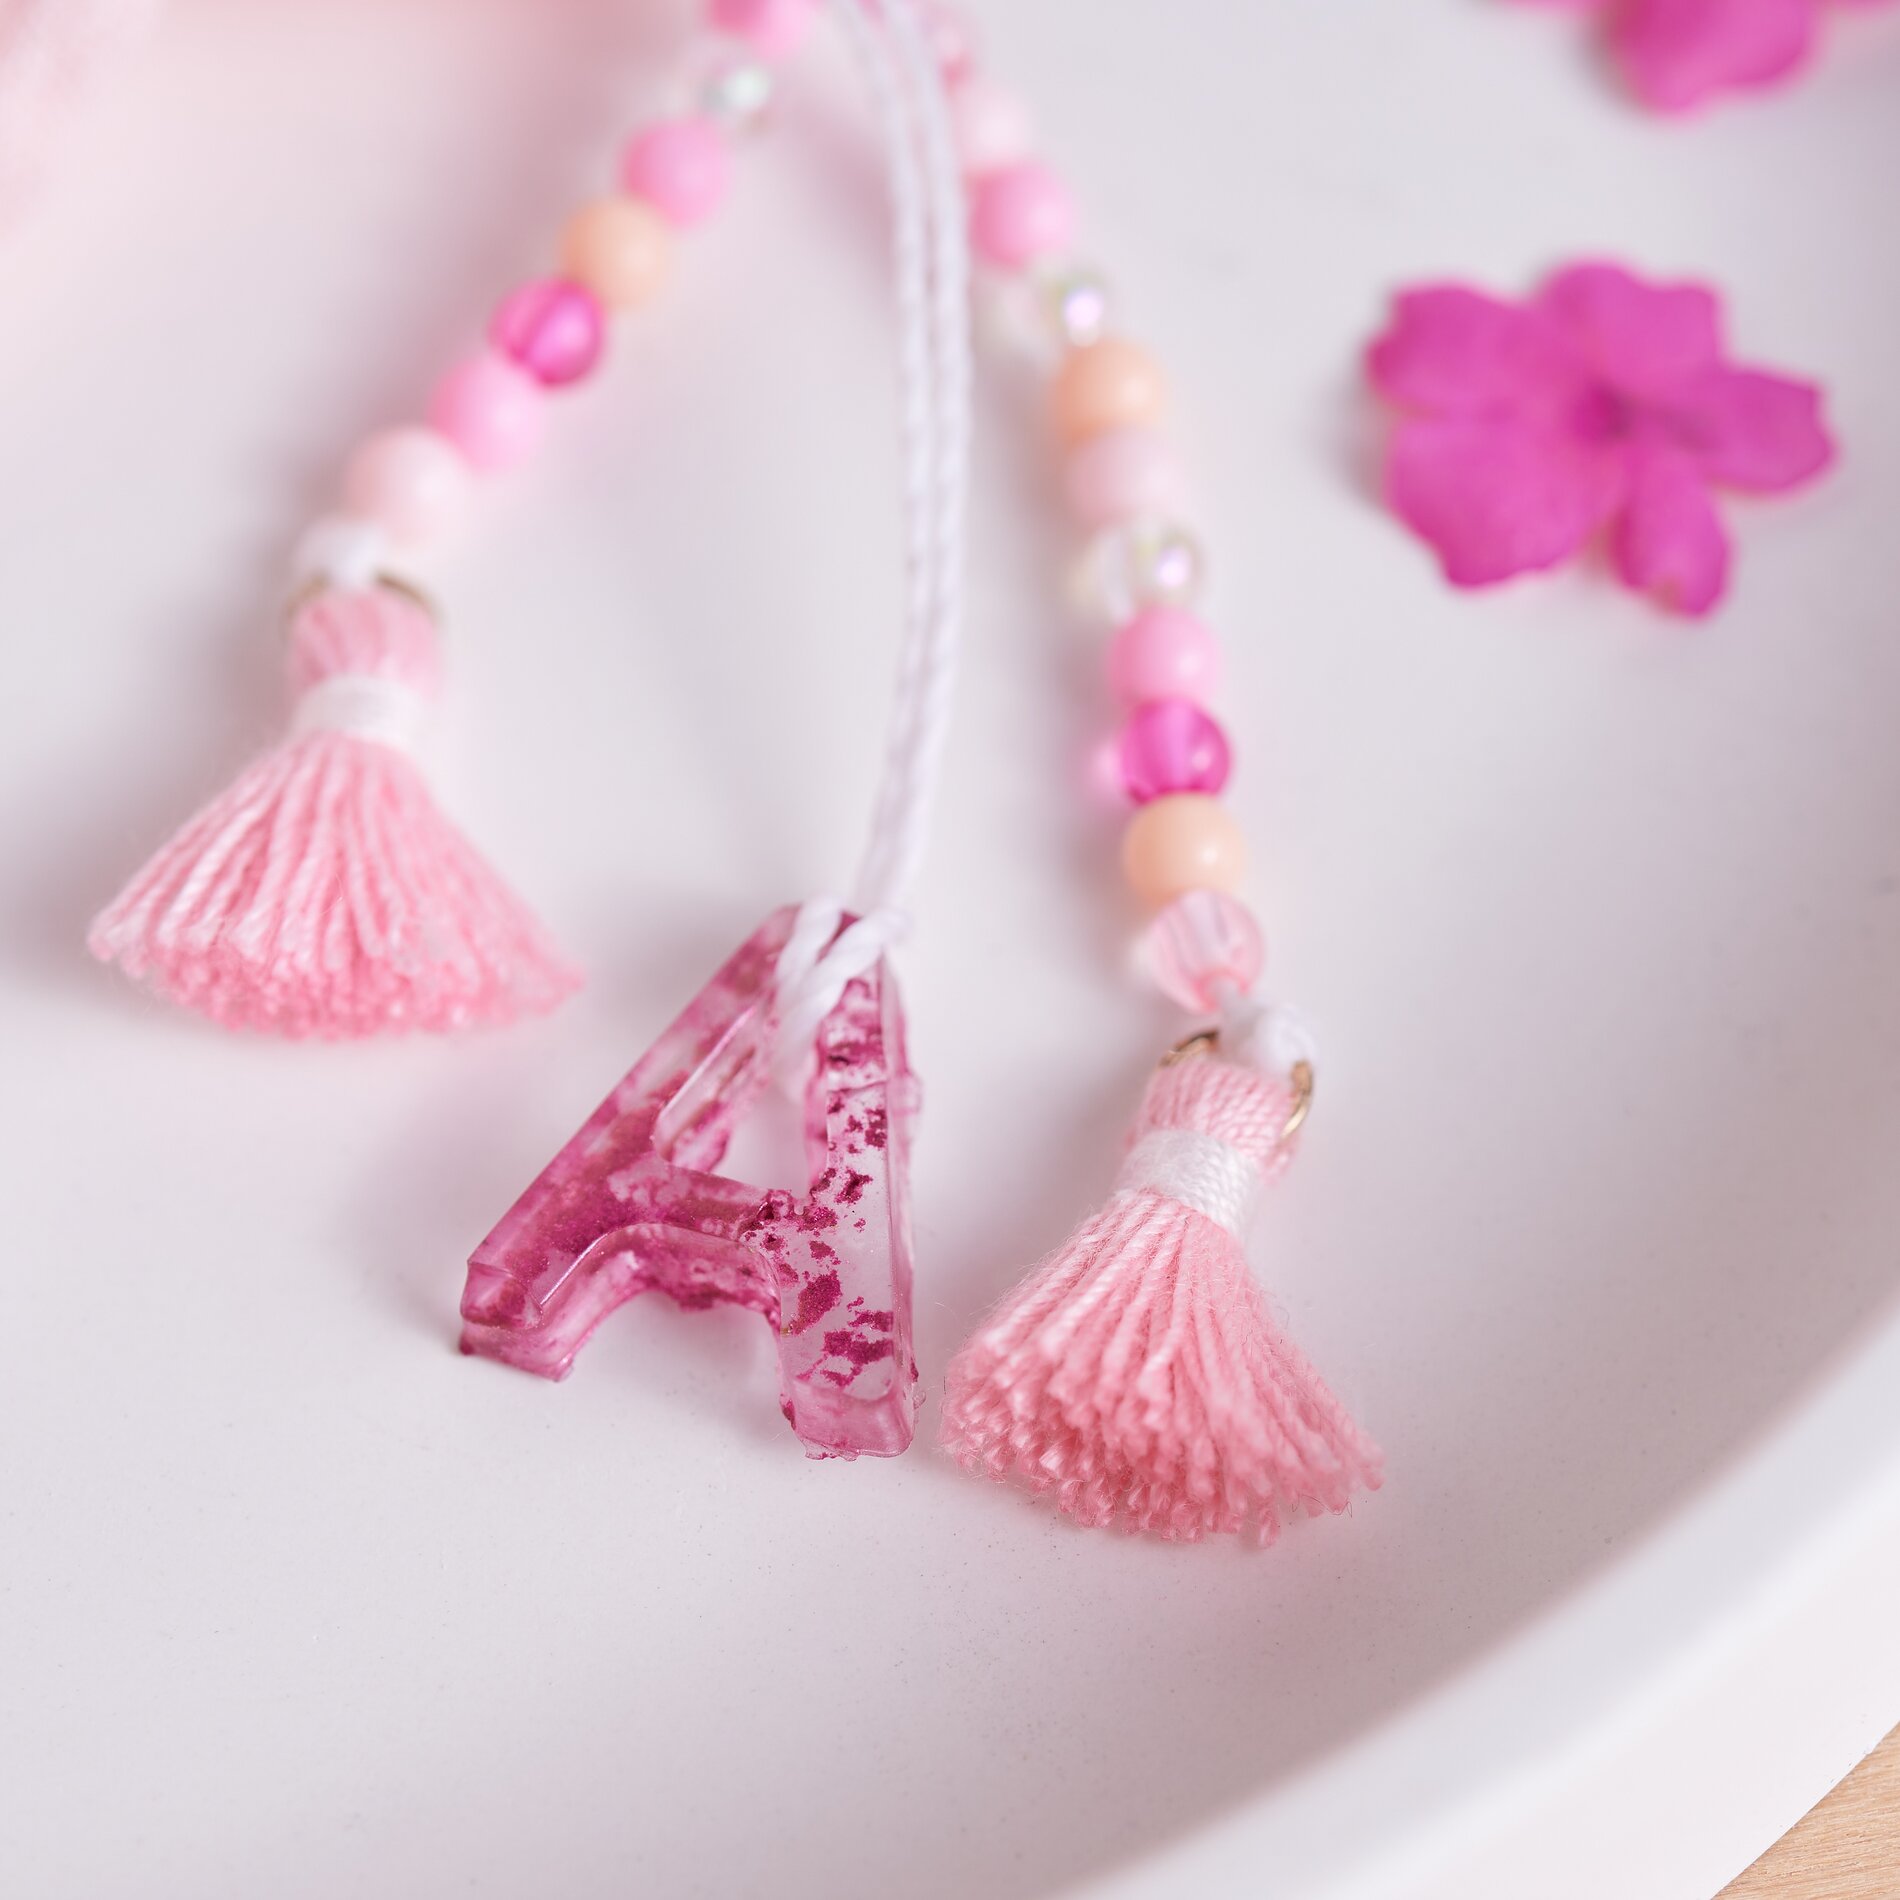
Cut a piece of micromacramé-cord . Micro-macramé is an art form in which thinner threads are used to create fine knotted work. Thread the cord through the resin mold you have created and add tassels. To give your key ring even more style, you can thread beads onto the ribbon and knot the whole thing tightly to your key ring.

Finished: Your unique key rings
You've done it! You now have a creative homemade key ring in your hands that perfectly matches your style. So why not make a whole set and impress your friends and family with tailor-made accessories?
Get all the materials you need for this exciting DIY-Project in our online store and start your next creative adventure!