- Secure order
- Easy return shipment
- Service-Hotline 04231 - 66811
Instructions No. 3457
Difficulty: Advanced
Working time: 5 Hours

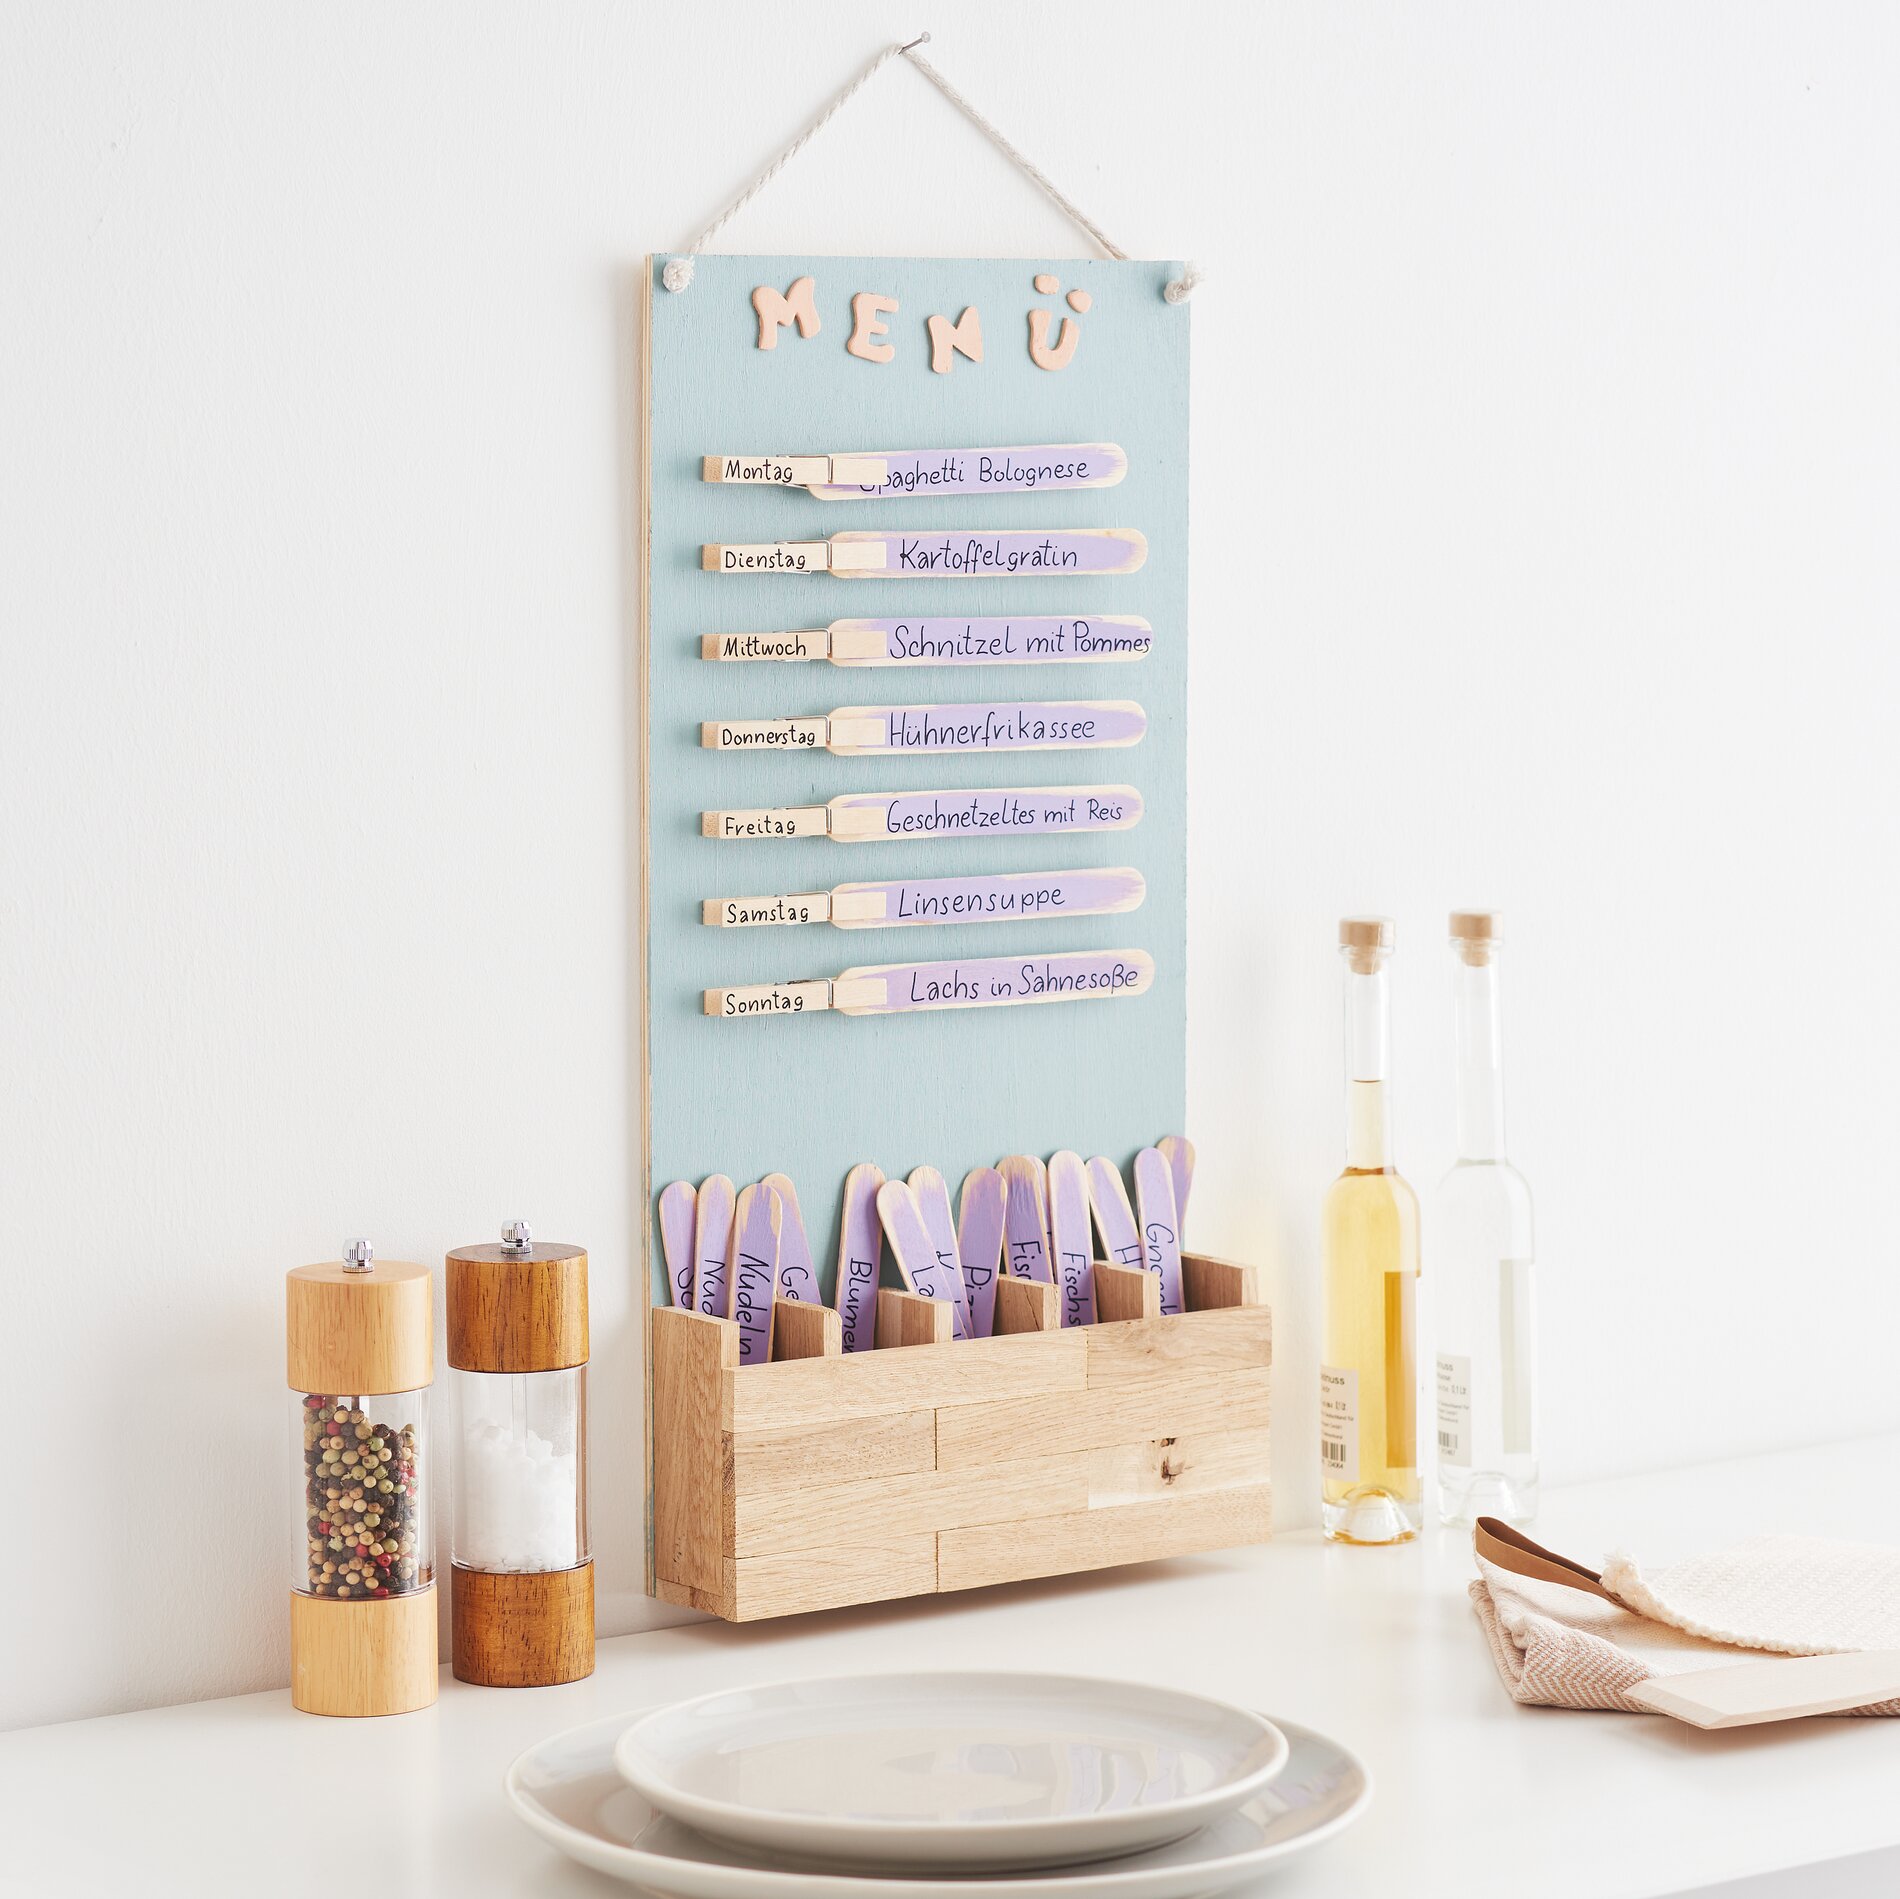
Weekly planning with the family
Take a fixed day each week with your family to plan all your favorite dishes. Each member can choose a dish that you will prepare in the coming week. This way you avoid discussions at mealtimes and everyone feels involved.
Thanks to the individual storage compartments in our meal plan, the spatulas can be assigned to "categories". For example: Pasta dishes, casseroles, soups, etc.
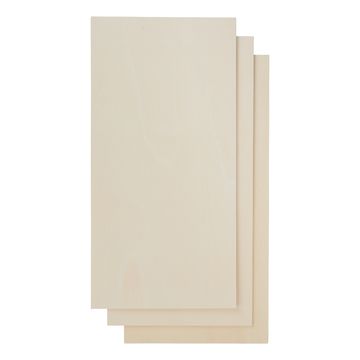
preparation and painting of the plywood board
Start by painting the plywood board and, if necessary, the clothespins in your favorite color. Make sure to use even brush strokes and allow the paint to dry completely. Once this is done, apply a protective layer of napkin varnish to the board and the seven clothespins. This protects the colors and ensures longevity.
Assembling the stand
Base: Connect two regular blocks with two blocks shortened to 9 cm to form a stable base.Finishing the front
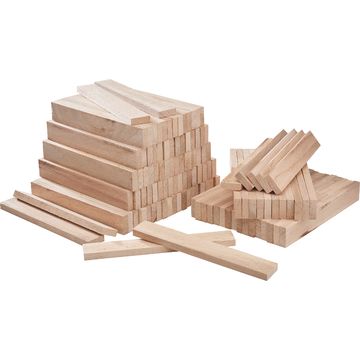
Use 4 craft blocks and 4 shortened blocks 9 cm long to close the front. This creates a compartment for your wooden spatulas.
Label the clothespins
Label the clothespins with the days of the week using a marker. Attach them to the prepared plywood board using handicraft glue .
Decorating with wooden letters
Give your menu a personal touch with VBS Wooden letters to give your menu a personal touch. Choose the letters you want and create umlauts by cutting off the end of an "I" and using them as dots. Paint them with handicraft paint and stick them attractively onto the board.
Customize and label the wooden spatula
Paint the wooden spatulas lightly with handicraft paint, so that the ink does not run when you write on them. Once dry, use a Posca marker to write your family's favorite dishes on the spatulas.
Hanging up the menu
If you want to hang up your menu, drill two holes in the top of the plywood board using a 4 mm hand drill. Thread a piece of cotton-cord through the holes and knot them - and your menu is ready for its prominent place in your kitchen! Position in your kitchen!
Put your ideas into practice!
Make your week less stressful and more creative by making your own meal plan now. You can get all the materials you need conveniently in our online store - start your next project today! DIY-Project today!