- Secure order
- Easy return shipment
- Service-Hotline 04231 - 66811
Instructions No. 3547
Difficulty: Beginner
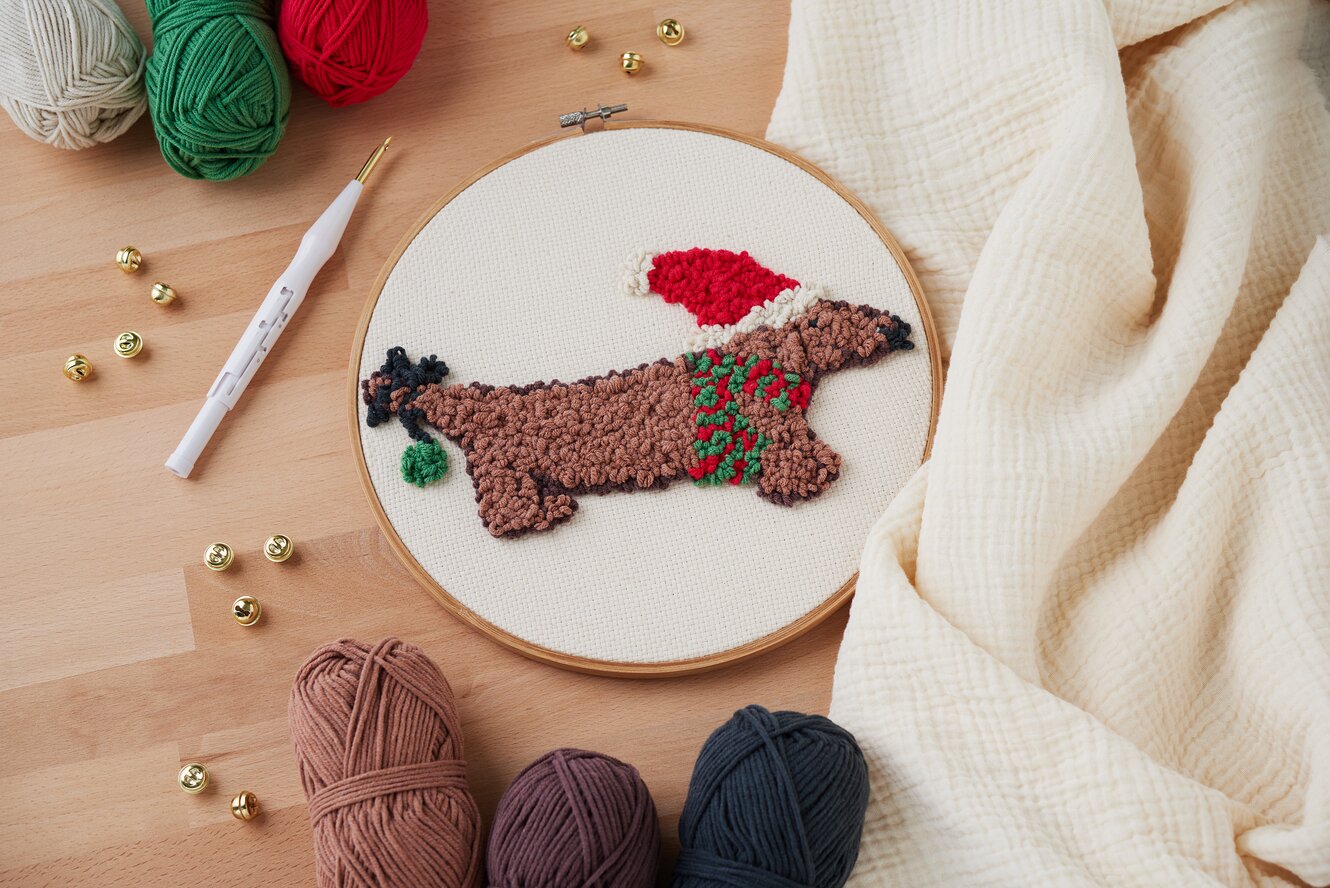
Punch Needle is the perfect technique for creating textile works of art - whether as a mural or a stylish cushion cover. This trendy needlework technique is not only super easy to learn, but is also really fun and gives your creativity free rein.
Step 1: Transfer the motif
First print out the template and place it under the fabric you want to embroider. Take a line-ex pen (also known as a sublimation pen), the lines of which disappear by themselves after a while, and carefully trace the motif. This will give you a good orientation later and achieve a clean result.
Now stretch the fabric tightly in the embroidery hoop - make sure that your motif is nicely centered. This ensures an even structure. Roughly cut the fabric to the right size.
Important to know: With the Punch Needle Technique, the side you are working on is actually the reverse side - the loops are created on the reverse side and form the finished picture there.
Step 2: Tighten the thread
Now color comes into play! Take your threading aid Punch Needle. Guide it through the eyelet from front to back, pull the thread through and bring it back to the tip. Then insert the threading aid from top to bottom through the hole in the needle point - the thread should be pointing upwards. This ensures that the thread is optimally tensioned and you can start filling in your motif.
Step 3: Fill in the motif
Now it's time to punch! The grid marking on your Punch Needle helps you to set the loop length - it is best to start with the shortest setting, usually "D".
Punch the Punch Needle into the fabric, pull the end of the thread through and move the needle a little further without lifting it. Repeat this process until an area is completely filled.
Important: The thread should run loosely from the ball - this creates even loops.
If you make a mistake - no problem! You can simply pull the thread out and start again. Once you have finished one area, run the needle through the fabric, leave the thread a little loose, cut it and shorten the end if necessary.
Step 4: Finish the project
Cut off any excess wool neatly. To secure your work, you can use some textile glue - this is particularly useful for cushion covers to prevent threads from coming loose. It is optional for wall pictures, but recommended. Make sure you only use a small amount of glue so that no unsightly hardening occurs.
Once dry, you can stretch the fabric again and cut it to size. To make your artwork even more durable, glue the thread ends to the back.


