- Secure order
- Easy return shipment
- Service-Hotline 04231 - 66811
Instructions No. 3214
Difficulty: Beginner
Working time: 4 Hours
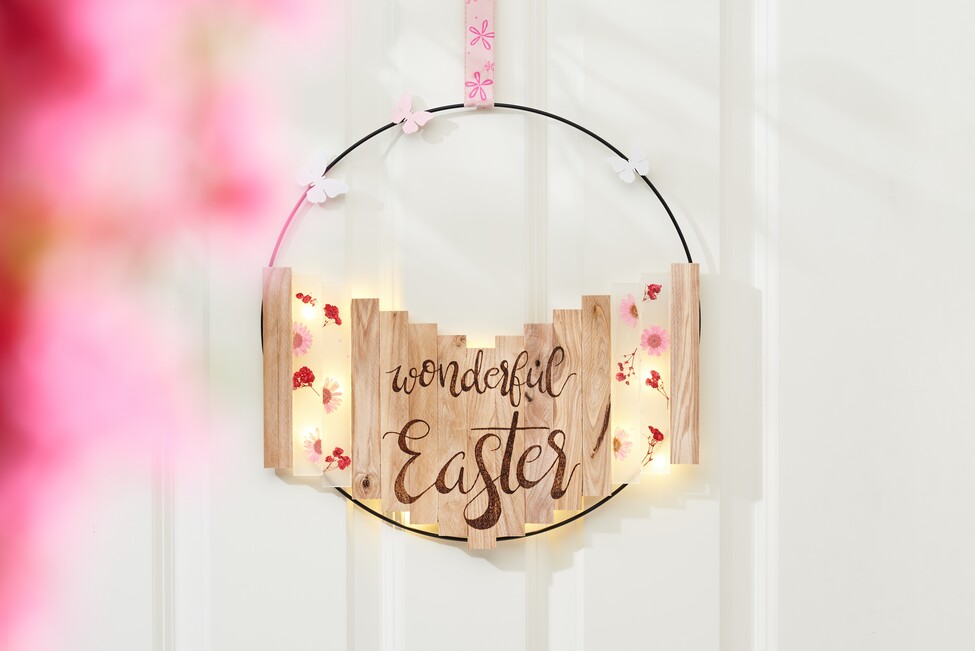

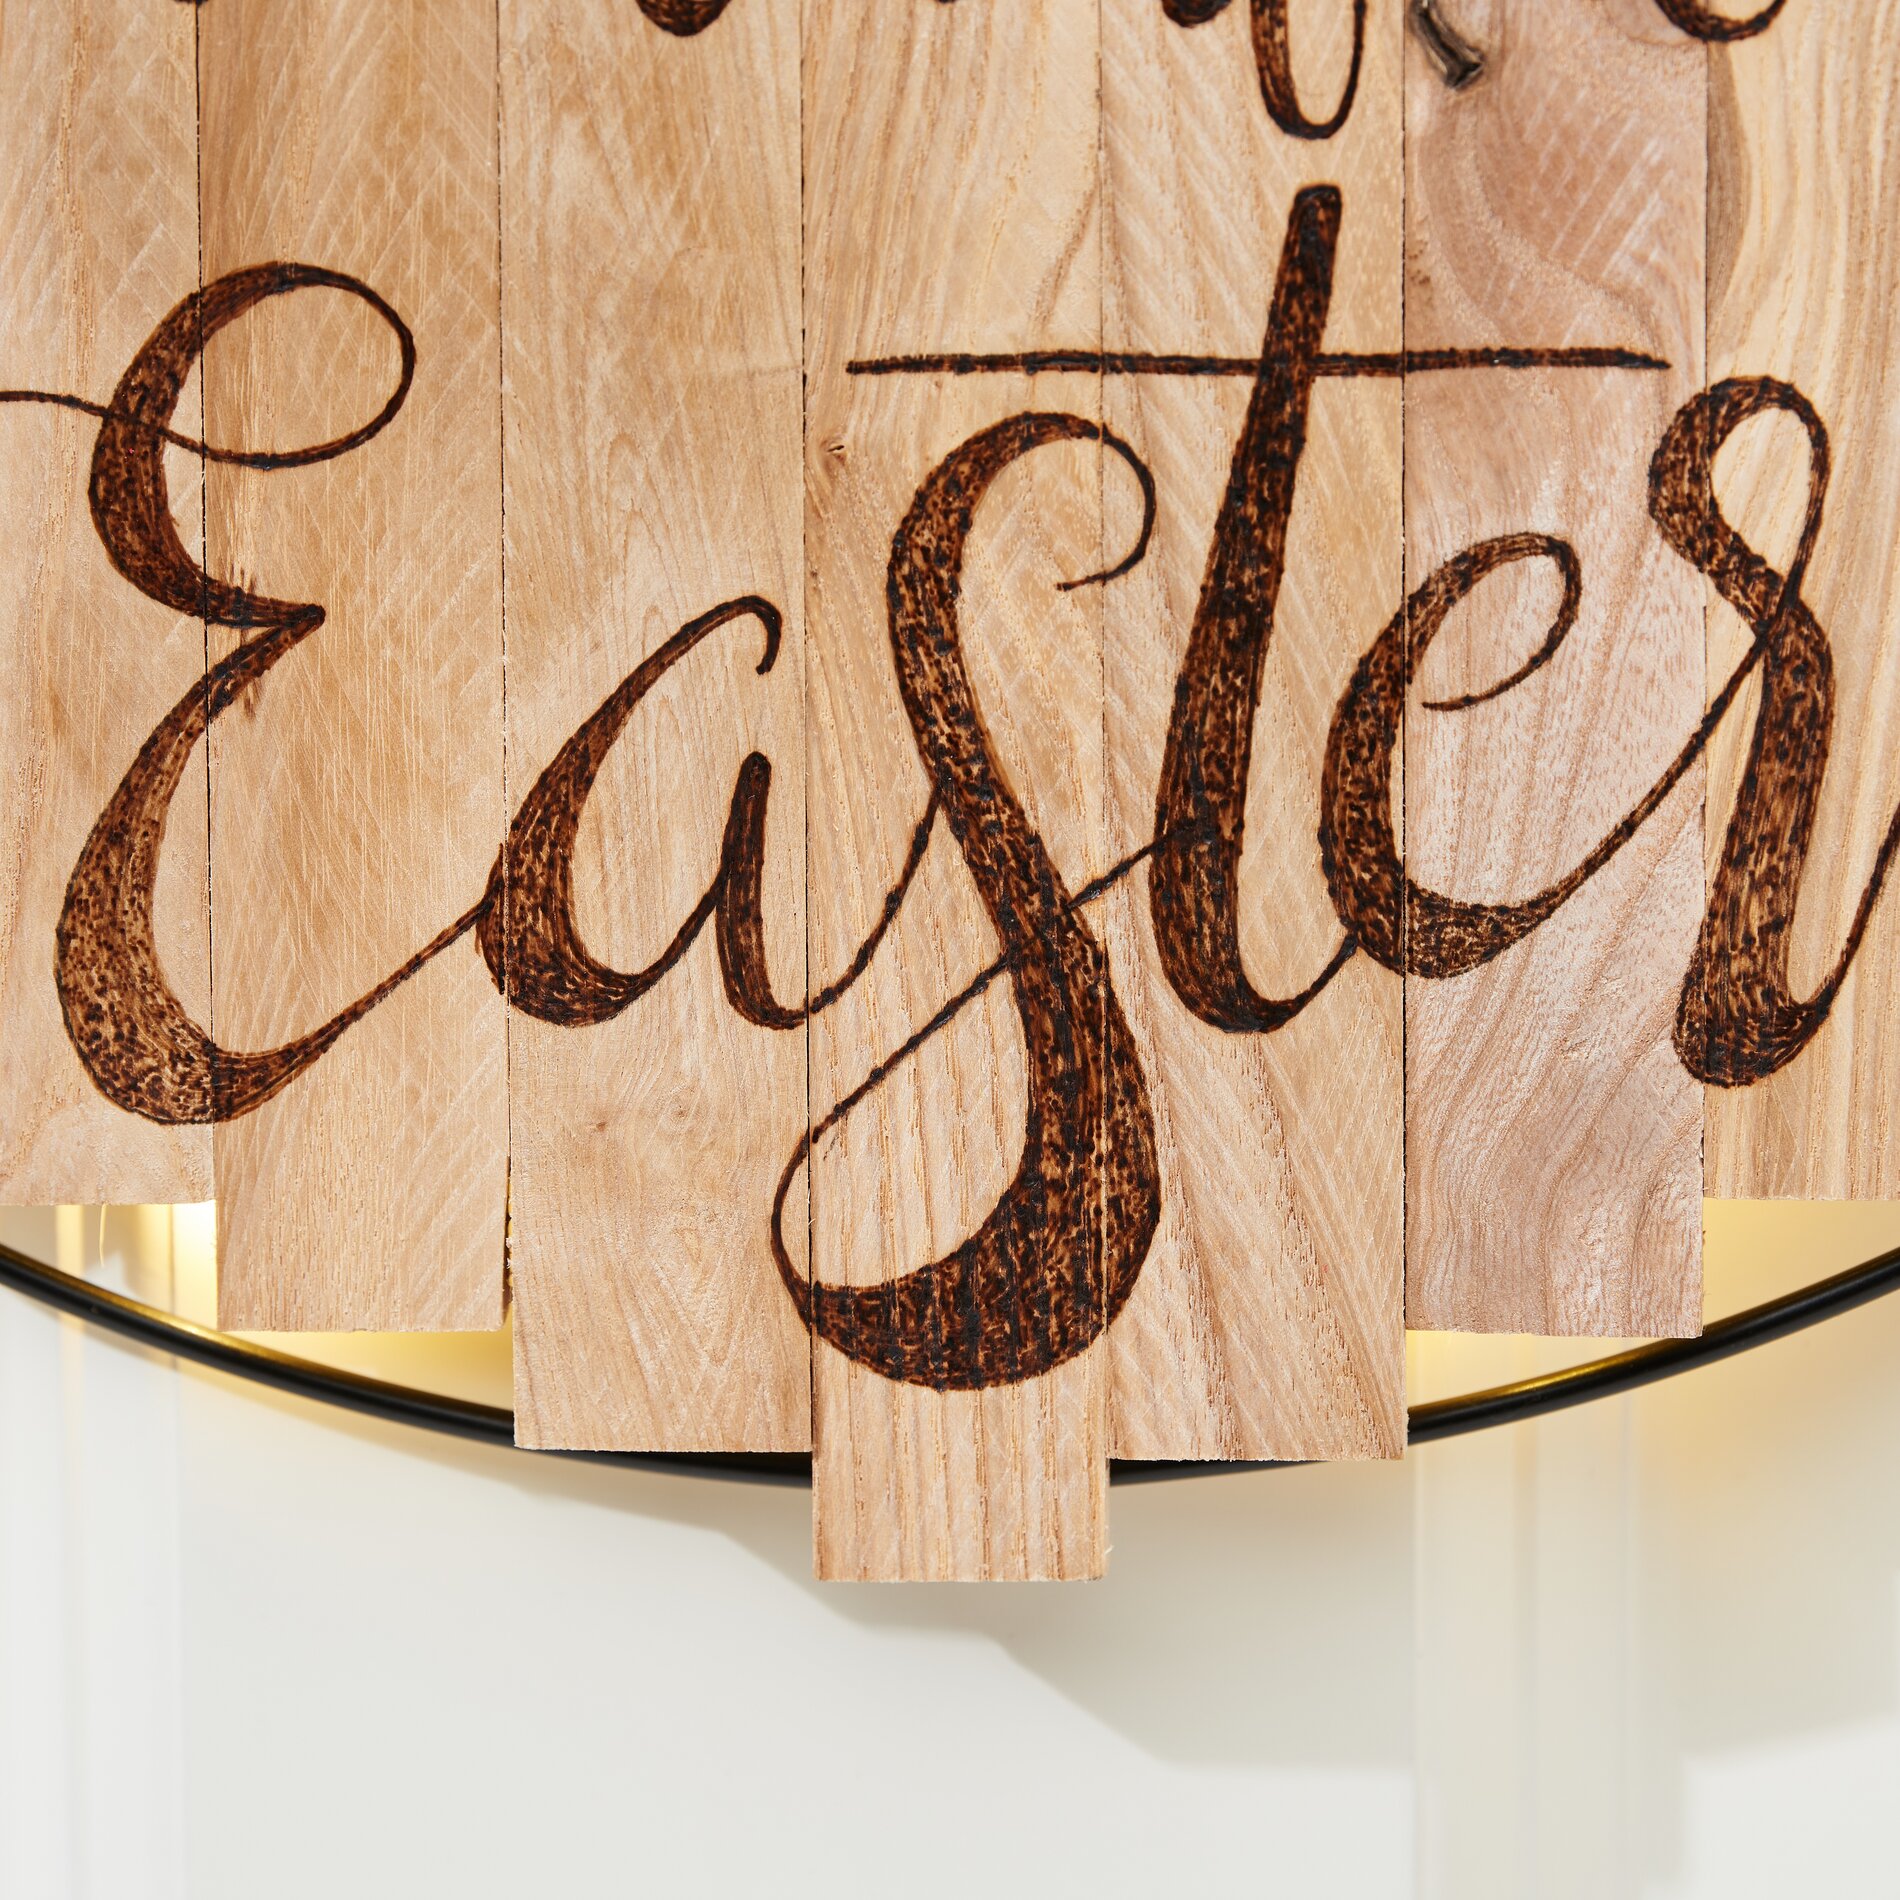
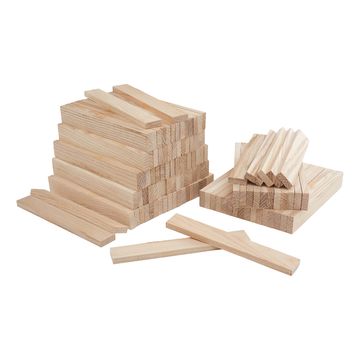
Glue 7 craft blocks together using handicraft glue and offset them by one centimeter each. Allow the blocks to dry thoroughly so that they remain stable and firmly attached to each other. The offset creates an interesting visual effect and gives your project a unique structure.
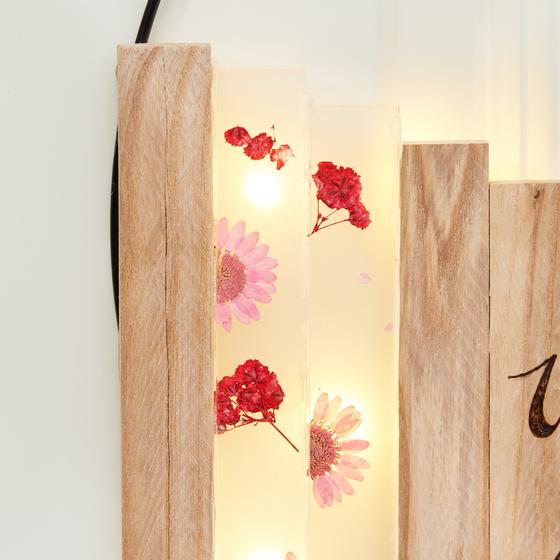
Now it's time for the acrylic blocks! Glue 2 satin acrylic blocks to each other with a small offset. Cover them with pressed flowers to your heart's content - you can let your creativity run wild here. Then place clear acrylic blocks on top to create an attractive layered effect. Attach a wooden block to each side using handicraft glue . Make sure that everything dries well.
Next, you need the template, which you download and print out. transfer the lettering onto the 7 connected craft blocks using graphite paper. Then insert the branding pen with a fine tip. After about five minutes of heating time, you can trace the template and give the blocks an individual design.
Now glue the remaining blocks to the side pieces to complete your wooden block ring. Give the glue enough time to dry. Then turn the blocks over and position the metal ring on the back. Fix this in place with handicraft glue. and allow everything to dry thoroughly.
Now the magic comes into play: Glue the micro LED-chain of light to the back of the block ring using hot glue. This will later provide atmospheric lighting. Turn the ring over and attach decorative scatter decoration such as butterflies to the metal ring using hot glue. These little accents make the workpiece shine and radiate spring magic.
Finally, attach the ribbon to the metal ring for hanging.