- Secure order
- Easy return shipment
- Service-Hotline 04231 - 66811
Instructions No. 3111
Difficulty: Beginner
Working time: 2 Hours

Preparing the base
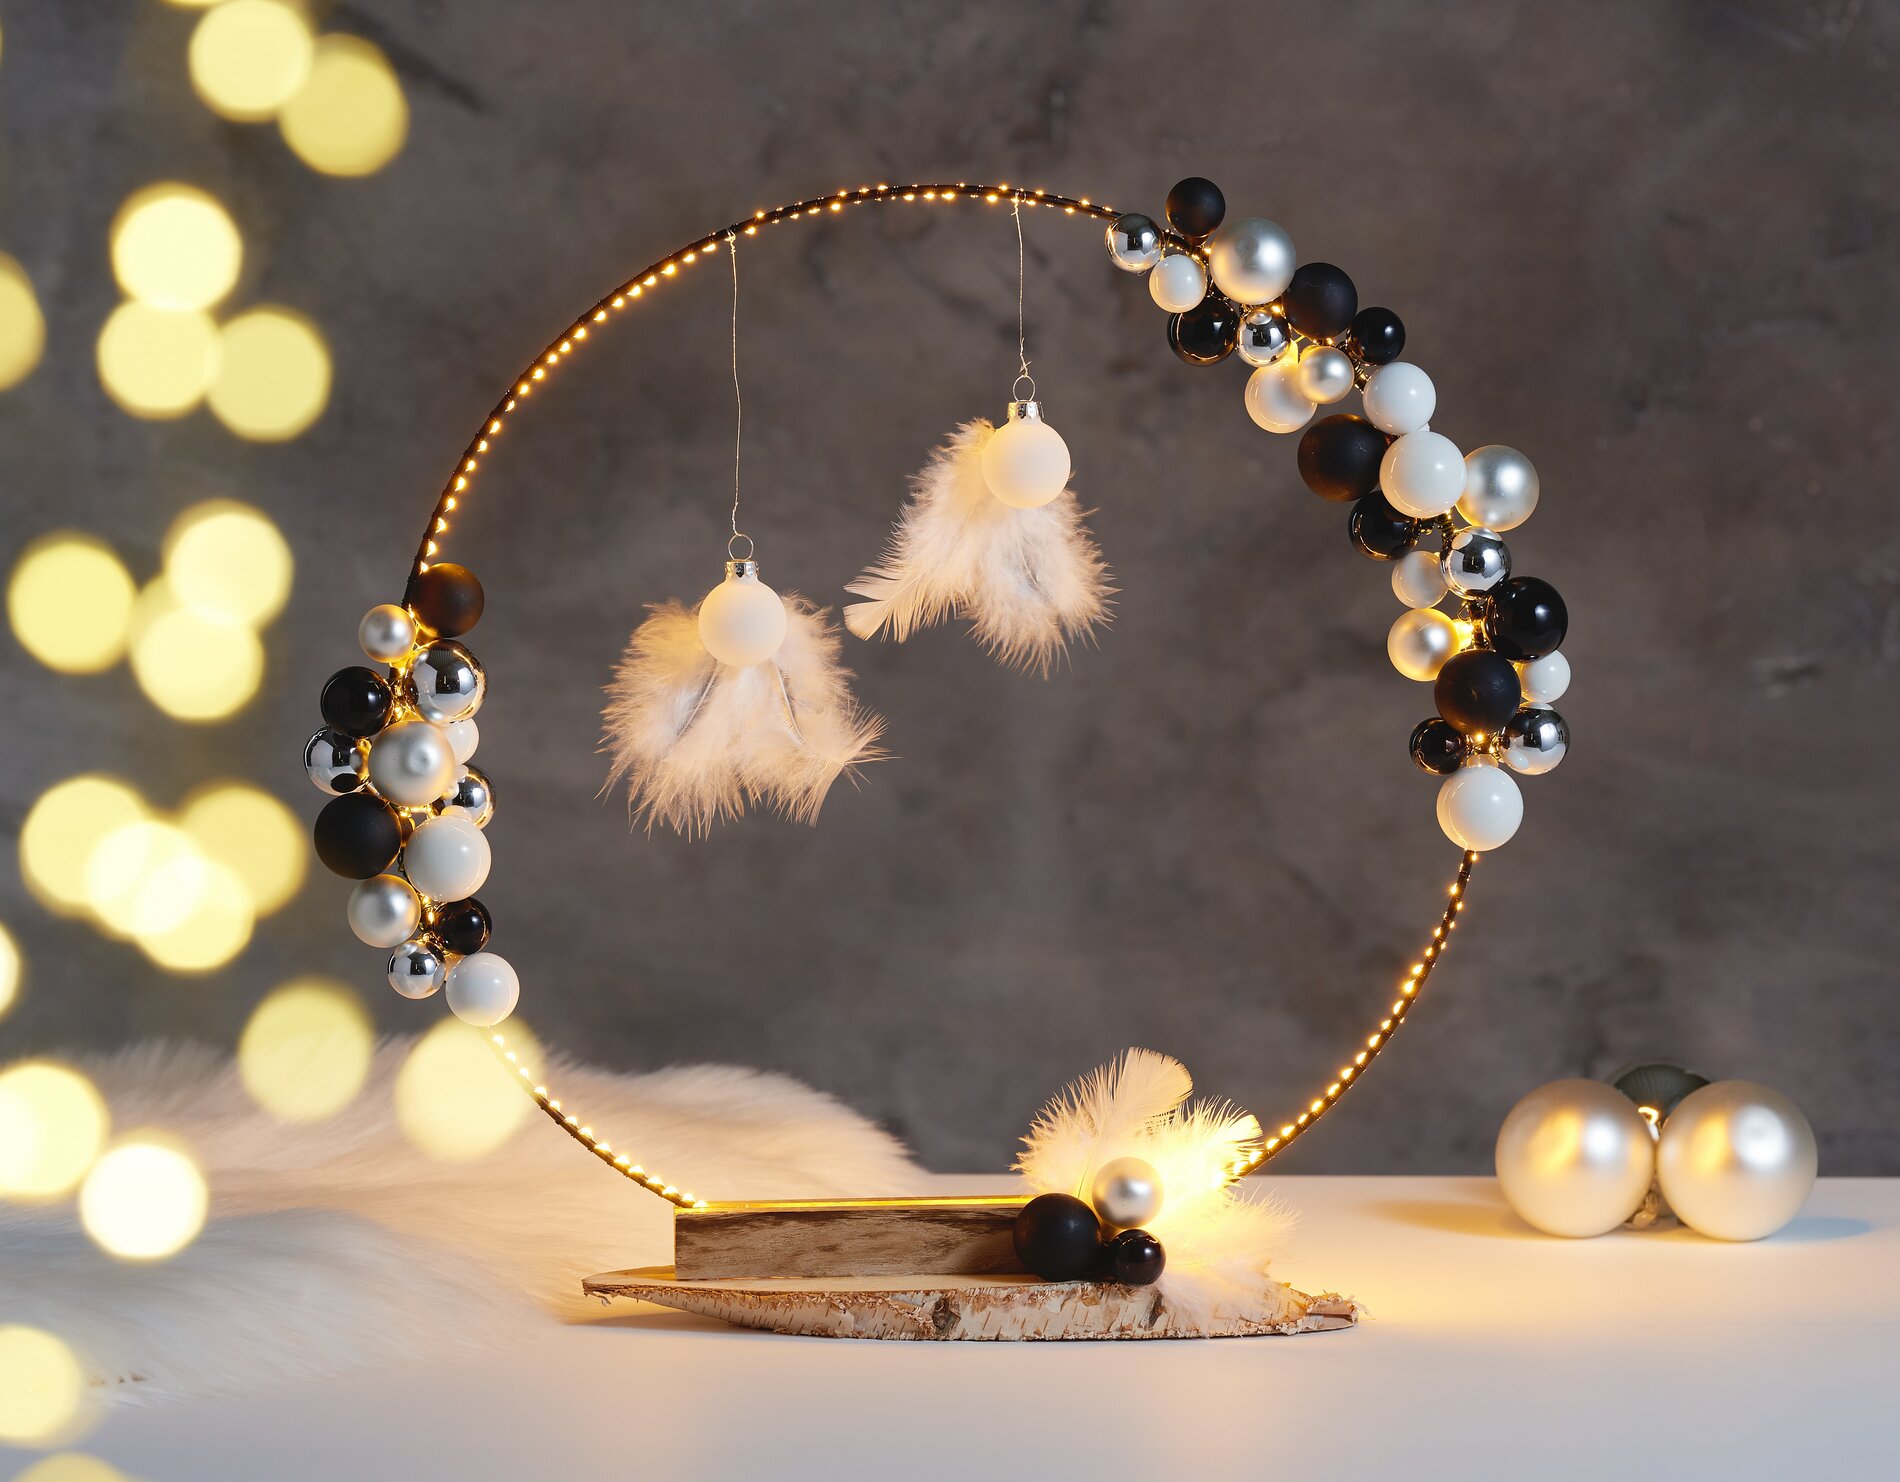
Start by gluing the two craft blocks upright and parallel to each other on the birch slice. Use the handicraft glue for this and make sure that the blocks are positioned so that the metal ring fits between them later. Allow the glue to dry completely.
christmas balls attach
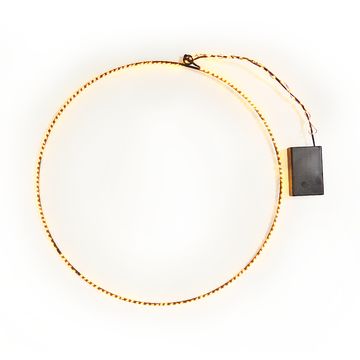
Take the christmas balls and tie them in bundles around the metal ring using wire. Carefully place the metal ring with the tied balls between the glued wooden blocks on the birch slice. Make sure that the ring is stable and does not wobble.
feathers attach
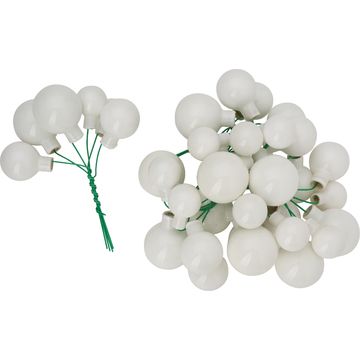
Glue two feathers at a time to the mini-christmas balls. using handicraft glue . Allow the glue to dry well before continuing with the next step.
Decorating with enameled copper wire
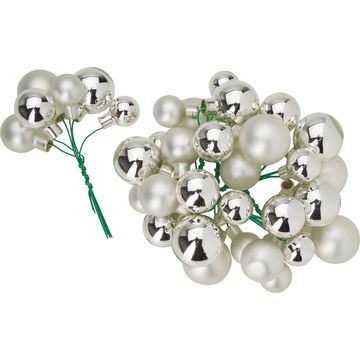
Use the enameled copper wire to tie the mini-christmas balls to the metal ring with the attached feathers . The enameled copper wire gives your decoration an elegant, festive touch.
Final details
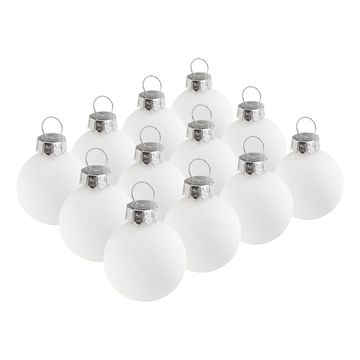
Finally, you can attach more baubles and feathers in front of the glued-on blocks on the birch slice. These additional decorative elements give your DIY-Project more depth and make it particularly festive.
With these instructions, you have now created a beautiful, homemade christmas decoration from craft blocks. This wooden block decoration will give your home a unique, festive charm and is perfect as a highlight on your table or dresser.