- Secure order
- Easy return shipment
- Service-Hotline 04231 - 66811
Instructions No. 3226
Difficulty: Beginner
Working time: 4 Hours

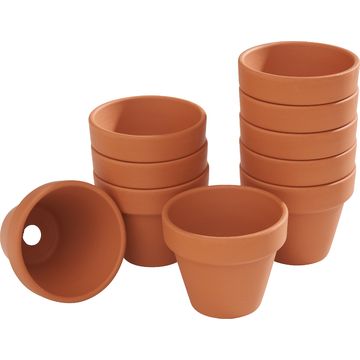
What you need:
Before you get started, make sure you have all the materials you need to dive straight into the crafting fun. You can easily find all these materials in our online store.
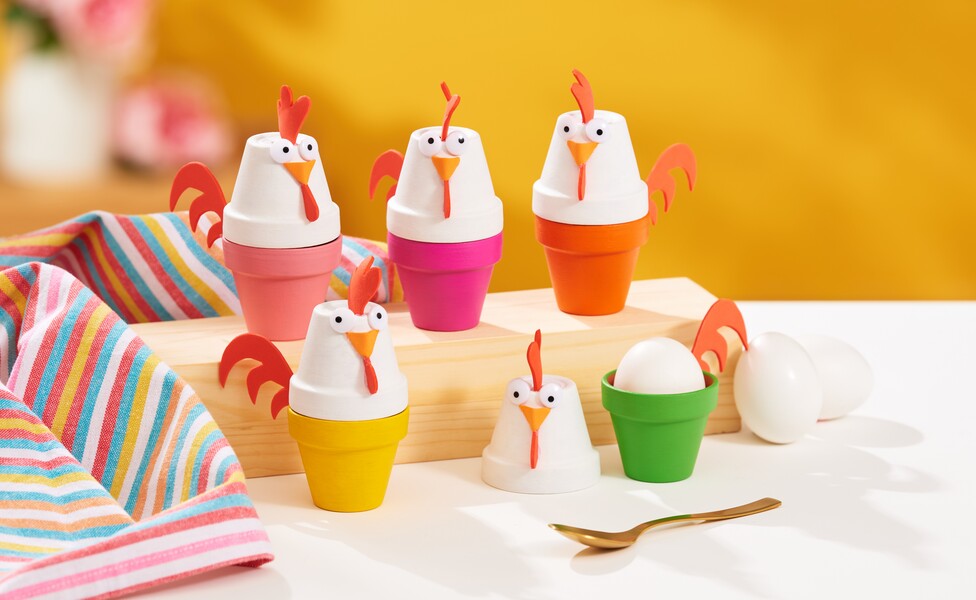
Step 1: Laying the foundation - painting terracotta-pots
First, take the terracotta-pots and paint them however you like. Let your creativity run wild and use acrylic paints to breathe life into the pots. Whether bright colors or subtle tones, there are no limits to your imagination. Make sure you allow the paint to dry thoroughly before continuing.
Step 2: feathers and beak - transfer shapes from foam sheets
Now it gets trickier: transfer the templates for the feathers and beak to the foam sheets. and cut out the shapes precisely. foam sheets is a soft, flexible material that is easy to cut and shape. It is best to use sharp scissors for clean edges.
Step 3: Joining together - creating the chicken look
Start by attaching the cut-out foam sheets-parts to the painted terracotta-pots. Use hot glue, for example, so that everything is firmly attached. Attach the comb, tail and beak in the appropriate places.
Step 4: Glue on the eyes - the finishing touches
To bring your chickens to life, glue on the eyes. Make sure they are symmetrical to achieve a cute and realistic look. The eyes give the chickens personality and charm!
Step 5: Final assembly - the chickens are ready
Assemble the finished terracotta-pots as chickens. Place them on your table so that they can act as cute egg warmers. Your unique chickens are a real eye-catcher and will delight you and your guests.
Have fun making your own egg warmers - turn your breakfast table into a work of art!