- Secure order
- Easy return shipment
- Service-Hotline 04231 - 66811
Instructions No. 4160
Difficulty: Beginner
Working time: 40 Minutes
1. Mix the casting mixture: creamy, not runny. Add about four tablespoons of casting powder to the mixing cup. Add water little by little, stirring thoroughly in between. This helps you control the consistency better, since too much water will make the cast piece more fragile later on. The goal is a smooth, creamy mixture without lumps. Take a few minutes to do this: the more homogeneous the casting mixture, the finer the surface of your gnome will be.
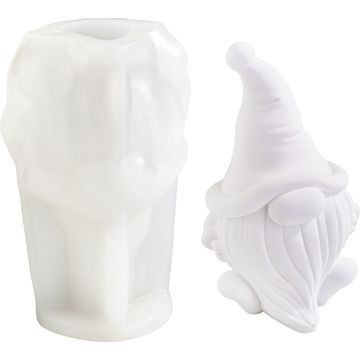
2. Pour into the “ silicone mould ” and remove air bubbles Slowly pour the casting mixture into the silicone mold. If you pour calmly and evenly, you’ll trap less air. Then gently tap the filled mold several times on the work surface. This “de-airing” process ensures that air bubbles rise to the top and can escape. This is the most important step for achieving a smooth front surface and clean edges.
3. Let it cure: Patience for sturdy molds Let the cast piece cure in the mold for about 2 to 3 hours. During this time, the mixture sets and becomes dimensionally stable. To remove the casting from the mold, gently press the silicone mould apart and carefully loosen the gnome piece by piece instead of pulling it out. This preserves fine details.
4. Finishing and allowing to dry completely. Check the edges: You can gently smooth out small burrs or rough edges with fine-grit sandpaper ( sandpaper ). This not only improves the appearance but also ensures that paint will cover evenly later on. Then let the gnome dry thoroughly for about eight hours. This Time to dry: is important so that the casting compound reaches its final strength.
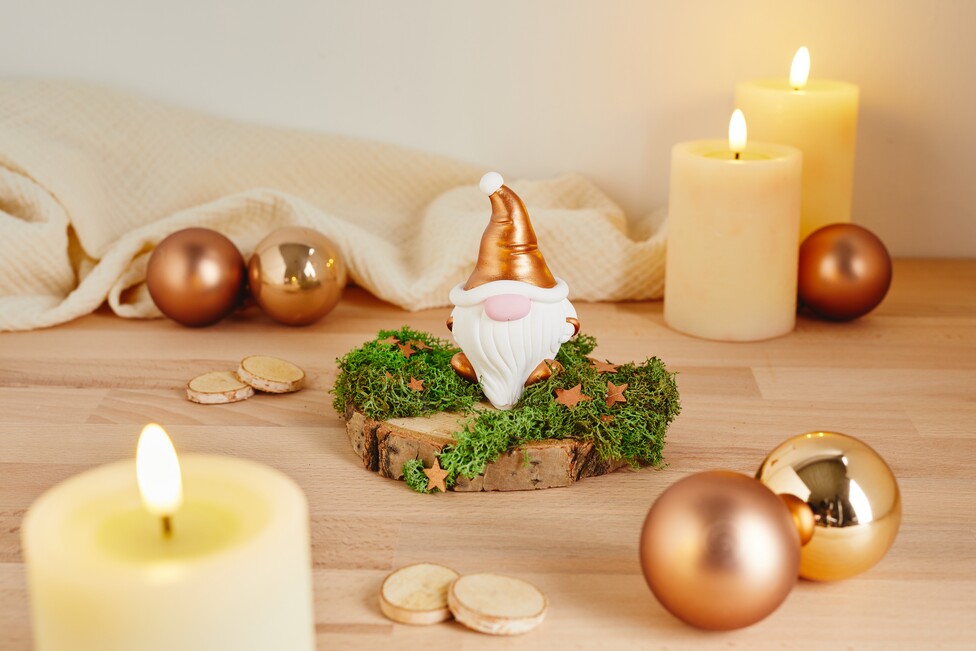
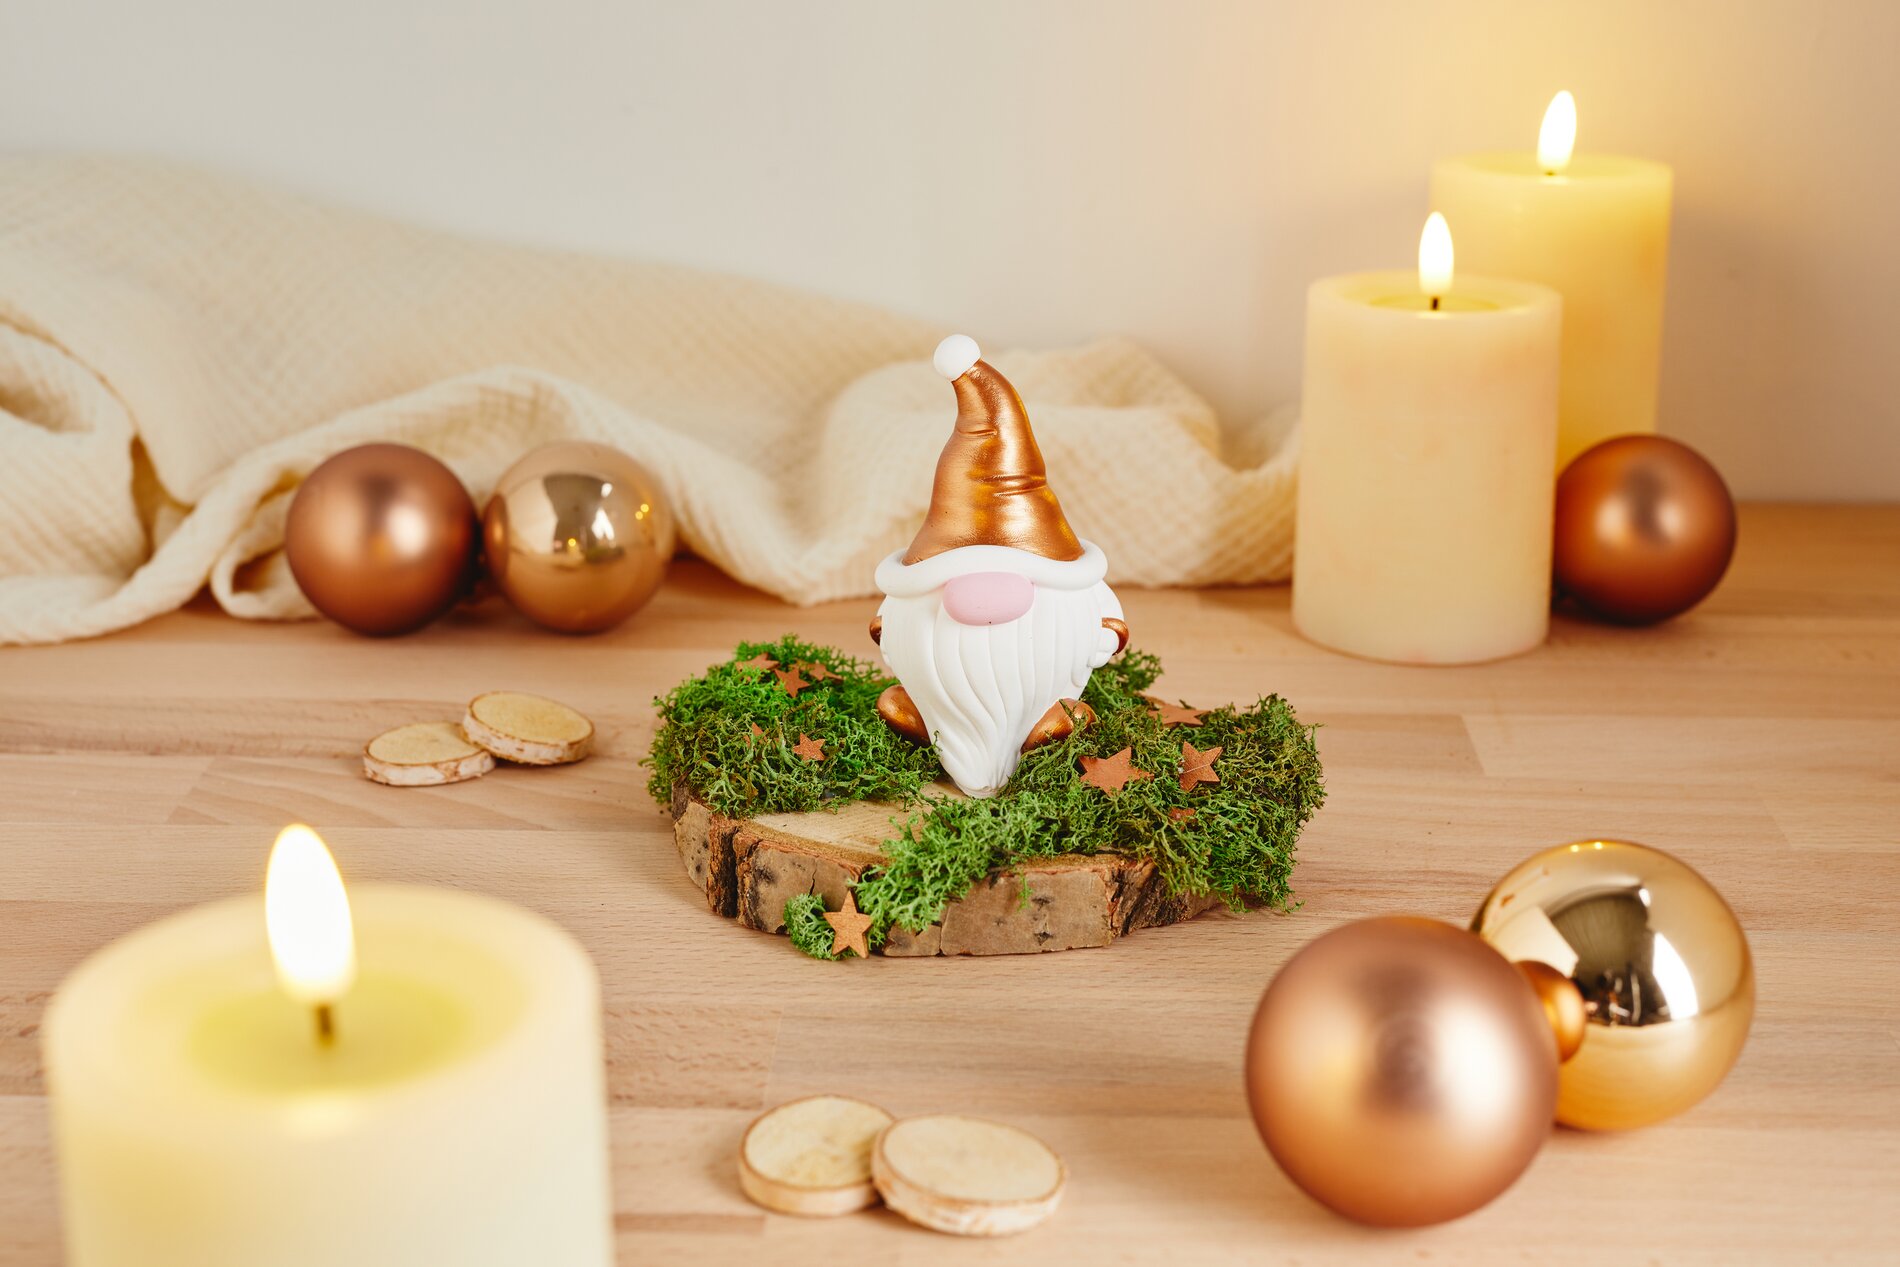
5. Create a Festive Look: Add Accents with metallic- Once dry, paint the gnome with metallic paint. Metallic shades look especially elegant in the christmas decoration and beautifully highlight details like the hat or small contours. It’s best to work with thin layers of paint: this makes the surface more even and keeps fine details visible. You can also paint small stars with metallic paint and let them dry thoroughly so nothing smudges when you glue them on.
6. Creating a Decorative Arrangement: Placing the Gnome on a Natural Base To create a harmonious Christmas decoration, glue moss onto a slice of tree bark to form a natural base. Place the cast elf on top and arrange the painted stars around it until the composition looks balanced. Only then should you glue everything in place. This way, the arrangement looks serene and decorative, whether on a table, on a shelf, or as a small “ small present ” during the Advent season.
Your Next Step If you’re now inspired to try more casting projects for Christmas, check out our online shop: There you’ll find the right casting materials, paints, and decorative elements to vary your gnome’s look and get started on your next casting project right away.