Instructions No. 4004
Difficulty: Beginner
Working time: 4 Hours
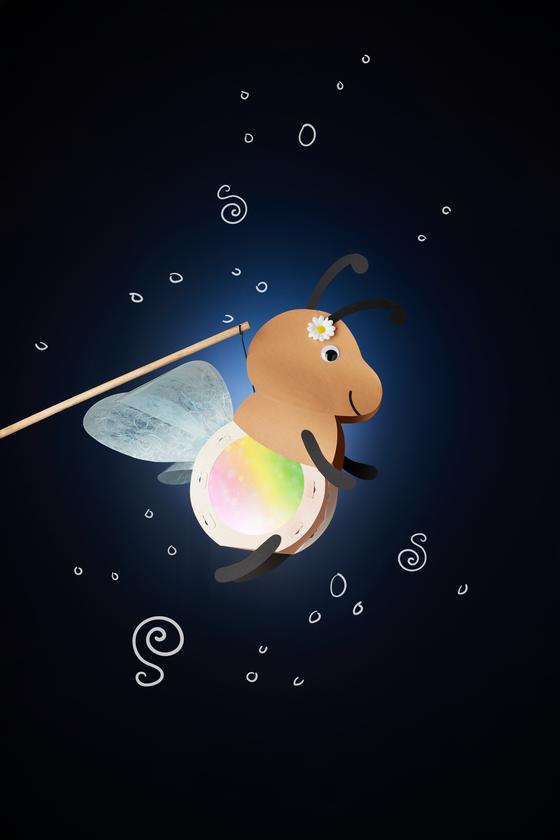
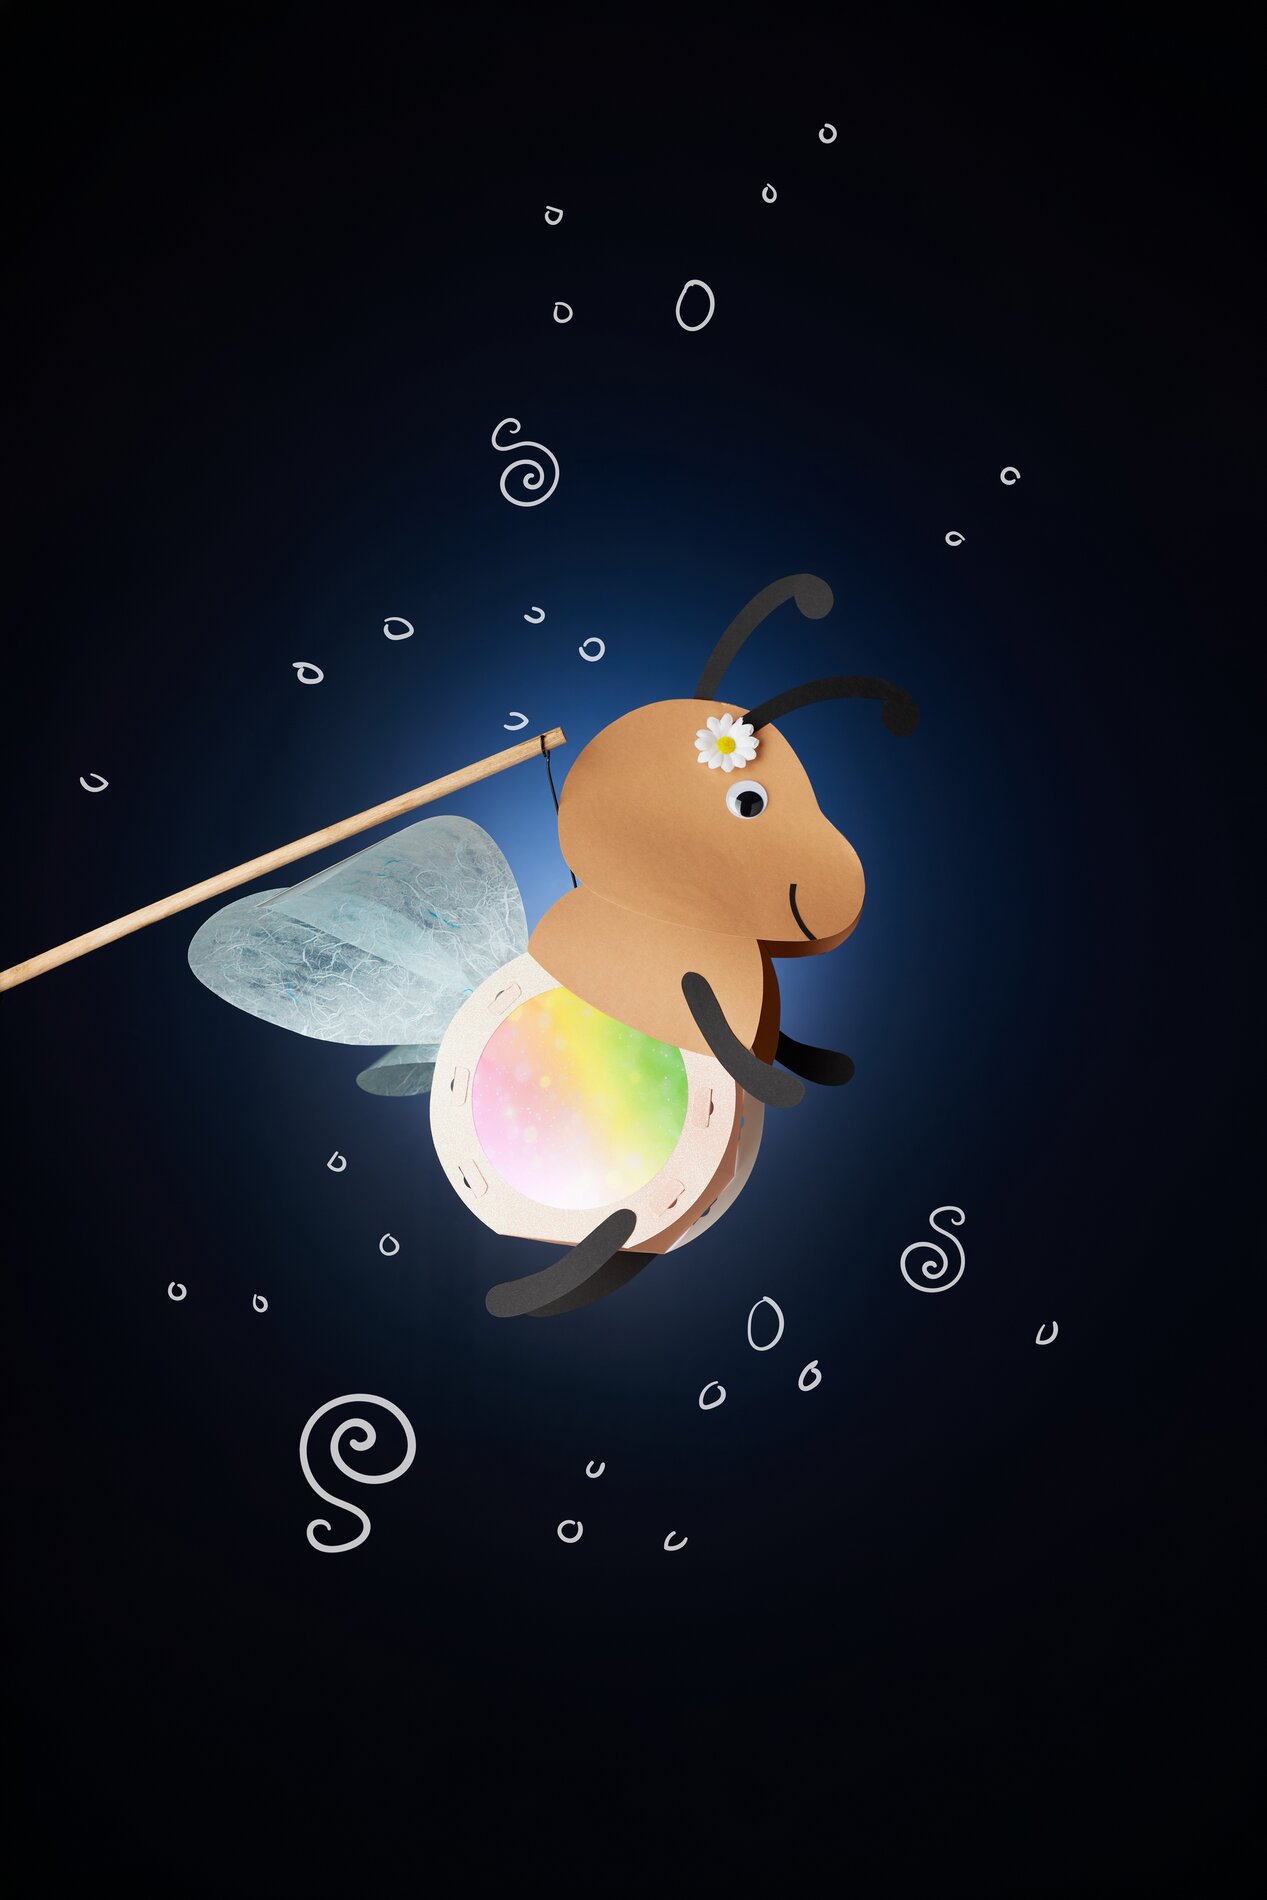
Make a Glitter Lantern Shaped Like a Firefly (Fall Lantern Parade)
First, print out all the templates. Cut them out neatly. Have brown and black cardstock as well as a " vellum paper " ready so you can trace the parts one after another.
Trace the Templates and Cut Out the Basic Pieces
Trace templates A and B twice each onto the brown cardstock and cut out the shapes. These pieces form the base for the head and body. Next, trace templates C, D, E, and F twice each onto the black cardstock and cut everything out. These are the details, such as antennae, legs, and other accents. Finally, trace template G twice onto vellum paper and cut them out. The vellum paper is important so that the lantern light shines through softly and complements the rose-colored glitter look in an atmospheric way.
vellum paper Insert and let dry
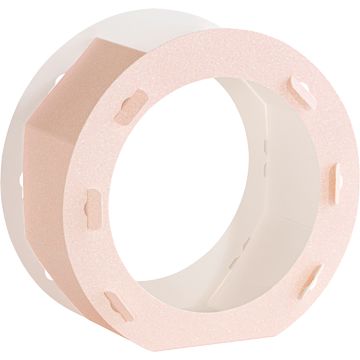
Glue the cut-out “ vellum paper-” pieces into the lantern blank using “ handicraft glue .” Make sure the edges fit snugly so that no gaps form later and the light shines evenly. Then let the glue dry completely.
Assemble and Secure the Lantern Blank
Shape the blank according to the instructions and secure the tabs with hot glue. Hot glue provides the necessary instant adhesion here so that the lantern remains stable during the lantern walk. Now insert the lantern frame into the designated holes and bend the ends over. This ensures the frame sits securely and can later support the weight of the lantern.
Designing the Wings: Decorating the Windmill Foil with “ straw silk paper ”
Trace templates H and I twice each onto the pinwheel foil and cut them out. Pinwheel foil is a transparent, sturdy craft plastic that works well for luminous wings. Coat one side of each wing, one at a time, with “ napkin varnish ” and stick “ straw silk paper ” onto it until the entire wing is covered. “ straw silk paper ” is a very thin, slightly transparent “ Paper ” with a fine fiber structure that creates a shimmering surface. Then coat the wings again with “ napkin varnish. ” This seals the “ straw silk paper ,” smooths it out, and makes it more stable. Let everything dry completely and repeat the process with all four wings. Once everything is dry, carefully trim off any excess straw silk paper with scissors so the edges look neat.
Assemble the Head and Body
Glue the head and body together using handicraft glue and repeat this step twice to prepare both sides of the design. Glue one antenna, one mouth, one eye, and one flower onto each side. These details give the firefly its friendly expression and make the lantern a real eye-catcher at dusk.
Sticking the design onto the lantern blank: work symmetrically
Glue the body with the head to the lantern blank and repeat this on both sides. Make sure the parts are positioned exactly opposite each other so the lantern looks balanced and hangs steadily on the stick later. Repeat this step with the wings as well. Position the wings so they visually match the body and are far enough from the edges to prevent them from bending.
Close the front, leave the back open
Now glue the two head pieces together at the front. Important: Leave the back open so you can easily thread the lantern rod through later.
Attach the legs and hook on the “ lantern rod ”
Finally, glue one leg to the bottom of each side of the lantern blank. This completes the beetle shape and makes the silhouette more lively. Now hook the “ lantern rod ” in place. If the light is too high up, untie the knot and re-tie it lower down. This will help the glitter lantern hang more evenly, and the light will spread more beautifully inside.
Ready for the lantern parade
Once everything is completely dry, you can safely carry your glowing beetle lantern and have an atmospheric DIY for the fall lantern parade. Get the right craft supplies and more lanterns-ideas right in the online shop and get started on your next project right away.