1. Preparing the light pedestal
First of all, you need craft blocks for the illuminated pedestal. Take three blocks and glue them together on the narrow side. Repeat this process so that you have two long strips of wood. Then glue these two strips together on the long side to create a stable wooden board. Repeat the whole process to create a second wooden panel of the same size.
2. Designing the lettering
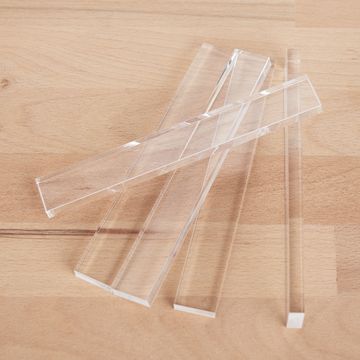
Print out your desired lettering or create your own. Place two acrylic blocks (side by side) lengthwise on the text and trace the letters with a Posca marker (a special pen for smooth surfaces). Let the ink dry well. Then glue the acrylic blocks upright on one edge of the previously glued wooden panels.
3. Integrate the lighting
Glue two more craft blocks to the opposite edge of the wooden panel and place the chain of light on top. The battery compartment will later be glued to the back wall so that you can easily change the batteries. Now glue the second wooden panel on top.
4. Creating the back panel
The back panel is made using the same method as the pedestal, but you will need a total of 22 craft blocks. Glue them together to create a larger wooden panel. Then attach the platform to the back wall.
5. Prepare the Secret Santa door and napkin
Place the open Secret Santa door on a napkin and carefully trace the outline. Cut out the napkin and place the door on the back wall to trace the outlines as well. Paint the inner area of the outline with white handicraft paint. The colors of the napkin stand out better on a white background. Once the paint has dried, apply a thin layer of napkin varnish .
6. Attaching the Secret Santa door
Take the top, printed layer of the napkin and place it on the area with the napkin varnish. Coat the napkin with paint again to seal it. Once the varnish has dried, cover the back of the Secret Santa door with handicraft glue and press it onto the area with the napkin.
7. Decorating with miniatures
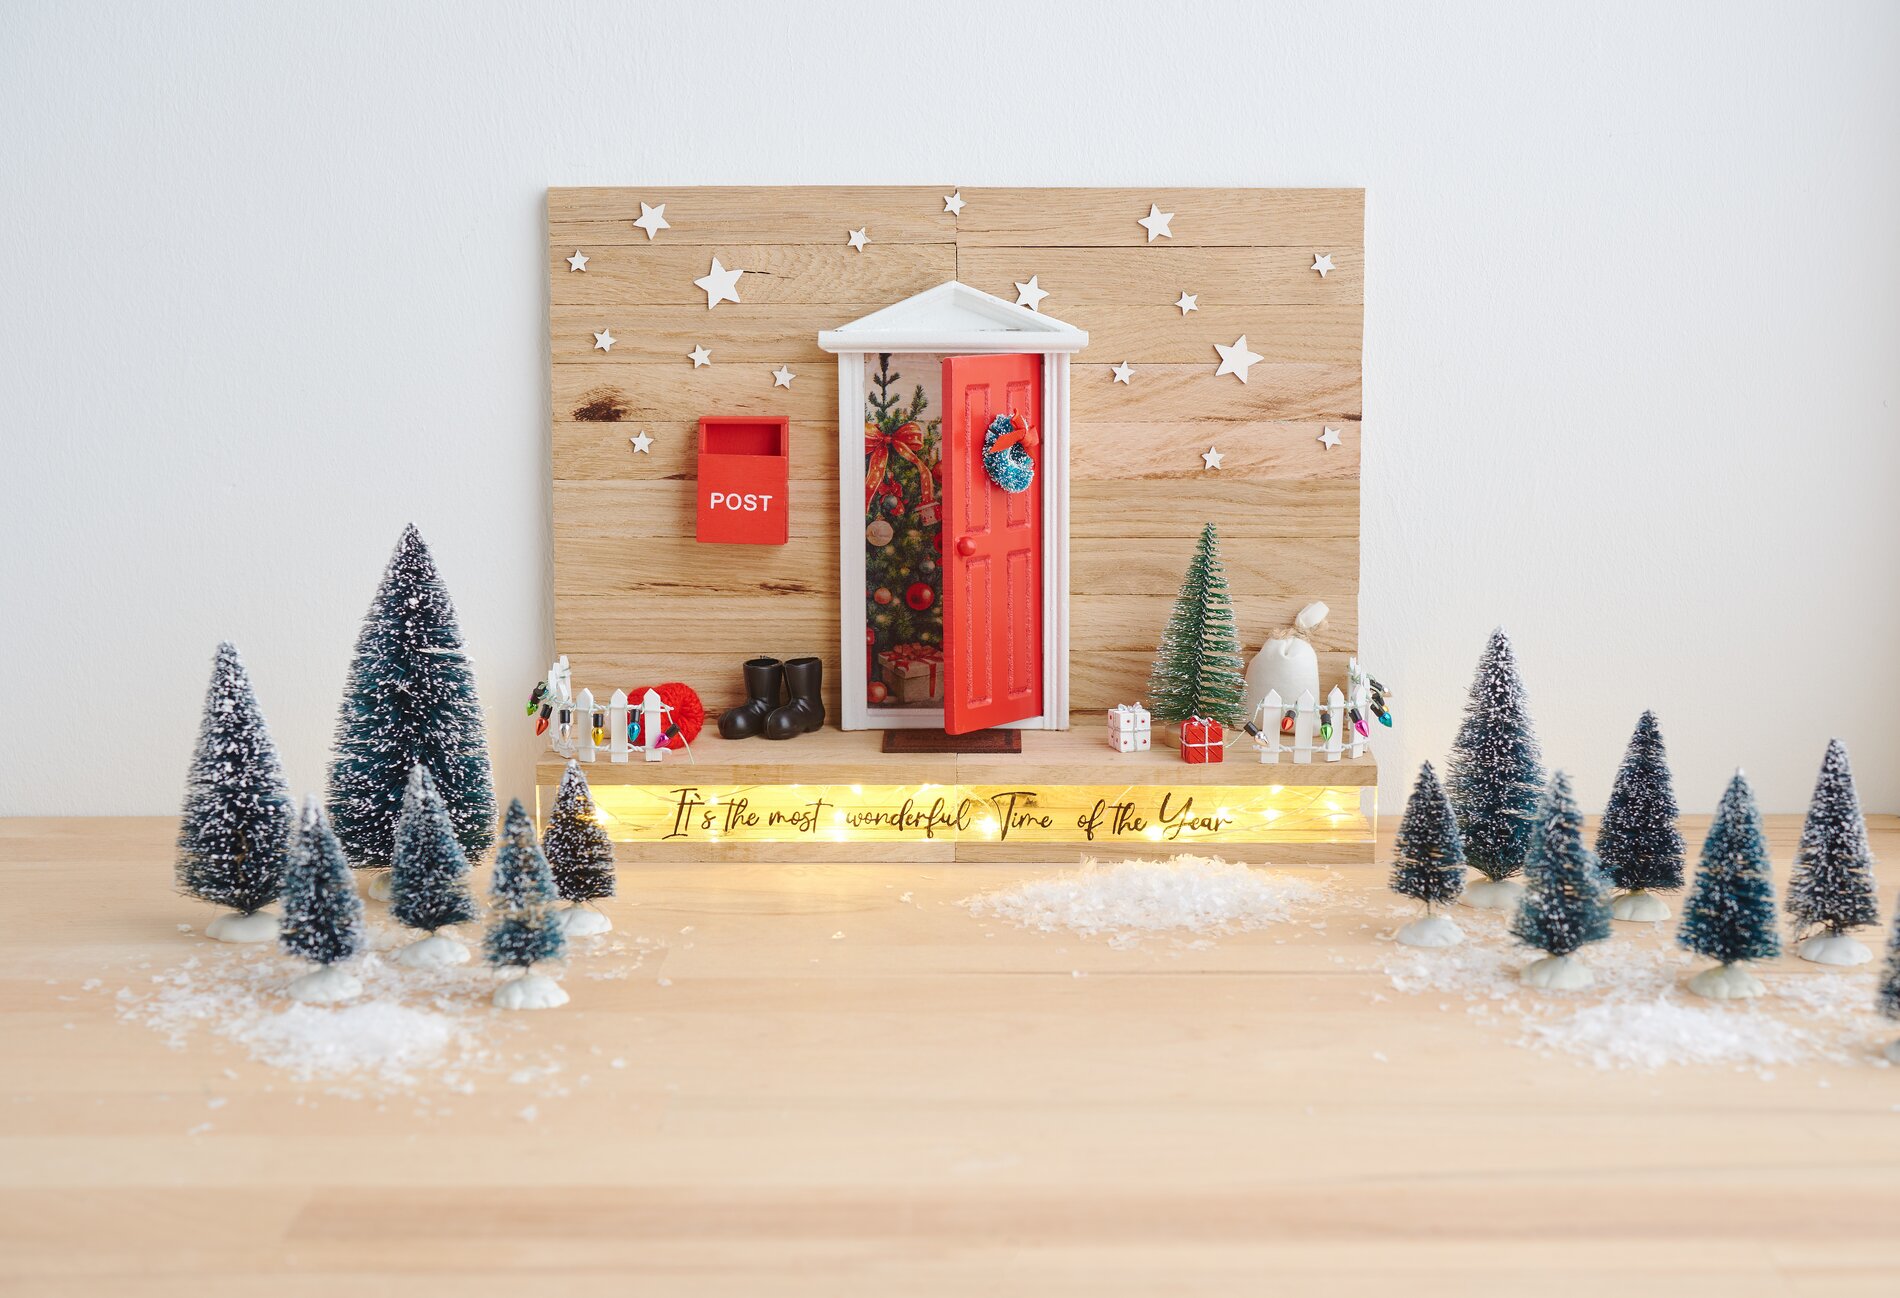
Now glue the letterbox, the fences and the door wreath to the back wall using handicraft glue . Cut the mini-chain of light in half and hang them on the fences. Distribute the other miniatures on the pedestal and add the finishing touches to your scene. Paint a few stars with white handicraft paint and stick them to the back wall. Finally, glue the battery compartment to the back - make sure that the batteries can still be easily replaced.
Your magical illuminated Secret Santa door is ready!
We hope you enjoyed these instructions and are proud of your work of art. Visit our online store and discover more craft blocks, miniatures and creative accessories to make your home even more magical. Start your next DIY-Project now!
Let your creativity run wild and buy all the materials you need in our online store!