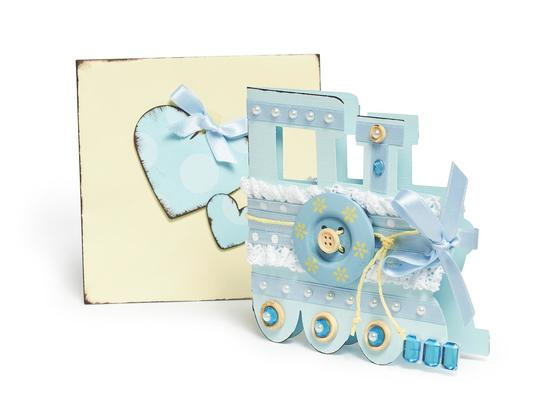
Boy or girl?
The blue locomotive and the pink baby bottle are made in the same way. Take a Ink Pads and color the edges of the cards and envelopes. With the help of a "heart"-Stencil you can cut out small hearts from craft paper and decorate the edges with stamping ink. The hearts are decorated with 3D adhesive pads on the envelope card.
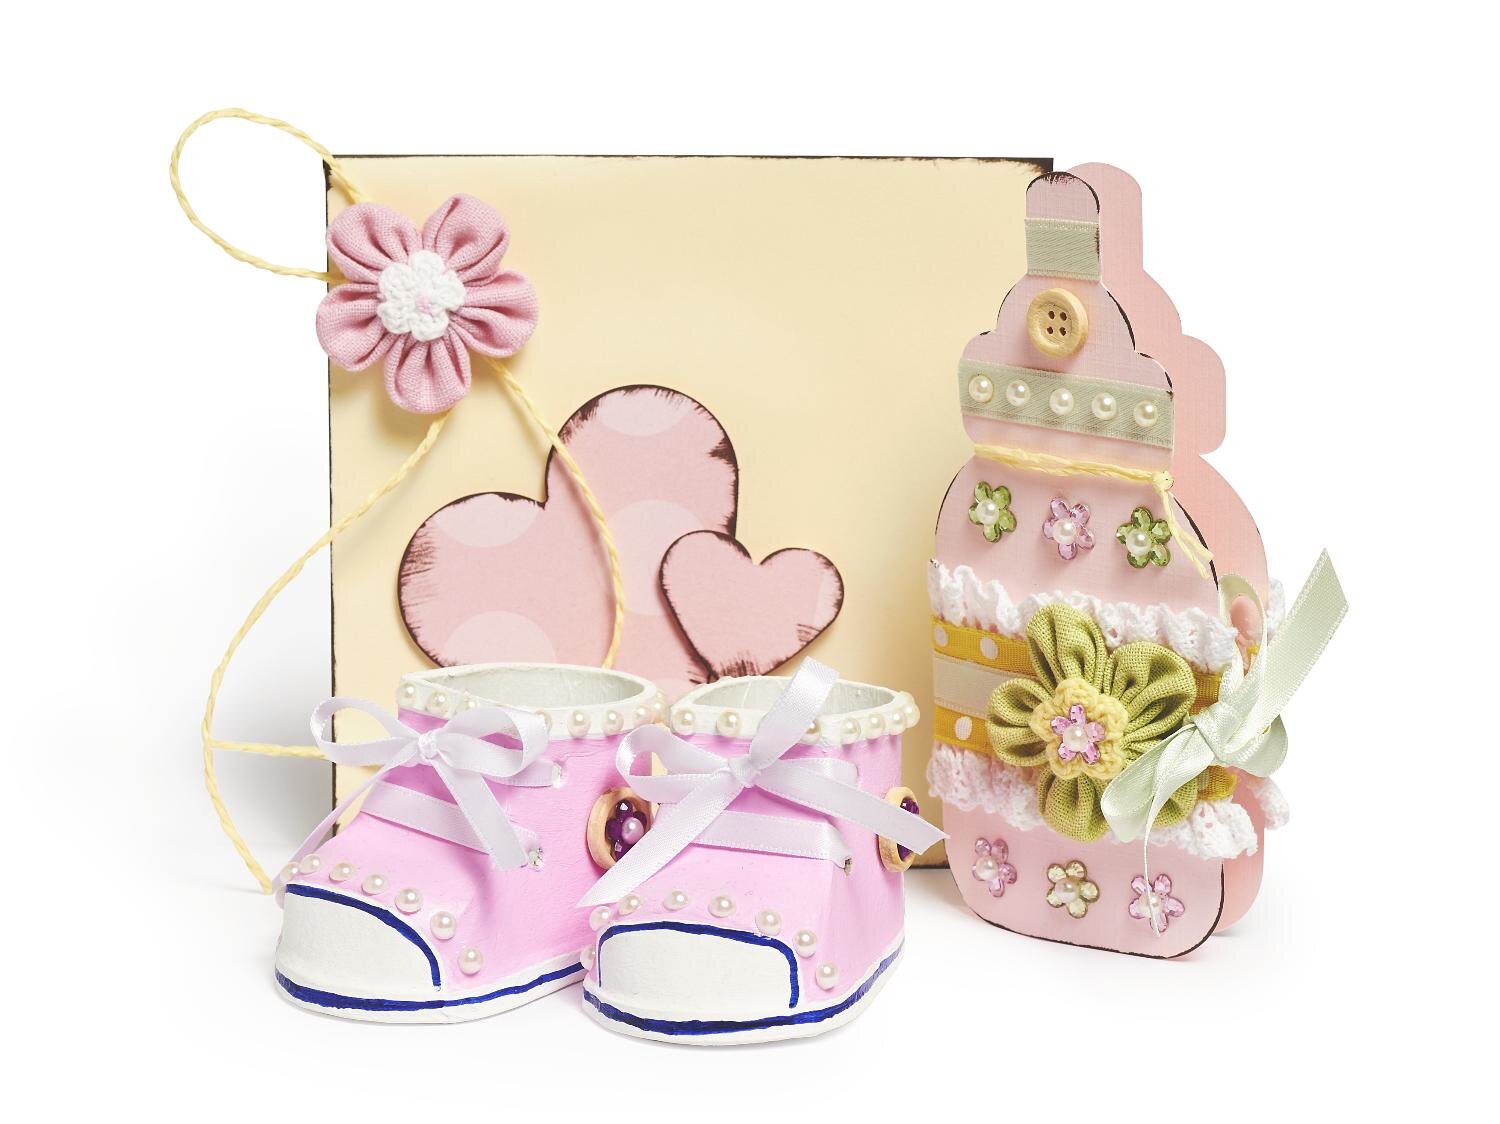
Next, different decorative tapes are fixed on top of each other with tape : in a good 25 cm length for the locomotive and in a good 14 cm length for the baby bottle, a piece of Lace ribbon, a piece of ribbon with a dot pattern and finally a narrow Satin ribbon (cut this longer) are fixed to each other with tape. These are on the respective card of the eyecatcher. This decorative ribbon combination is now glued with double-sided Adhesive tape across the card.
The Satin ribbon will later serve as a closure: it will simply be tied into a pretty bow at the end of the handicraft work.
The bottle further is decorated with mint green Satin ribbon, rhinestones, half pearls and a fabric flower, alternatively a decoration button. All decoration accessories can be fixed with hot glue, Handicraft glue or tape.
For the "wheels" of the locomotive , simply colored gemstones and small half pearlswere gluedinto wooden buttons .
Extra-crafting tip
To match the card, you should paint little papier-mache baby shoes with Handicraft paint . These are not only a great eye-catcher, just put the money gift for the baby into the shoe! The baby shoes are first designed with white, pink or light blue color. Then with an Fineliners in blue or Black paint the contours of the shoe sole, cap and heel. White narrow Satin ribbon is tied to a shoe bow, and the shoe can now be decorated with beads and wooden buttons.