First, protect your workplace with a handicraft mat.
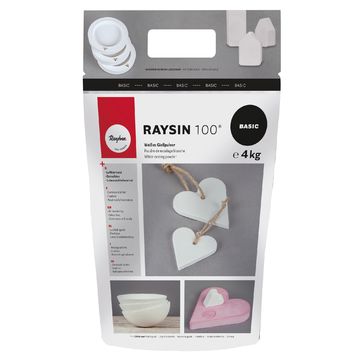
To start your project, mix Raysin with water to make a creamy paste. Make sure you follow the instructions on the packet exactly: Mix 280 ml of water with 1 kg of the powder to produce about 650 ml of casting compound. This mixture, in which the mixing ratio is one part water to 3.5 parts powder, ensures the best consistency.
Carefully pour the casting compound into your prepared molds.
To make sure your result is flawless, tap the molds lightly on the surface - this helps to remove trapped air bubbles and ensures a smooth, even finish.
After you have left the castings to air for about hour , you can carefully remove them from the mold. It is important to allow the castings to dry completely to ensure stability. If you notice that the edges are a little uneven, they can be worked on afterwards with sandpaper to achieve a perfect finish.
And don't forget: Clean the molds thoroughly so that they are ready for your next project!
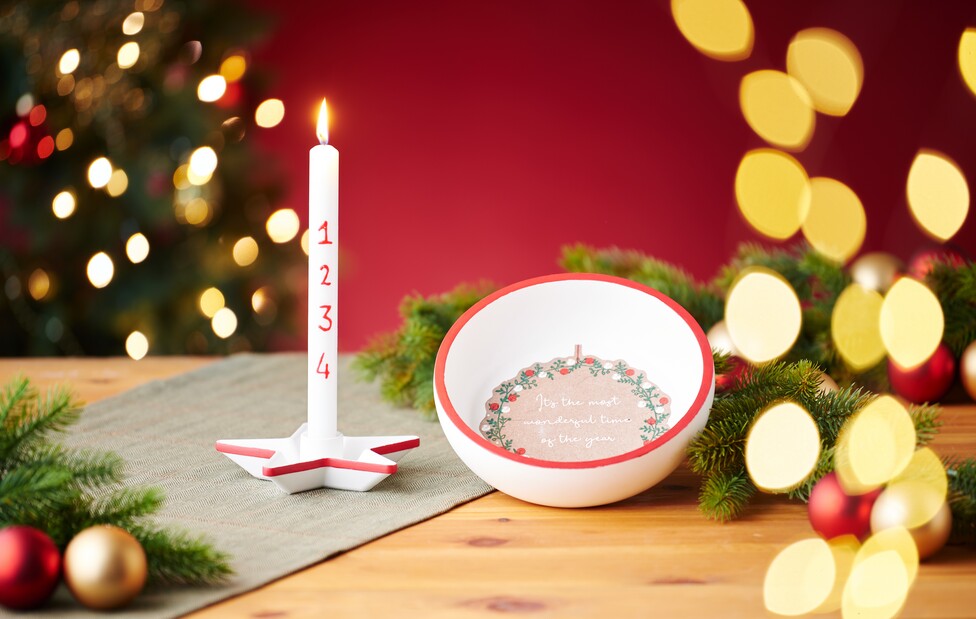
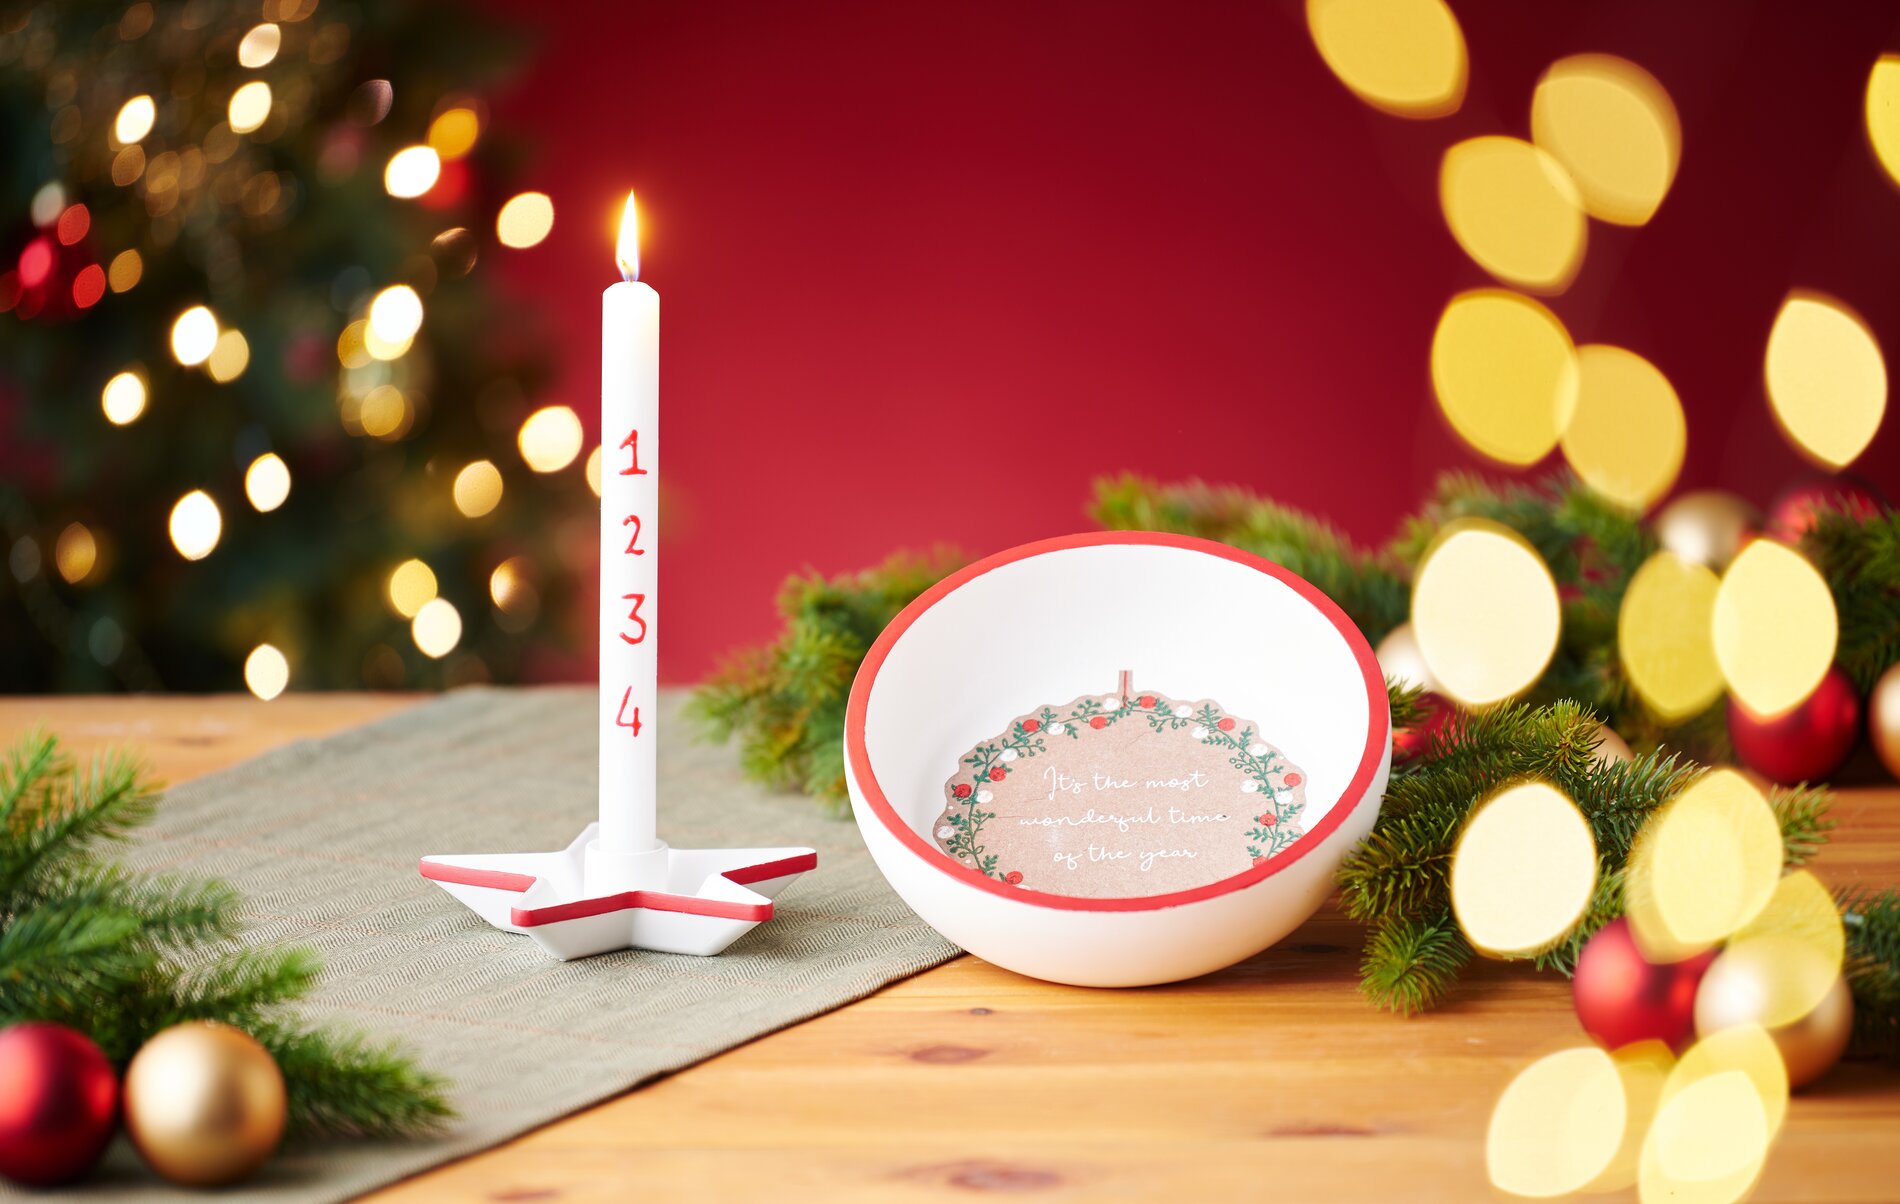
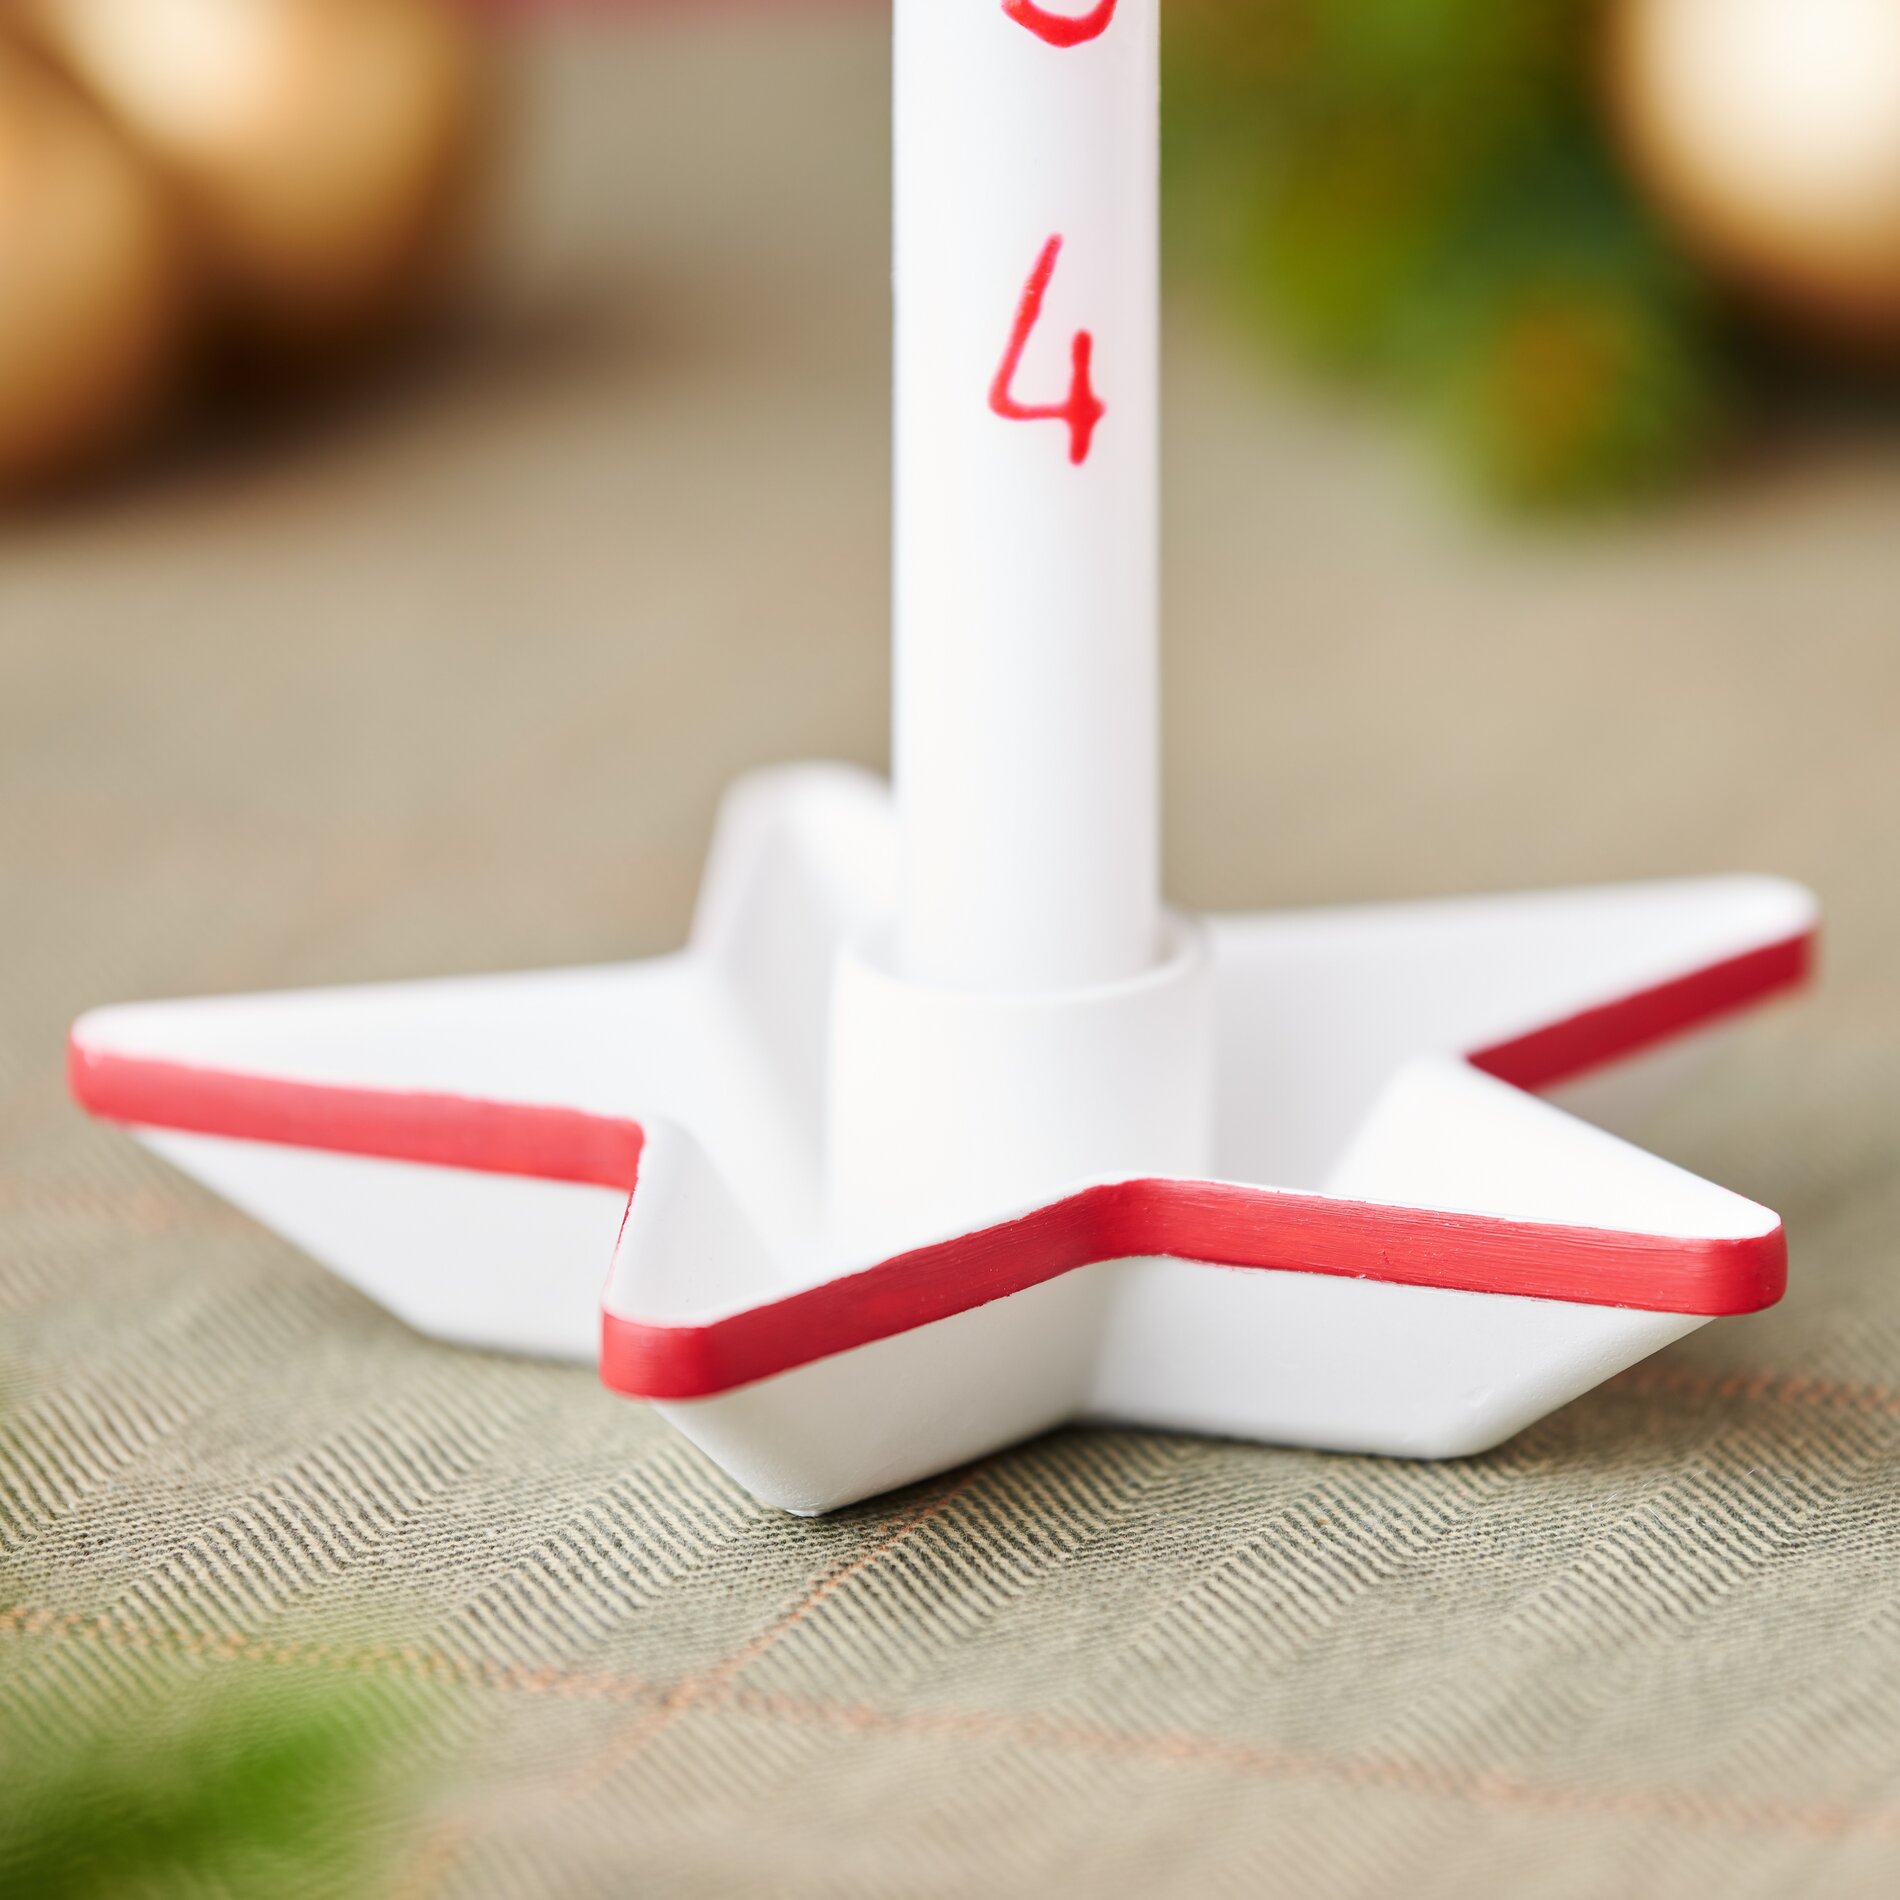
Once the base is ready, you can decorate the edges of your castings with colorful handicraft paint to your liking.
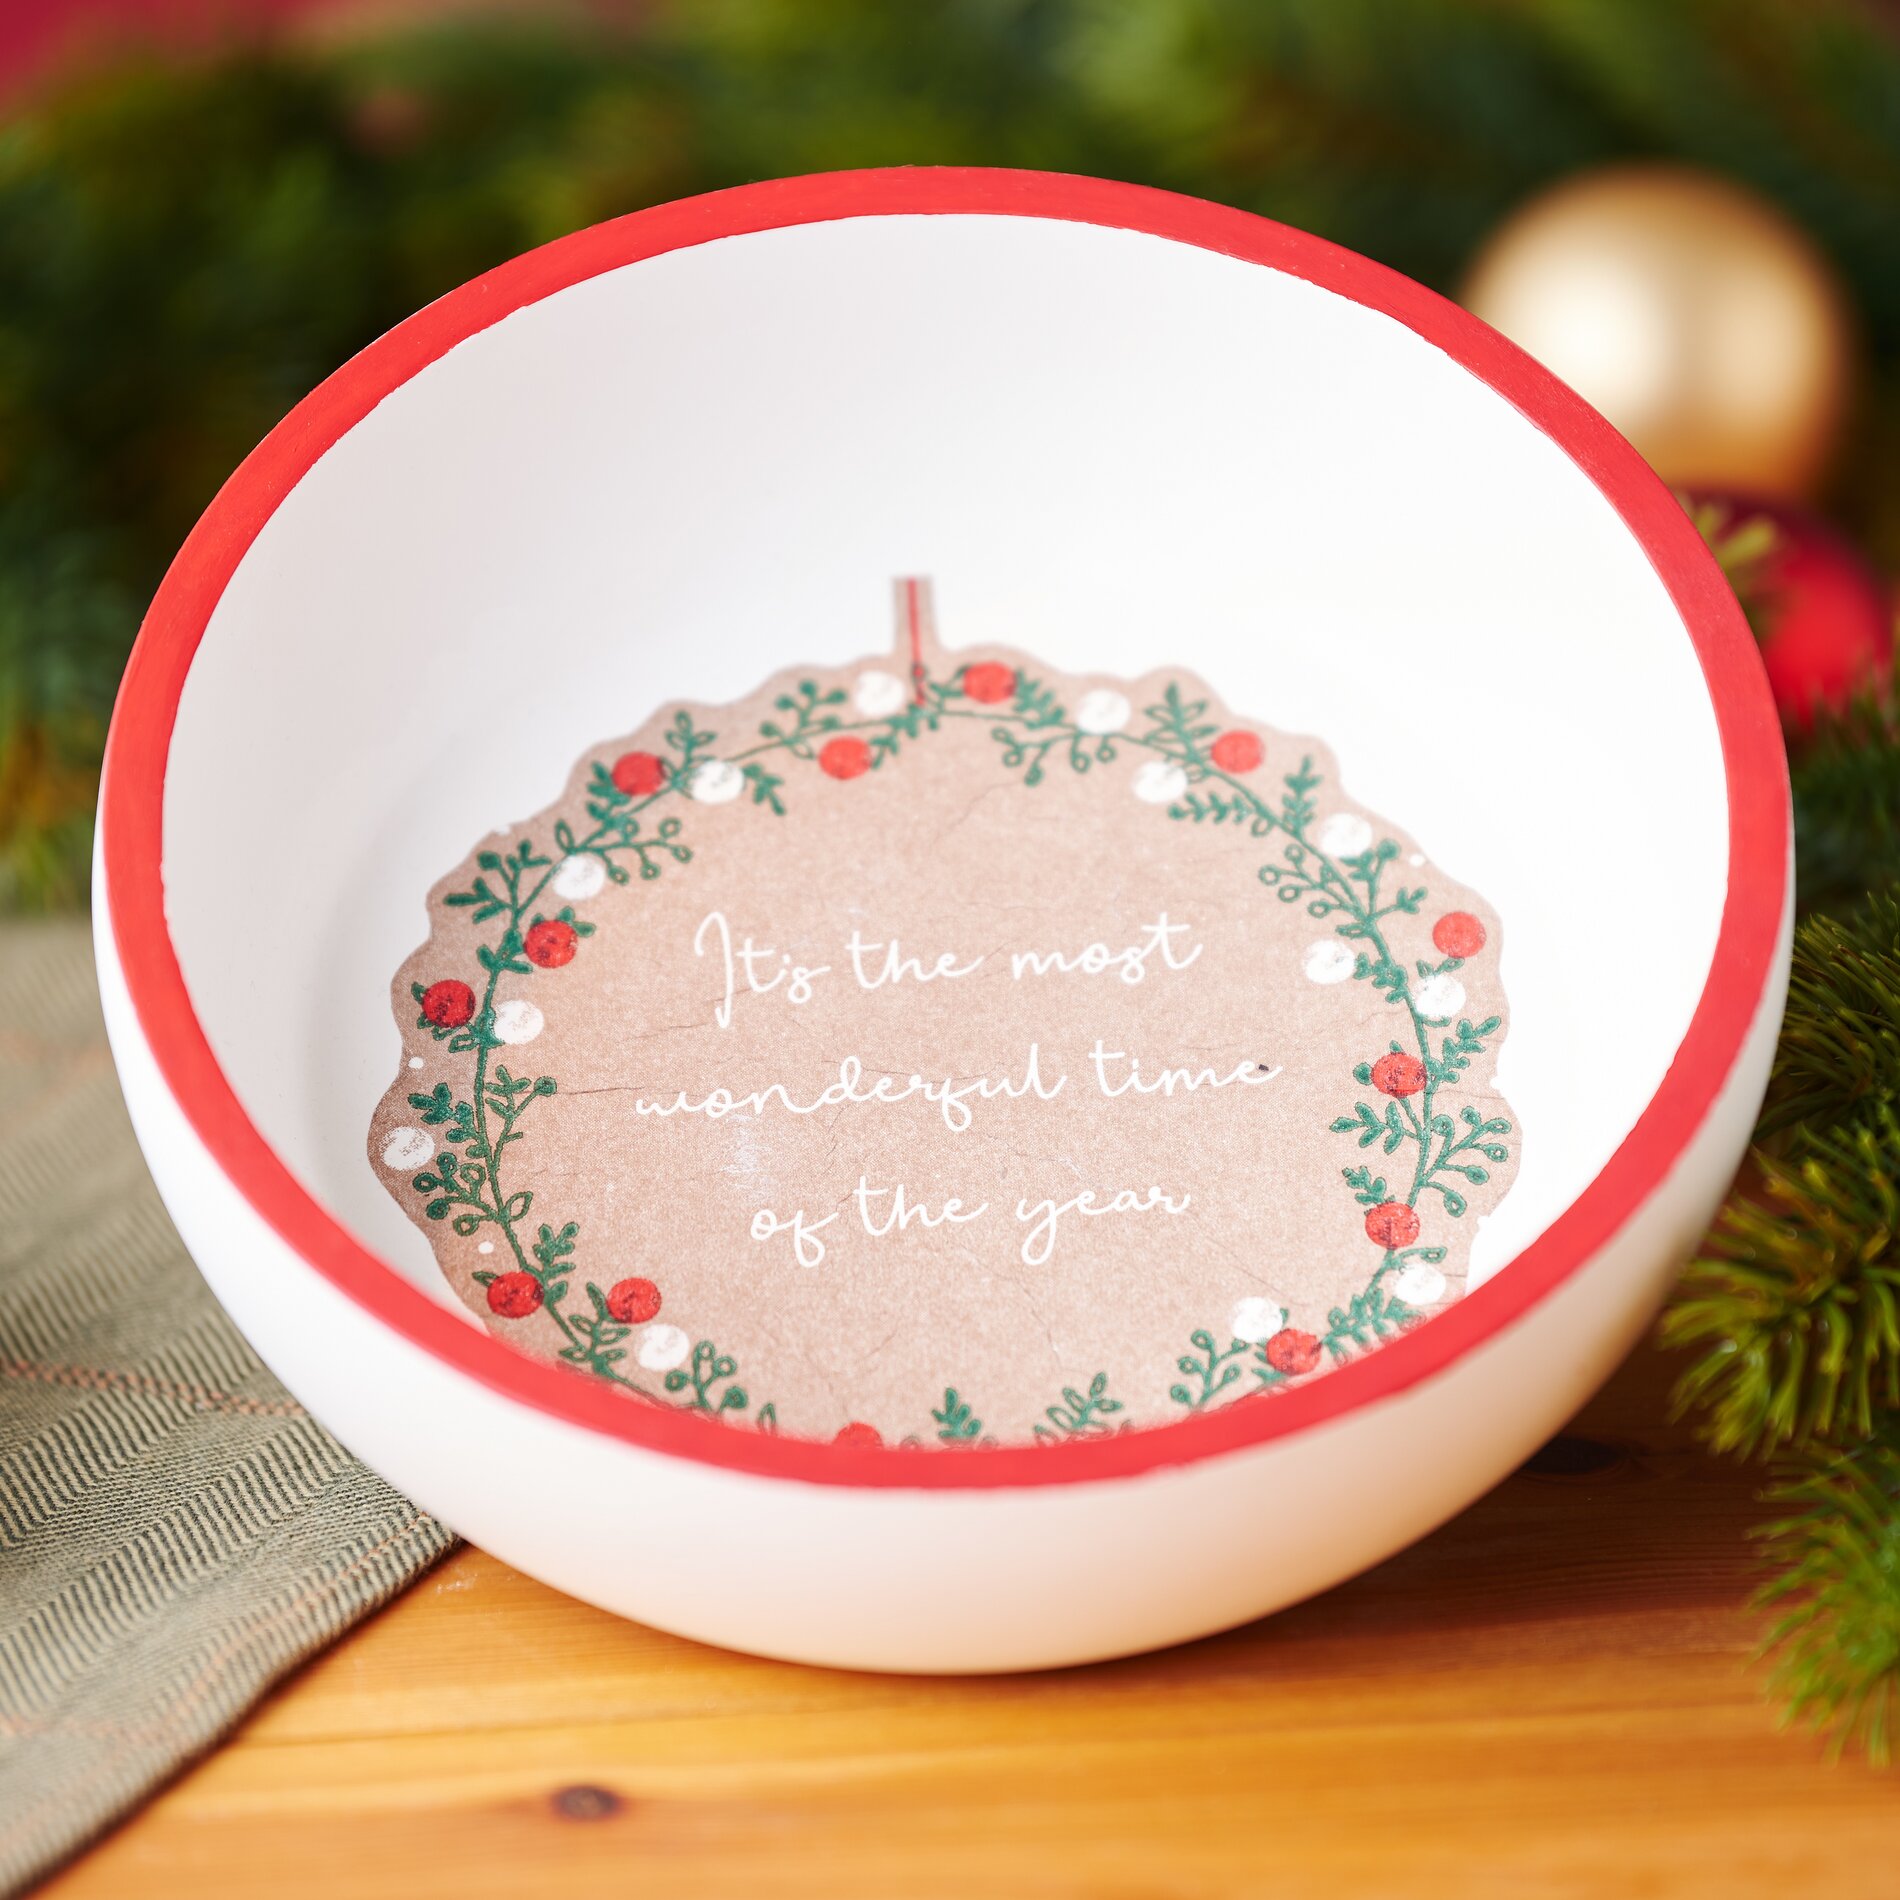
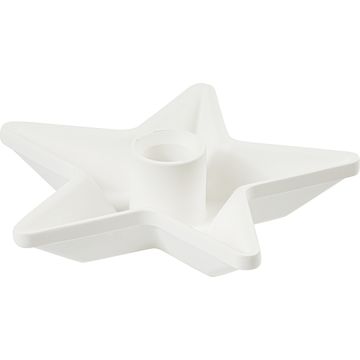
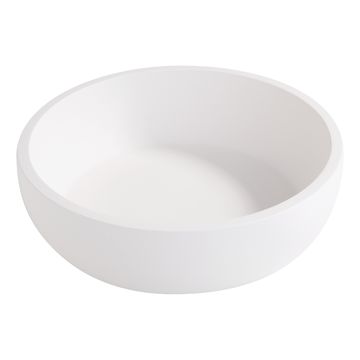
For the finishing touch, decorate your stick candle. If the candle is too big for the holder, a candle sharpener is the ideal tool to cut it to the desired size. For a secure hold, place a small wax sticker in the bottom of the holder. Use napkin technique, to decorate the bowl.
Cut the napkin to the right size, remove all unnecessary layers up to the top motif layer and place it carefully in the bowl. Apply the napkin varnish with a brush, starting in the middle of the napkin. and working your way to the edges to achieve an even, smooth surface. And you're done!