- Secure order
- Easy return shipment
- Service-Hotline 04231 - 66811
Instructions No. 3289
Difficulty: Beginner
Working time: 2 Hours
Design creative concrete art with individual molds and terracotta-pots
Step 1: Shape the castings
First, prepare the castings so that they have enough time to dry properly. Mix the concrete with water and pour the mixture into the molds you have chosen. Make sure that the mixture is well stirred and that there are no lumps left. Diligent stirring is the key here! think about which molds you want to use to create different patterns. As soon as the concrete mixture is lump-free, pour it into the molds and allow it to dry thoroughly.
<img src="https://www.vbs-hobby.com/tn.php?id=166774&width=600&height=450&templang=" alt="terracotta-Pot: Shape concrete casting molds">
Step 2: Paint the pots
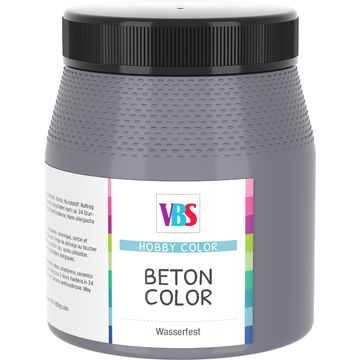
Choose some of your old terracotta-pots to give them a fresh look. Use a paintbrush to apply a thin layer of paint and make sure the paint is even. You can choose the color of your choice; we opted for the VBS Beton Color in "dark grey". Also paint the underside and the top edge of the pot for a high-quality look. Inside the pots, it is sufficient to paint the visible surfaces when you plant them.
<img src="https://www.vbs-hobby.com/tn.php?id=166776&width=600&height=450&templang=" alt="terracotta-Pot: Paint the pots">
Step 3: Demolding the castings
After the VBS Beton-Color has dried on the pots, you can remove the castings from the mold. Thanks to the flexible mold, the castings can be easily removed without damaging them.
<img src="https://www.vbs-hobby.com/tn.php?id=166778&width=600&height=450&templang=" alt="terracotta-Pot: demolding the castings">
Step 4: Embellish the castings
Decorate the castings as you wish before sticking them on. Use the sponge stippling brush and the Chalky "Antique white" paint or another color of your choice to decorate the castings. Leave them to dry afterwards. Tip: You can speed up the drying process with a hairdryer.
<img src="https://www.vbs-hobby.com/tn.php?id=166780&width=674&height=450&templang=" alt="terracotta-Pot: embellish the castings">
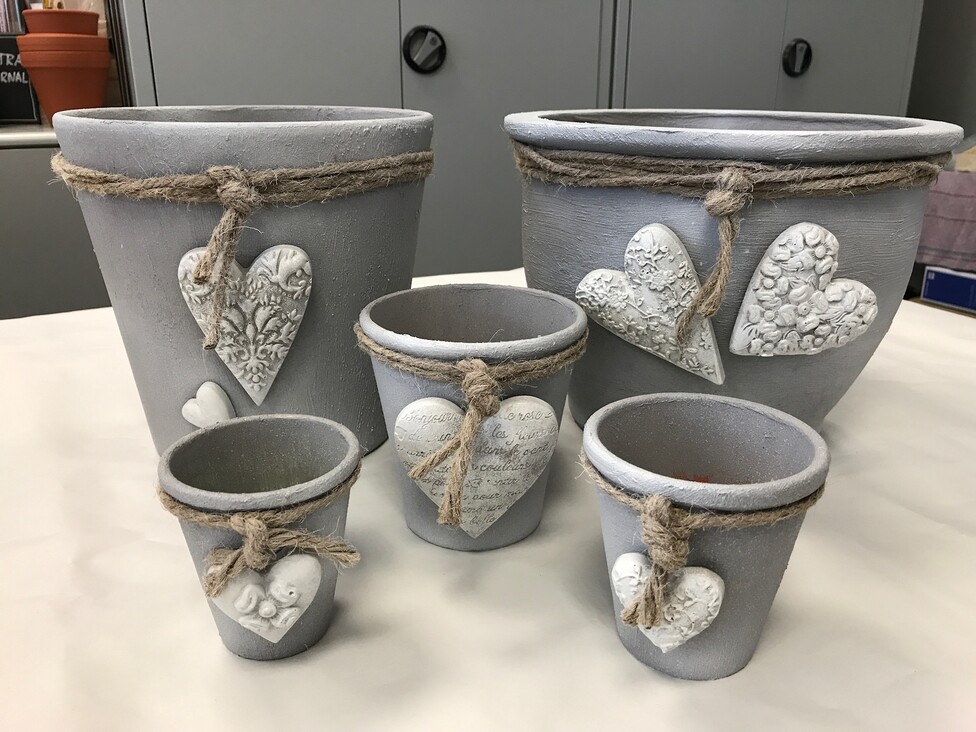
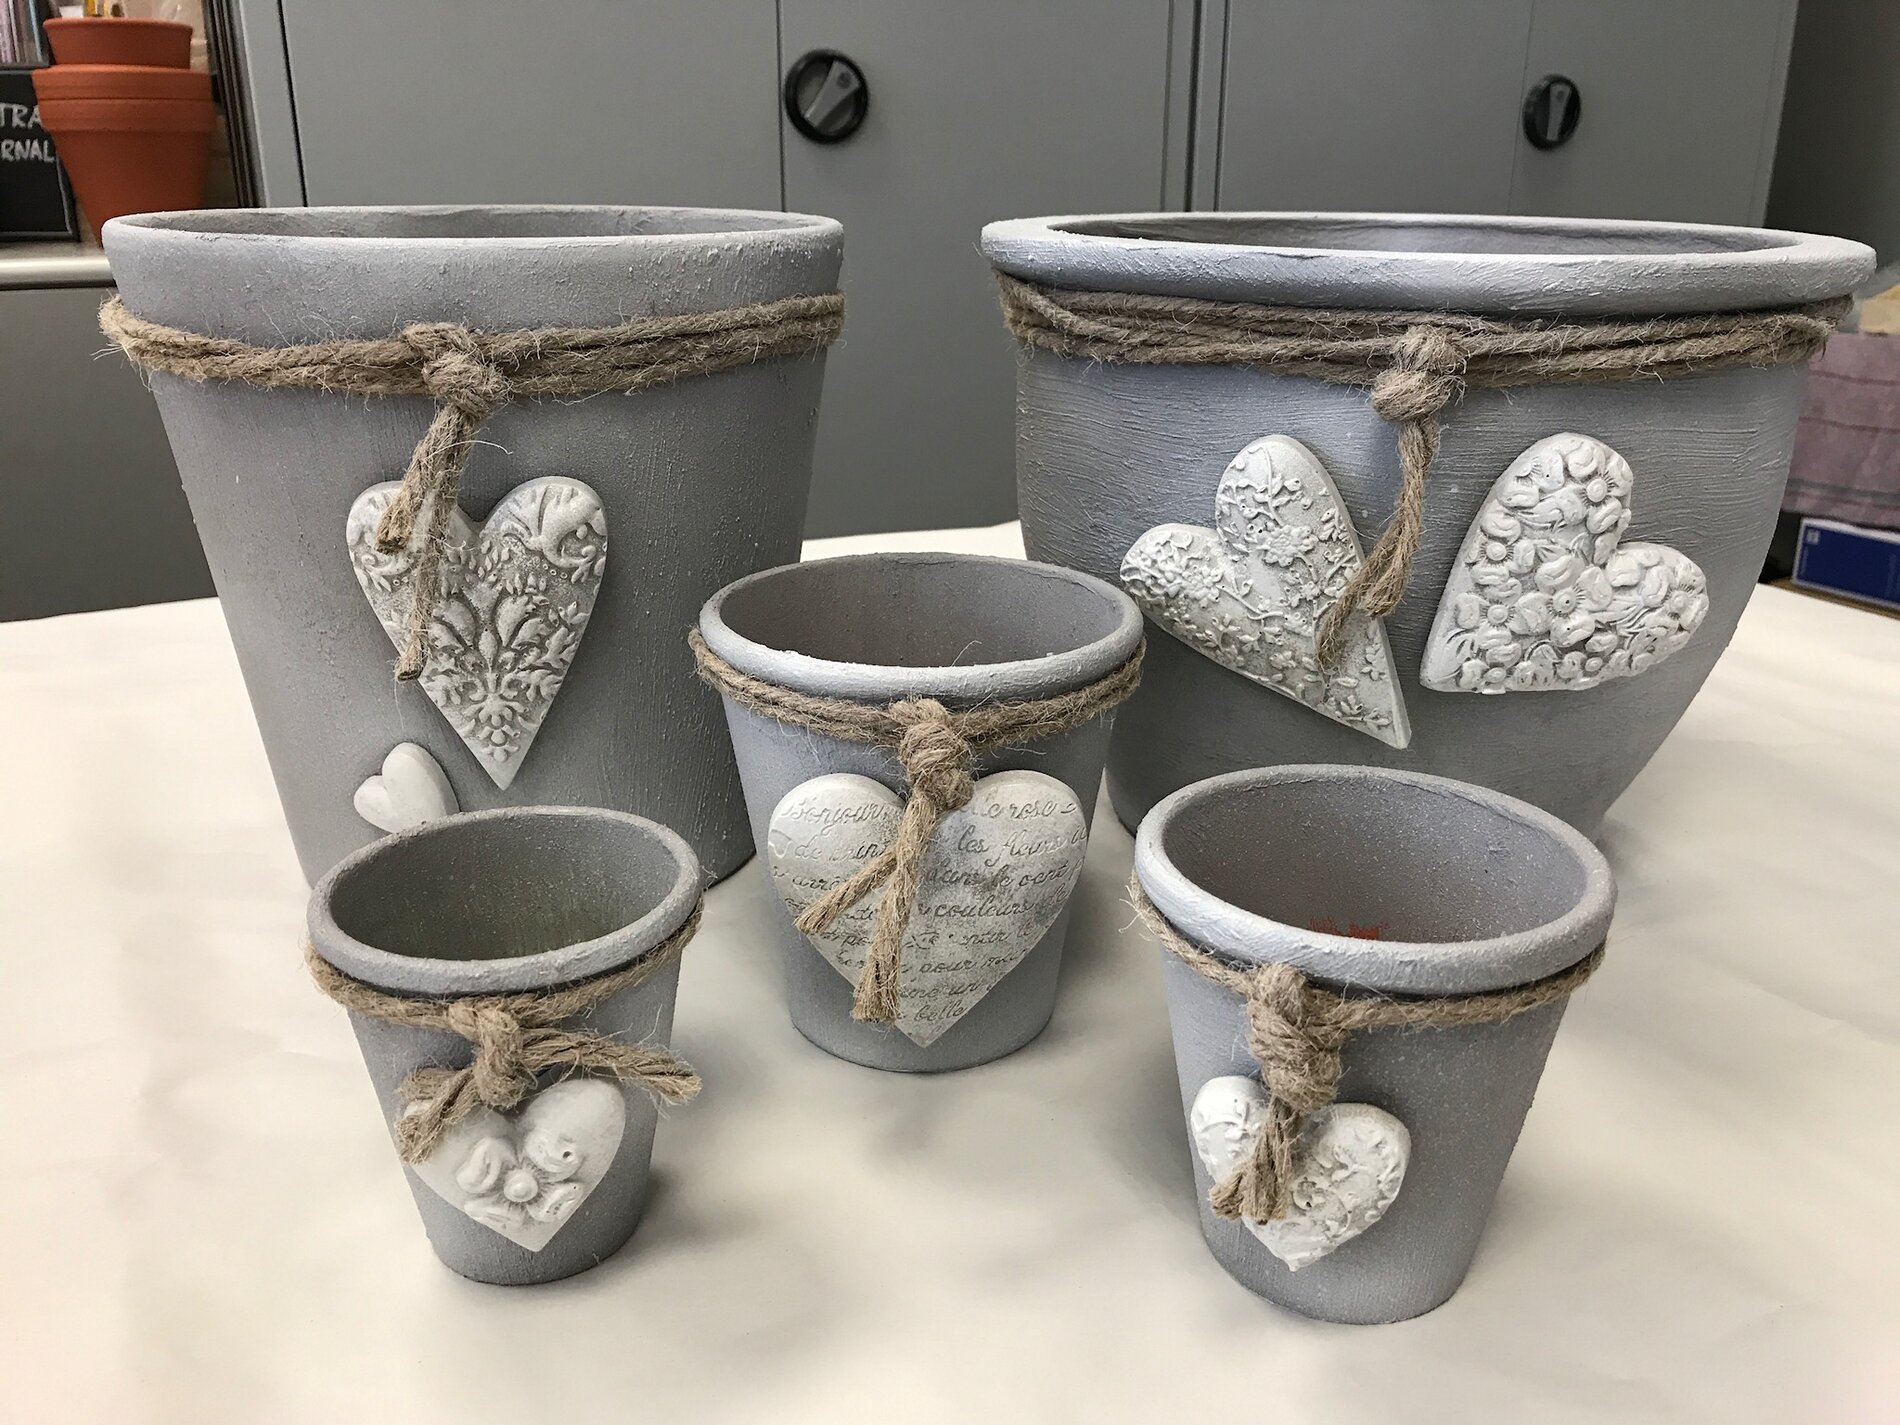
Step 5: Glue on the castings
Use the transparent effect glue to stick the castings onto the terracotta-pots. Apply some glue and fix the castings in the desired position. Then wrap the jute yarn around the pots and tie a knot or bow. Secure the end of the jute twine with the glue too. Leave everything to dry for up to 24 hours so that the castings stick firmly.
<img src="https://www.vbs-hobby.com/tn.php?id=166786&width=600&height=450&templang=" alt="terracotta-Pot: result">
Now you know the creative process for making individually designed castings and painted terracotta-pots. Let your imagination run wild and create decorations to brighten up your home. Conveniently order the materials you need from our online store and get ready for your next creative project. Have fun crafting and good luck!