- Secure order
- Easy return shipment
- Service-Hotline 04231 - 66811
Instructions No. 4018
Difficulty: Beginner
Working time: 2 Hours
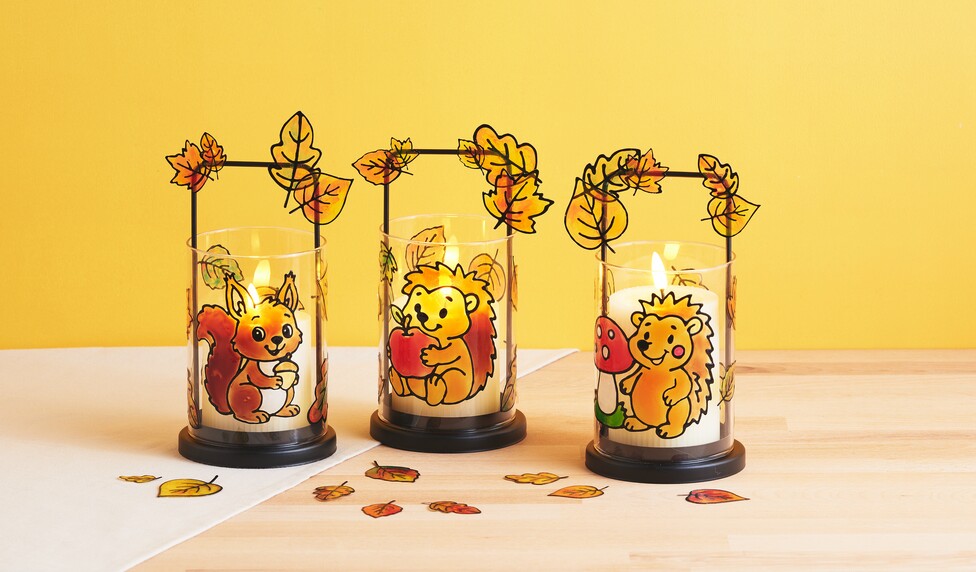
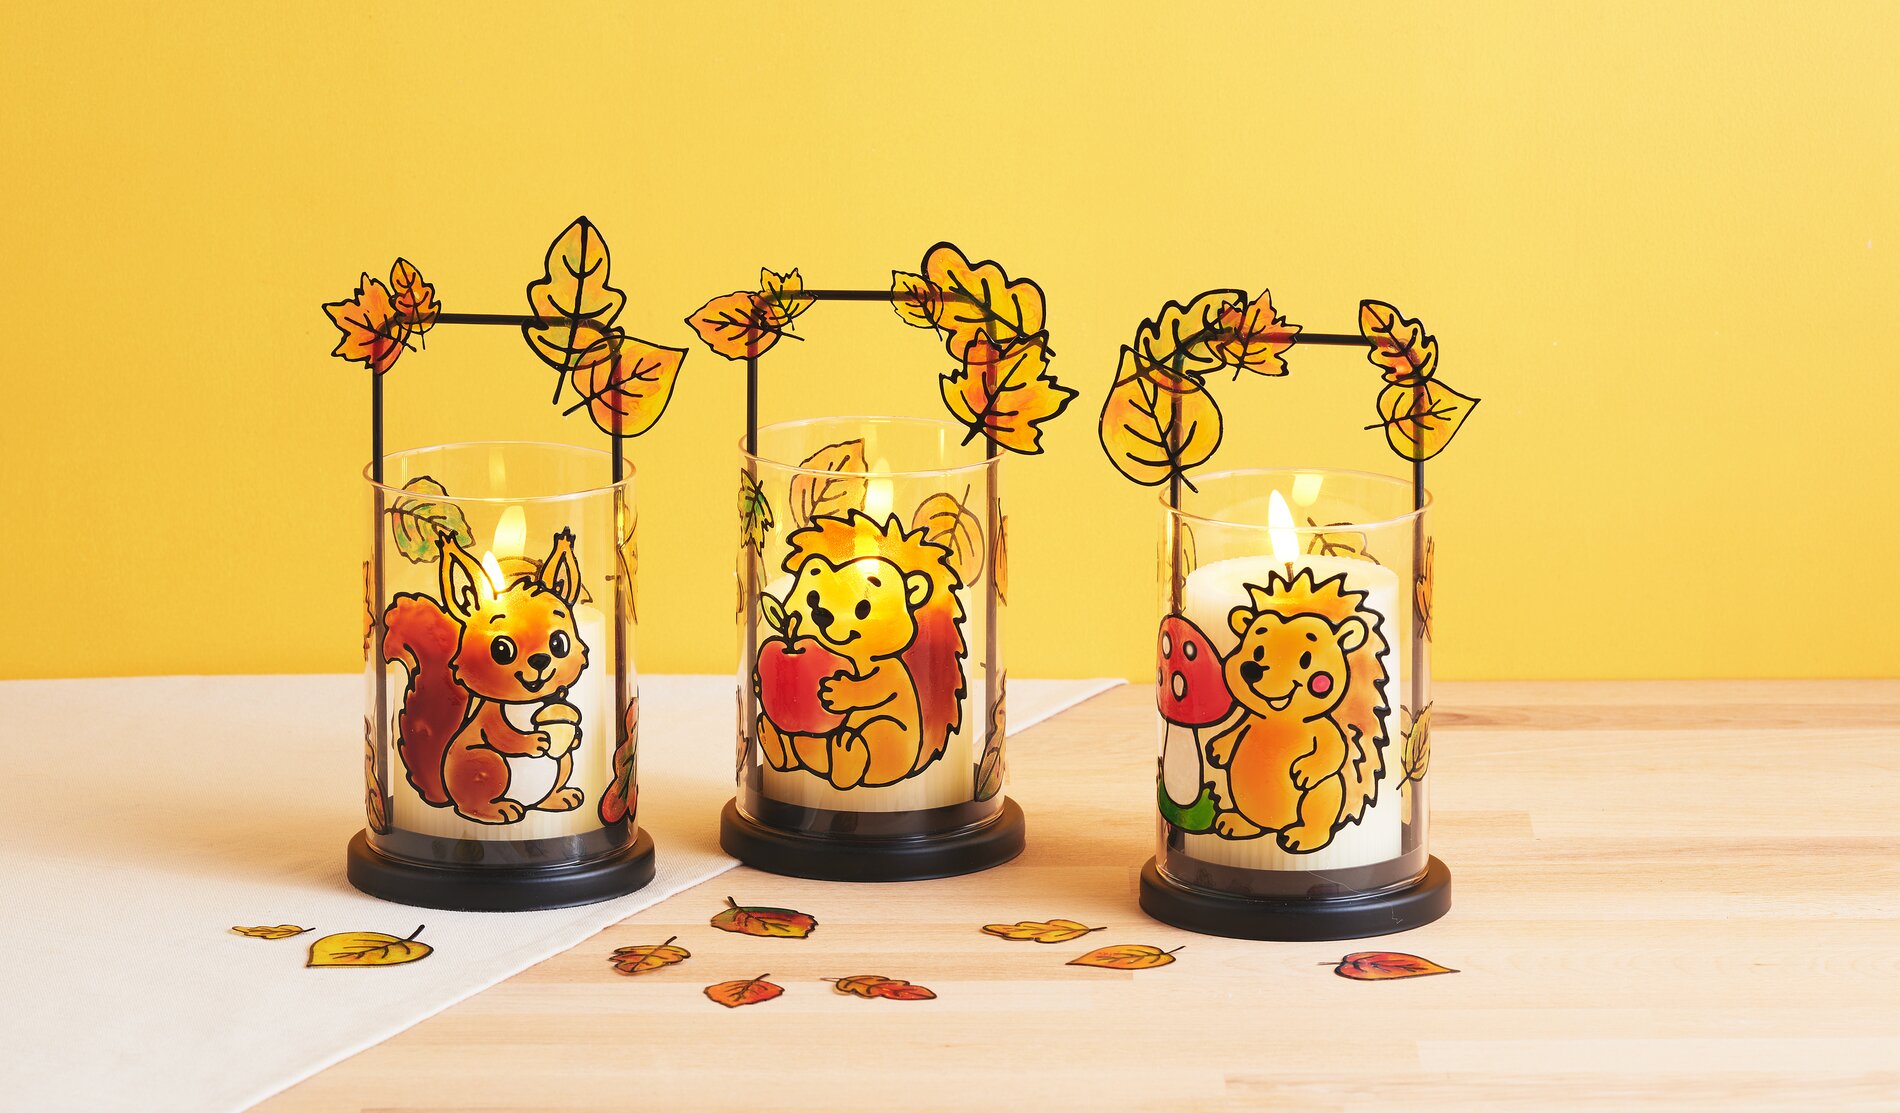
Give the lanterns a quick clean so the designs will stick properly later and the light will shine through beautifully.
Step 1: Prepare the templates properly. Slide a template into a clear plastic sleeve. The smooth surface ensures that the Window Color design will peel off easily once dry. Make sure the “ Paper ” lies flat and doesn’t slip, so the outlines will be precise in the end.
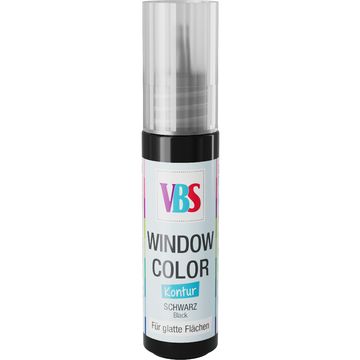
Step 2: Draw the Outlines—This Provides Stability Trace all the lines with the black Window Color outline. The outline is Window Color especially important: It acts as a “frame” that later defines the color areas and gives the design stability. Let the outlines dry completely so they don’t smudge when you color in the design.
Step 3: Color in the designs – build up autumnal colors Color in the areas with Window Color paints. For a warm fall look, the following colors are particularly suitable: yellow, orange, red, magenta and brown;. Use green and light green to add fresh accents to the leaves. Apply the paint “drop by drop” to the area and gently blend it up to the edge of the outline; this creates even, glossy surfaces.
Step 4: Remove air bubbles—for clear, beautiful surfaces If small air bubbles form while applying the paint, use a bamboo skewer to pop them.
Step 5: Let it dry—patience pays off for clean results Let your Window Color designs dry for about 24 hours. The long Time to dry: ensures that the designs don’t warp when peeled off and lie flat when applied. During this time, lay the film as flat as possible so that nothing runs.
Step 6: Peel off the designs and stick them to the “ wind light ” Carefully peel the designs off the clear sleeve. Start at one corner and work your way slowly across; this will keep fine details like leaf edges or small facial features intact. Position the design on the wind light and press it gently so that it adheres well all around and no edges stick out.
Alternative: Window Color on windmill foil for pendants/decorative elements on the wind light Place the template under a sheet of windmill foil and trace the outlines directly with Window Color . The same rule applies here: let it dry first, then color in the areas. After about 24 hours Time to dry: , cut out the design and attach it to the handle of the lantern with a bit of hot glue.
Step 7: Insert LED Candles—Safe and Atmospheric Finally, place LED candles inside the lanterns. This makes the Window Color designs glow especially beautifully. With LED candles that have a timer, the effect is automatically maintained every evening without you having to remove the candles each time.
Now it’s your turn! Create several autumnal Window-Color lanterns in different color combinations—this will make your decor look like a little collection. You’ll find the matching Window-Color paints, outlines, and accessories in the online shop—so you can keep crafting right away and complete your fall decor.