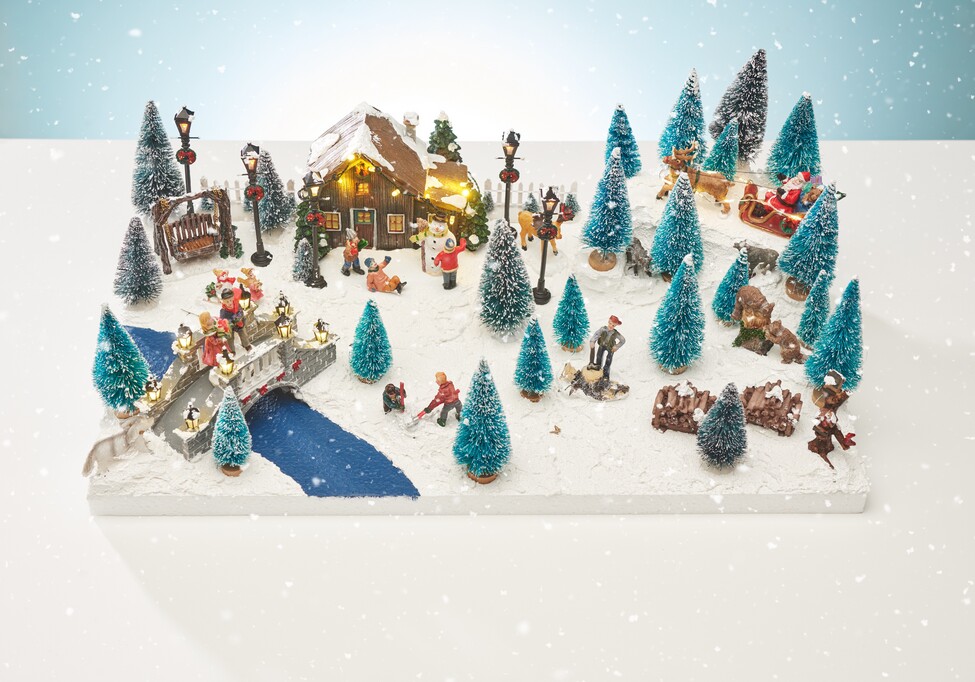
Use a polystyrene sheet as a stable base for your miniature landscape. It serves as the base on which all other elements are arranged.
Cut a second polystyrene sheet into pieces of any size using a cutter knife. You can then glue these individual pieces onto the base plate as desired to create different heights and levels. To do this, use VBS handicraft gluewhich ensures a firm hold. Allow the glue to dry completely before continuing.
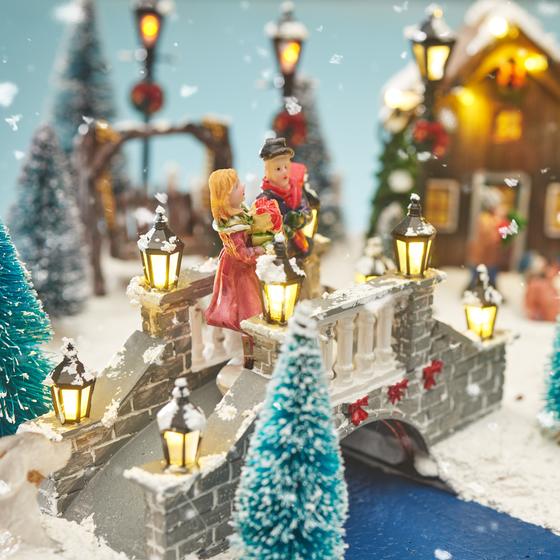
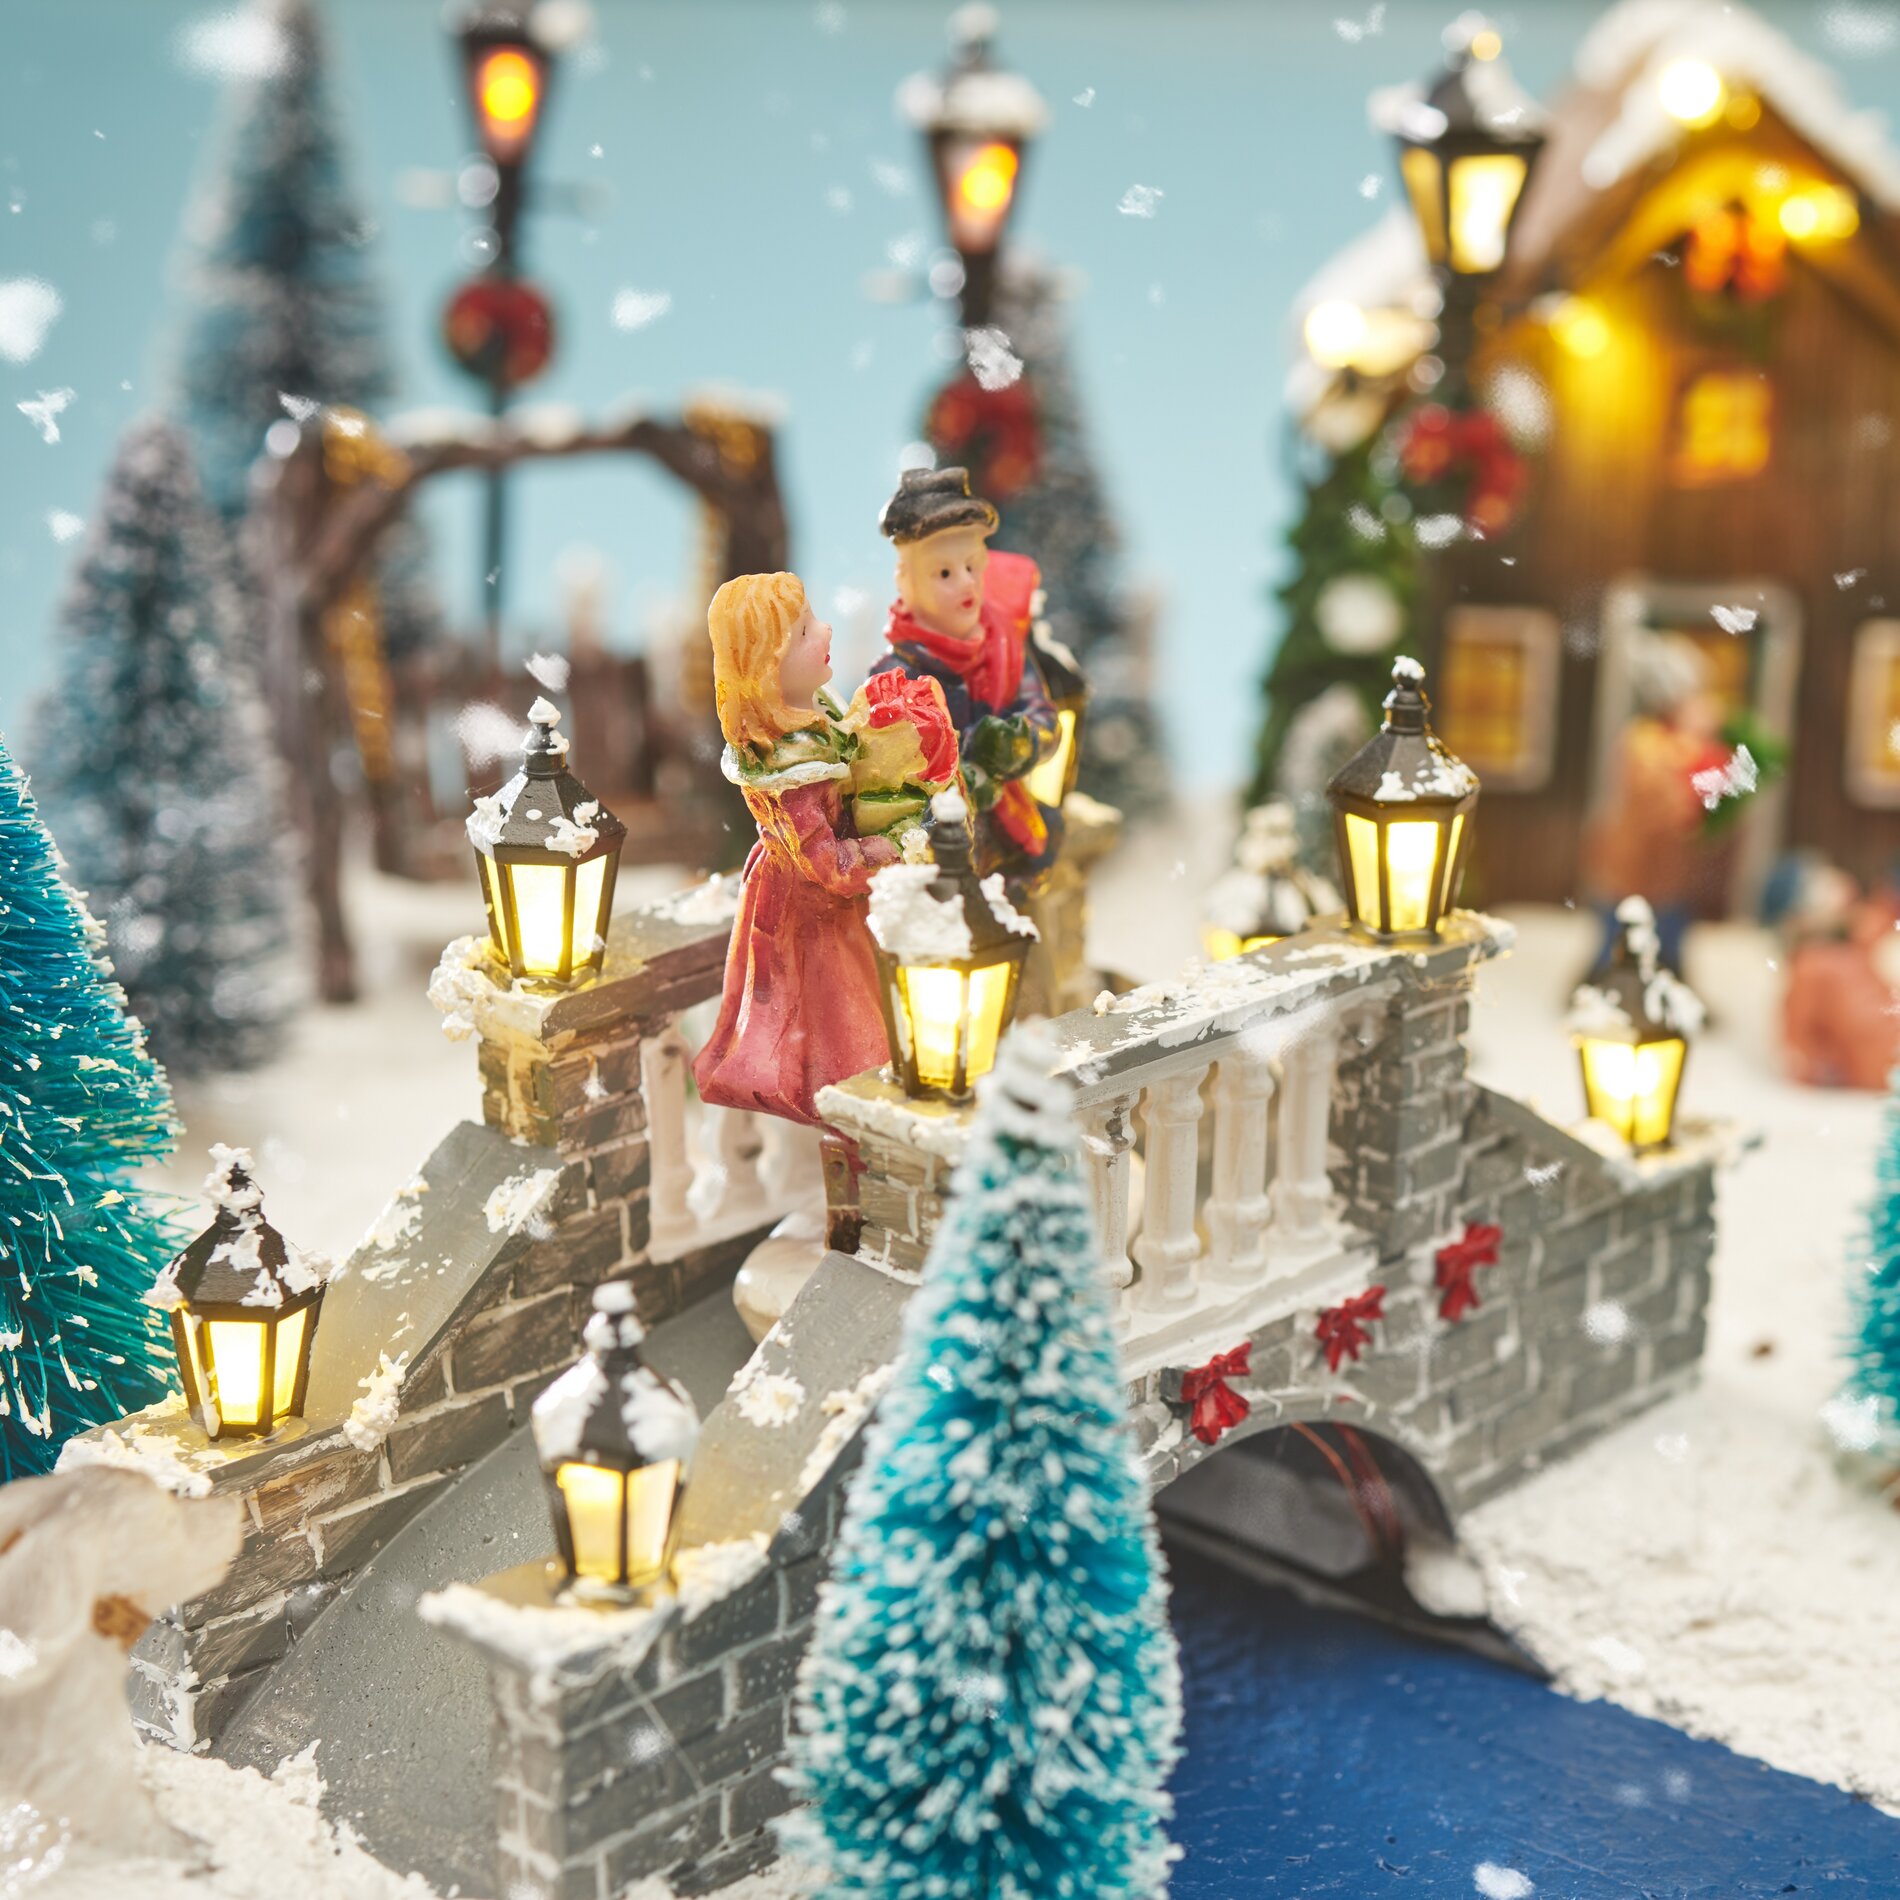
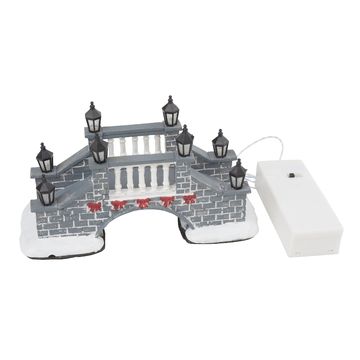
Once the glue has dried, you can now place the miniatures on the plate as desired to get an impression of the final design. Then mark the place where you want to build a bridge with a pencil. You can also draw the course of a stream there. Use navy blue handicraft paint, to color in the stream and give it a natural look.
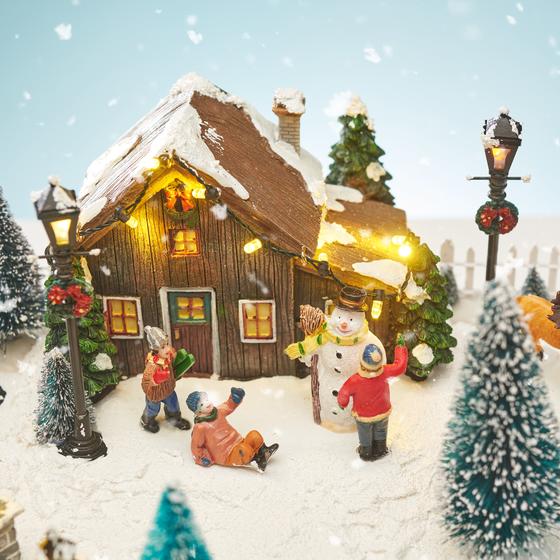
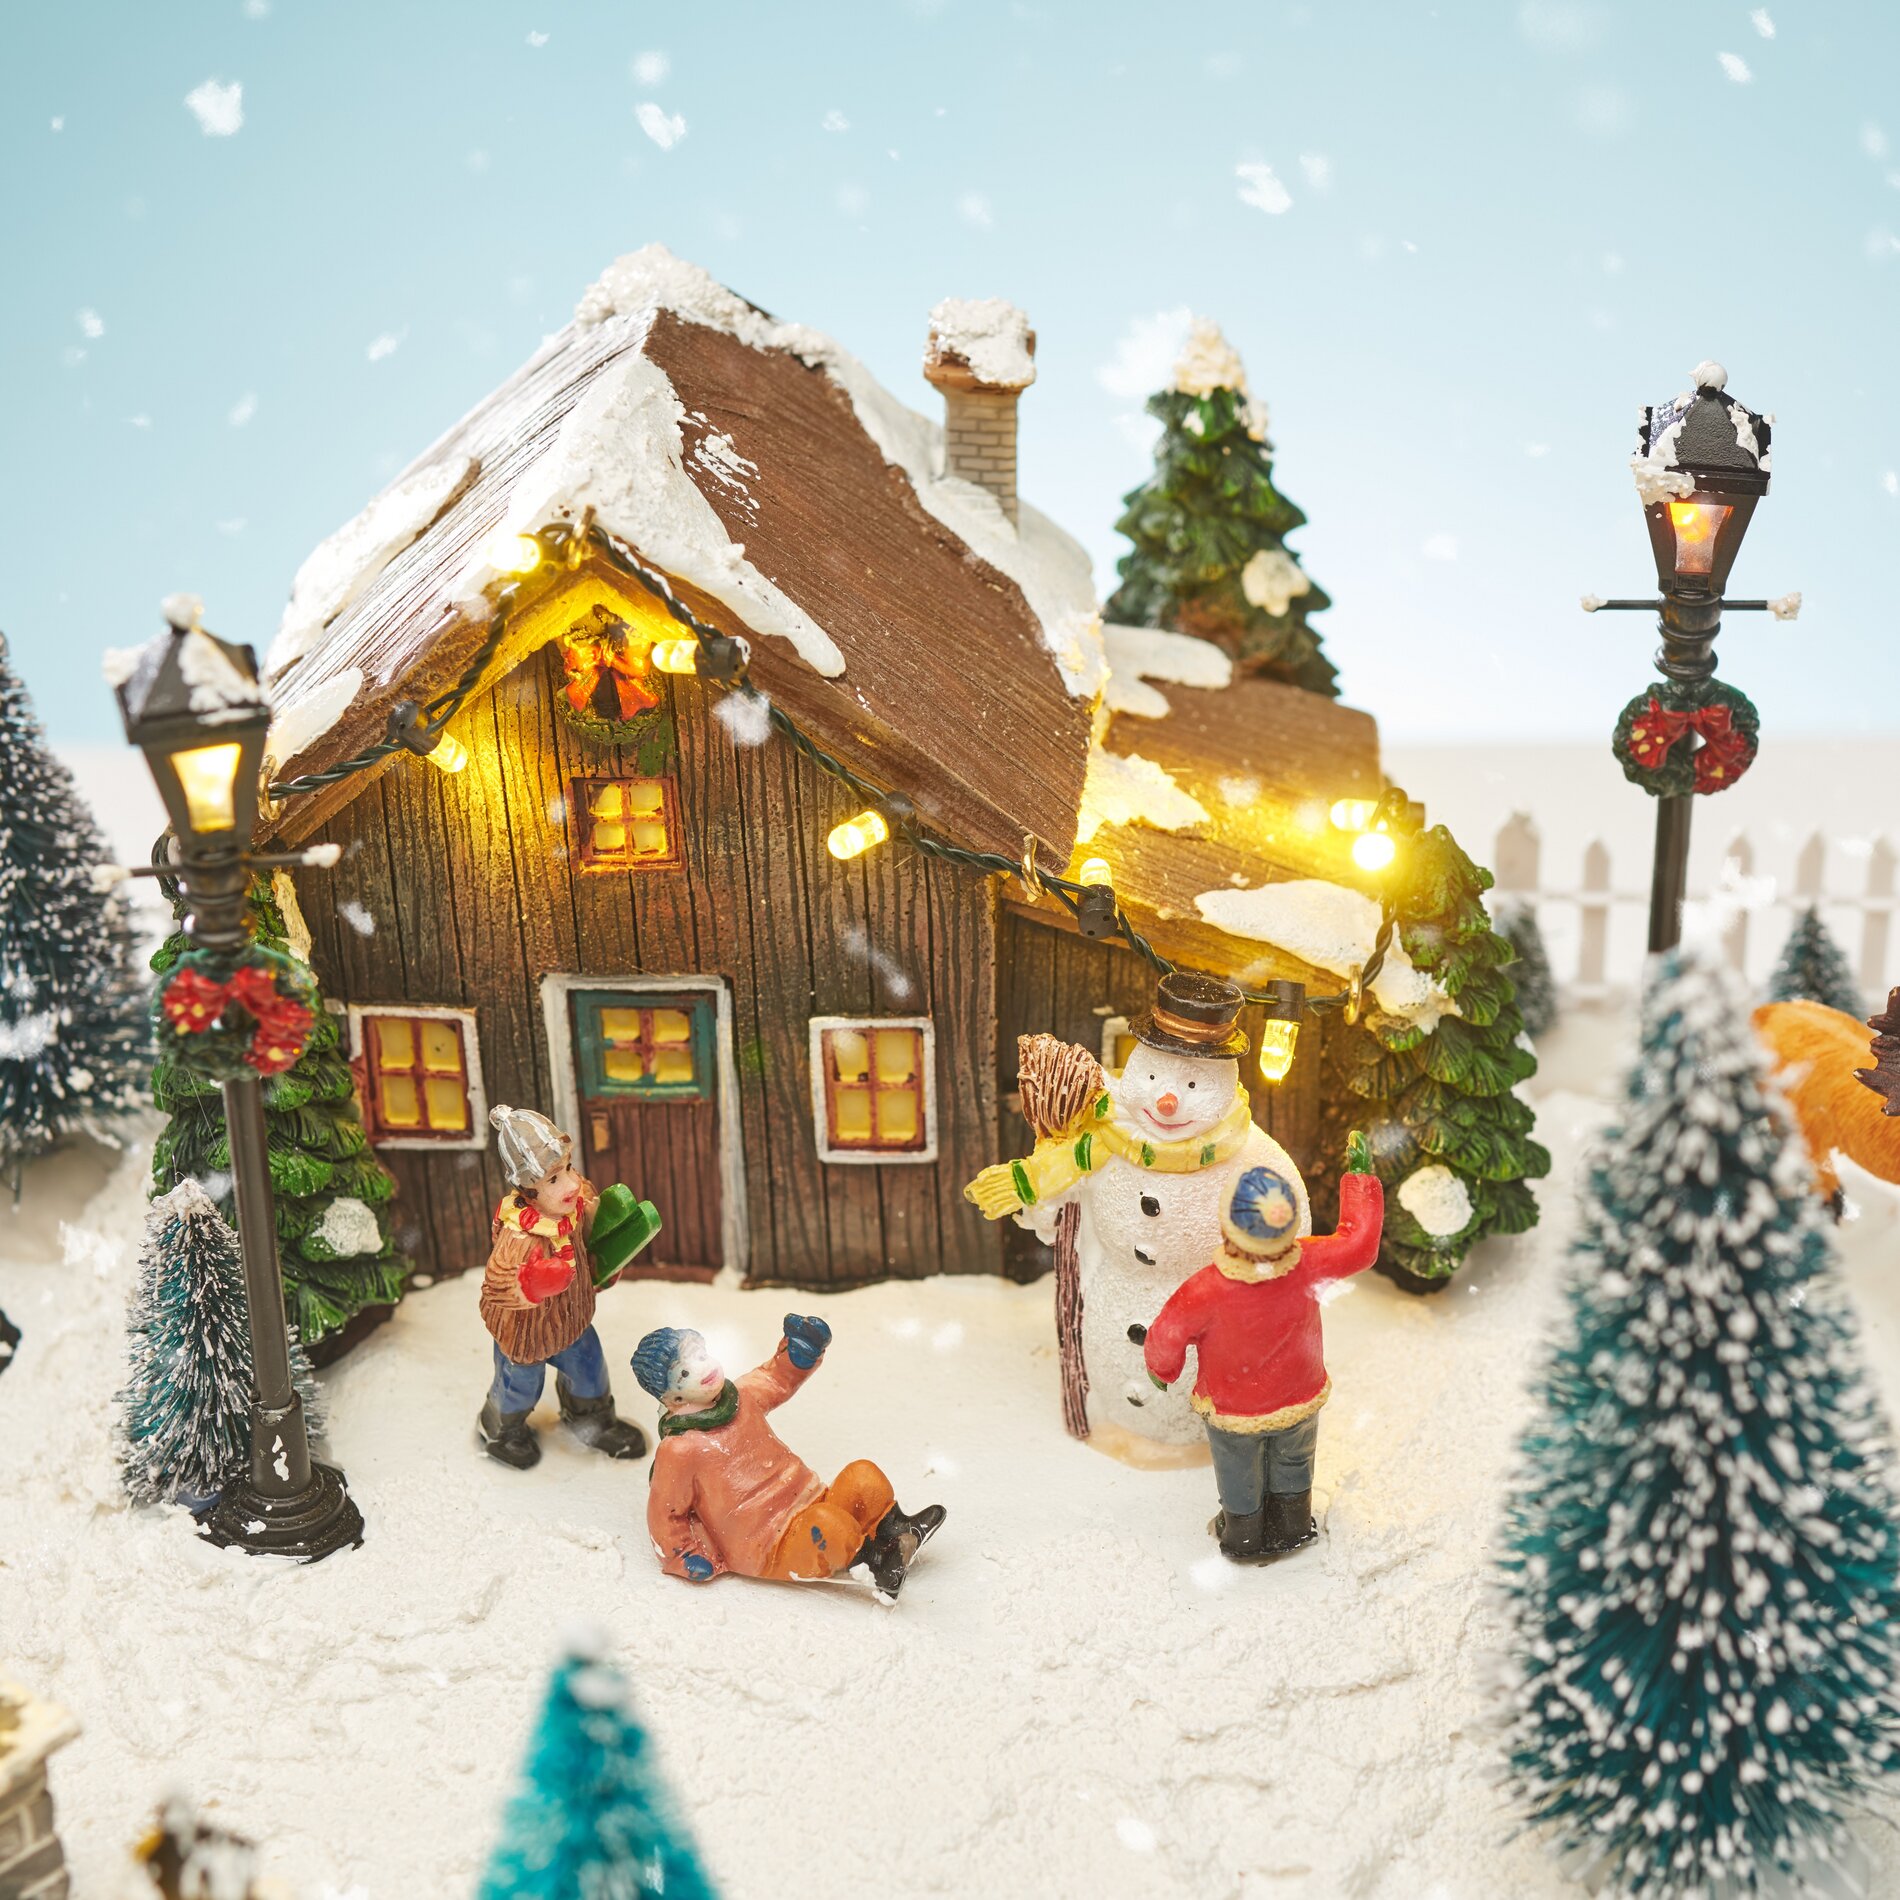
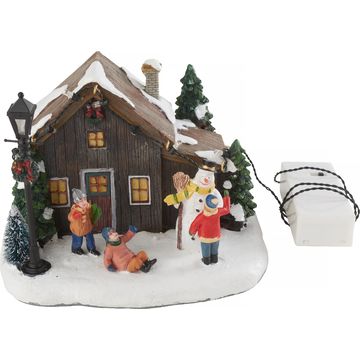
Take the miniatures off the plate again and apply decorative snow to the entire surface. Carefully place the figures in the still wet decorative snow. This ensures that the miniatures stand firmly in the landscape after drying and do not slip.
Once the decorative snow has dried and the miniatures are firmly in place, you can add further decorative accents. Apply decorative snow to the lanterns, bridge and the roofs of your miniature landscape to give them a wintry touch.
You have now created a magical, wintry miniature landscape that is perfect for decoration!