- Secure order
- Easy return shipment
- Service-Hotline 04231 - 66811
Instructions No. 4102
Difficulty: Beginner
Working time: 2 Hours 30 Minutes
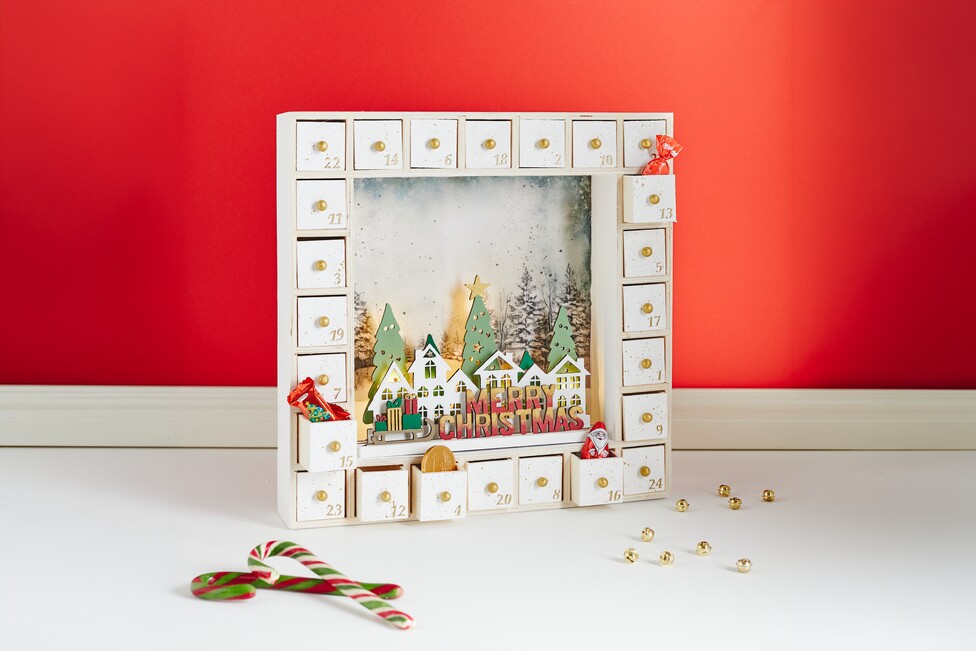
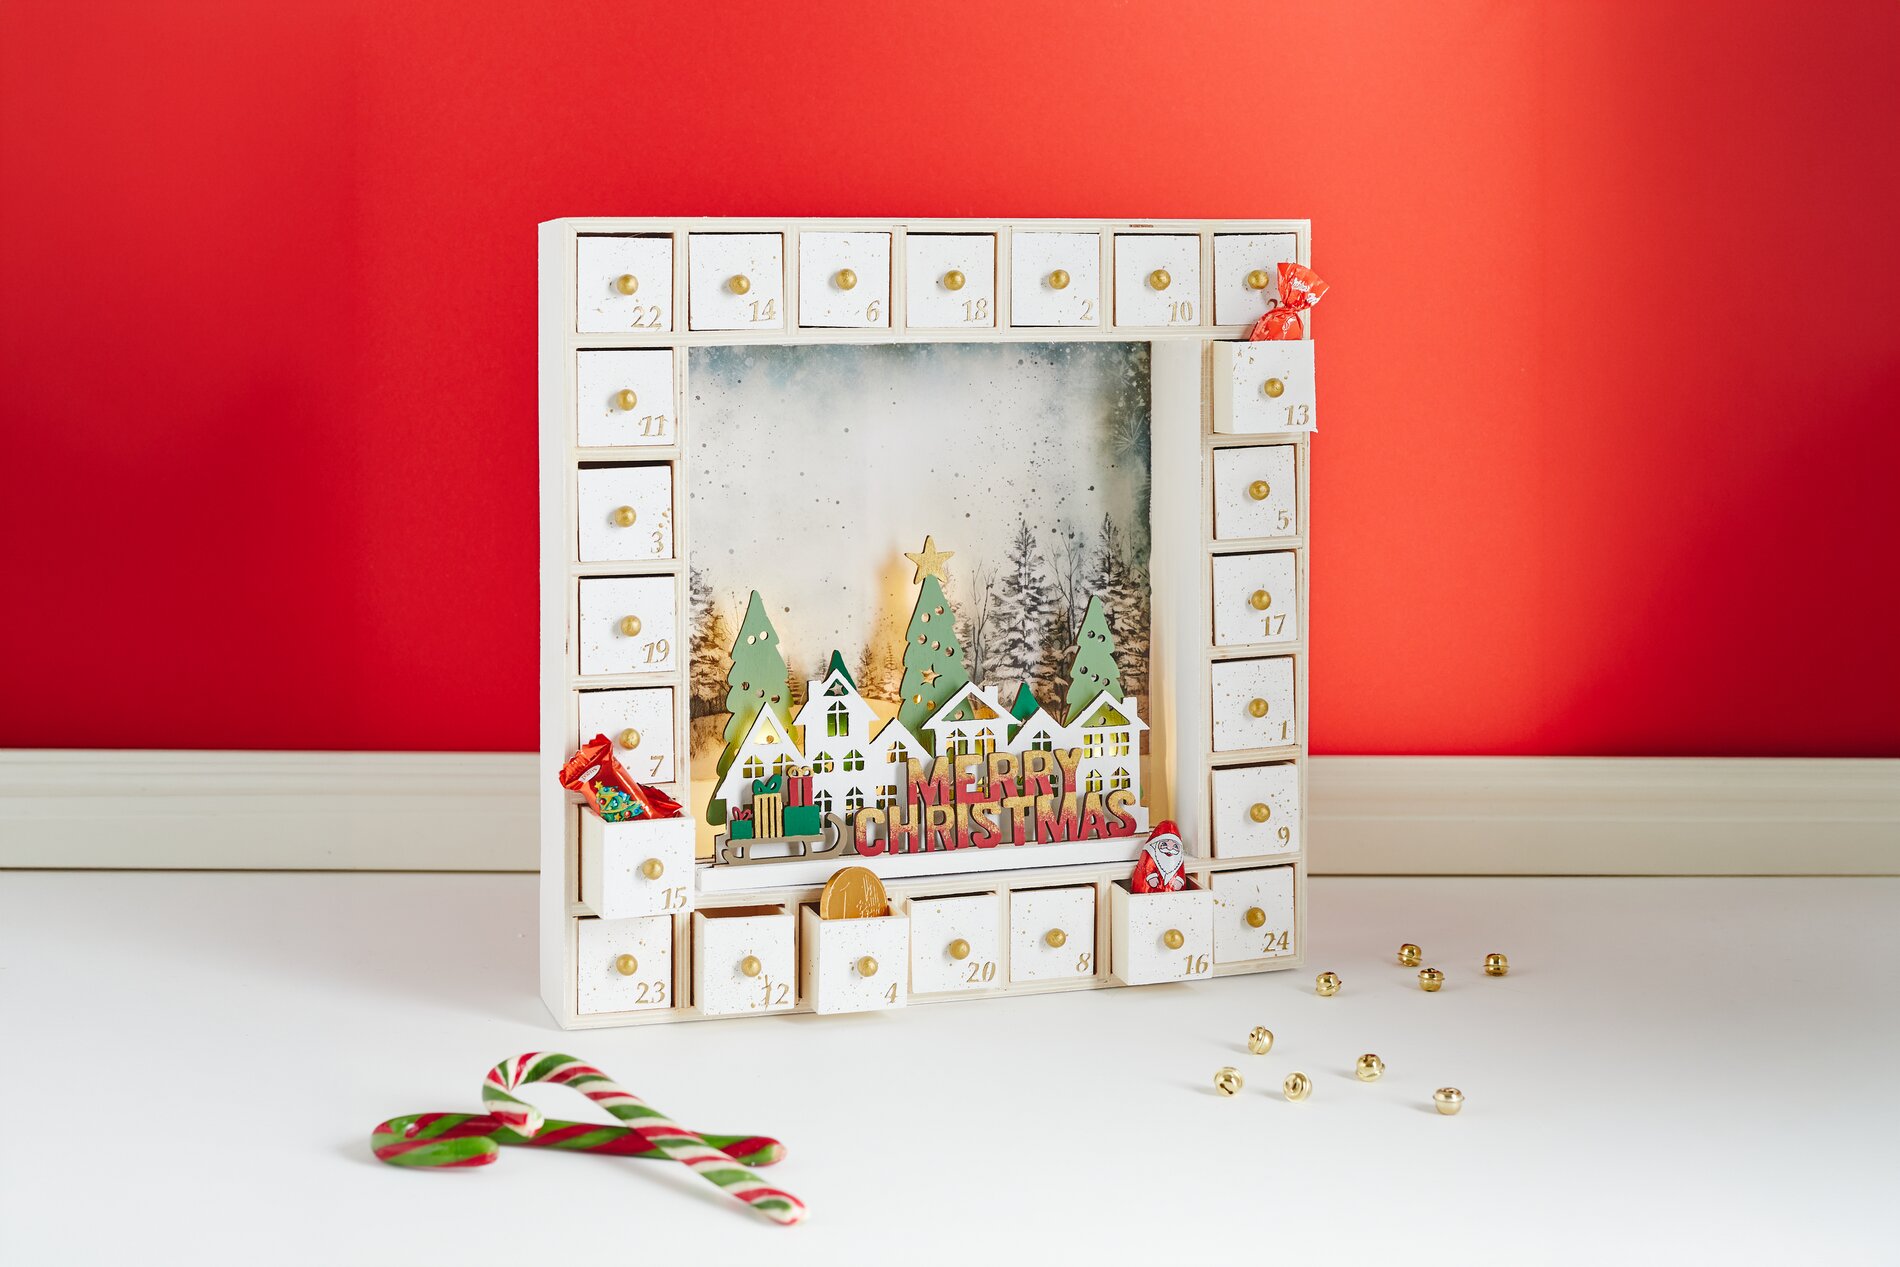
advent calendar Wooden Crafts and Lighting Set out the wooden-advent calendar and the wooden-building kit , and pull out all the drawers once. This way, you’ll have easy access to every part while crafting and prevent freshly painted edges from getting bumped later on. Protect your work surface—while handicraft paint and glue can usually be removed, it’s much easier to work with a protective mat.
Painting the Wood Surfaces: Inside, Outside, and the Drawers First, paint the outer surfaces of the Advent calendar with handicraft paint. The purpose: An even base makes the wood look higher quality and ensures that Paper and stickers stand out clearly later on. Next, paint the interior surfaces of the frame as well as the drawers. It’s better to apply two thin coats rather than one thick one to avoid brush marks and ensure the drawers slide smoothly later on. Let everything dry completely before continuing.
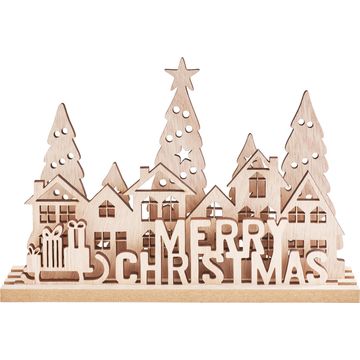
building kit Designing “Merry Christmas” with Color Now paint the parts of the cut-out motif. If you prefer a calm, elegant look, stick to just a few shades and add small, strategic contrasts. The advantage: The motif looks clear and decorative even from a distance and fits perfectly as the centerpiece for your advent calendar.
Cutting and gluing the background paper Choose a Paper for the background that matches your Christmas color scheme. Trim the sides to the correct width using a contour cutter. This ensures clean, straight edges and a professional finish. Glue the Paper with handicraft glue into the advent calendar, but place it deliberately in the upper part of the cutout. Leave space at the bottom so the building kit can stand in front of it later, giving the scene depth.
Decorating drawers: Placing the “ relief sticker ” correctly Once the paint is dry, decorate the drawers with raised stickers. “Raised” means the stickers are slightly raised, giving them a more elegant look. Press them down firmly, especially along the edges, so they don’t peel up when you open the drawers every day during Advent. This will quickly give your wooden “-advent calendar ” some texture and a festive look.
Attaching the Micro-LED-chain of light : Secure and Invisible Use hot glue to attach a Micro-LED-chain of light. to the back of the building kit . Hot glue sets quickly and holds firmly, so you can easily reposition the lights later without anything coming loose. Apply the adhesive dots sparingly so that the chain of light lies flat and isn’t noticeable from the front. Make sure the battery compartment is positioned so you can easily reach it.
Activate the timer and insert the motif Activate the timer on the chain of light. This is convenient because your advent calendar will light up automatically at the same time every day, so you don’t have to remember to do it. Then place the building kit in the lower section of the Advent calendar in front of the background. Position it so that the lights create a soft, warm glow behind the motif, giving the scene a festive atmosphere.
Finishing and Filling Finally, check to make sure all the drawers slide open and close smoothly. Now you can fill the advent calendar and put it in its place. If you’re in the mood for a second round of decorating, you’ll find matching papers, stickers, and chains of lights, in the online shop to redesign your wooden-advent calendar every year.