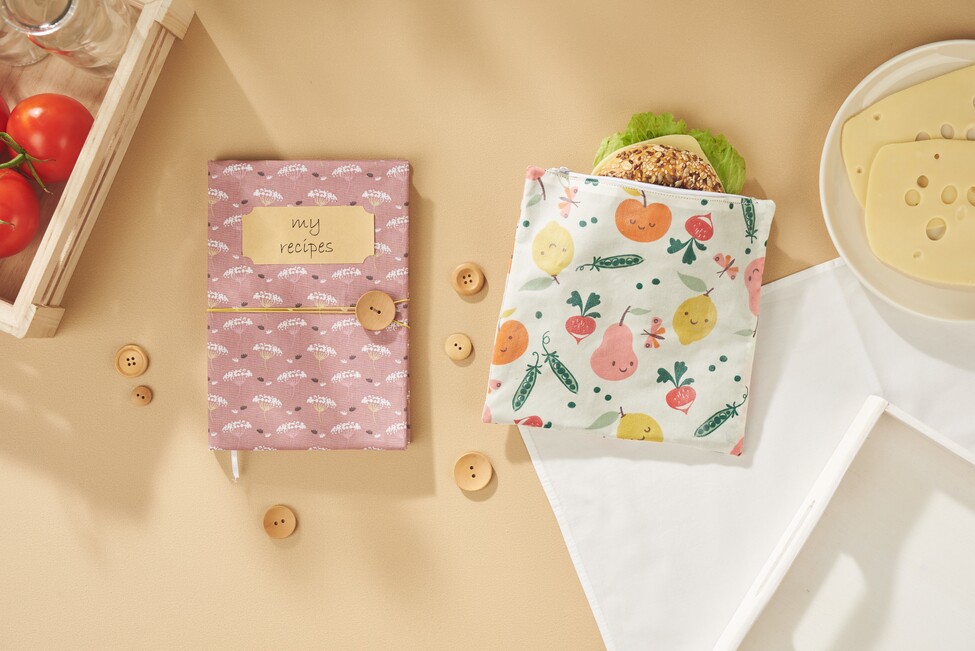
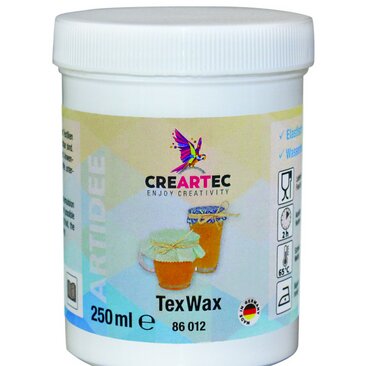
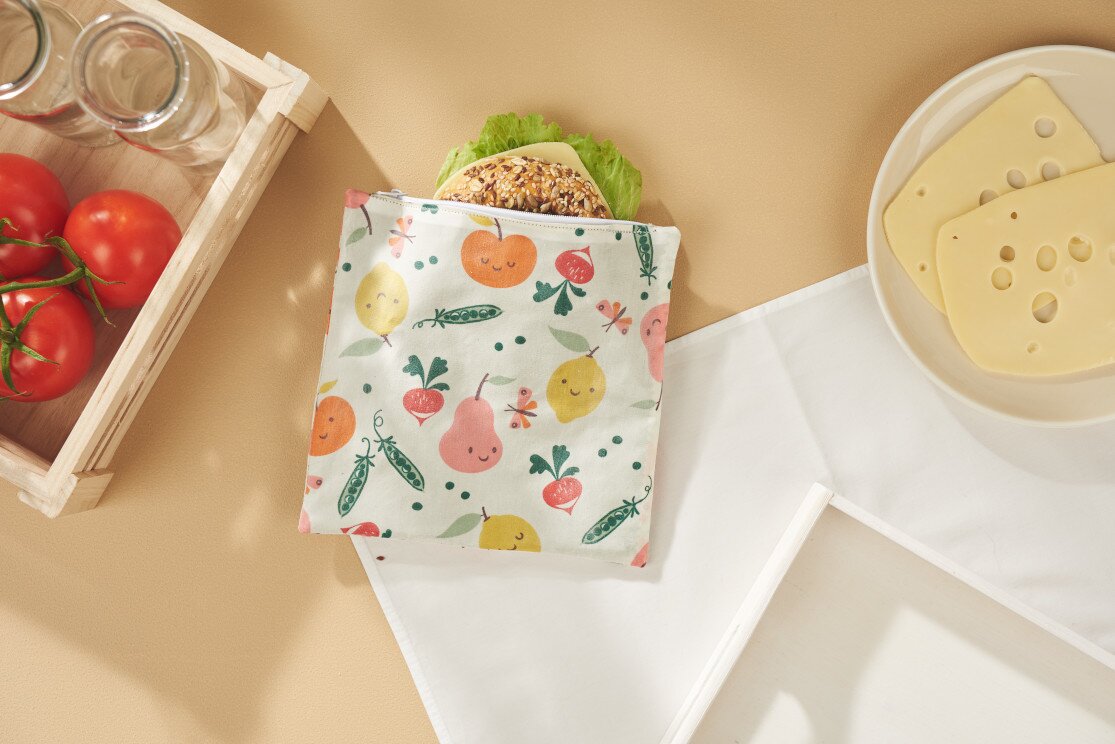
Basic instructions for finishing fabric
Anleitung No. 2734This idea is made with the produts ODIF OdiCoat and TexWax, which are import for DIY coating both. They can compared with each other here. The recipe book is treated with ODIF OdiCoat and TexWas was used for the snack bag.
How ODIF OdiCoat is to be used
For a good protective layer, another coat of ODIF OdiCoat Gel should be applied after the first application, at the earliest after 20 minutes. The prodtective layer will be completely dry after 24 hours. You can accelerate the drying process by using a hot air device.
After drying, the impregnated fabric can be wiped off with a damp cloth or sponge. If the fabric is now iron-fixed (important: iron without steam, put baking paper between the fabric and the iron!), it is then washable with the coating at 30° C.
TexWax application
Application without heat treatment: If TexWax is simply applied with a brush or sponge and then allowed to dry, a waxy protective film forms on the textile, making it dirt-repellent. Fabric parts treated in this way can be wiped with a damp cloth.
When fabric treated with TexWax is heated (with a hot air gun or an iron), the wax bonds with the fabric to form a food-safe, reusable, breathable film. This can be shaped with the help of hand heat, for example, into a protective cover for containers filled with food. However, the decorative fish-holding film made in this way will absorb liquids from the microporous textile.
Recipe book with protective cloth cover
Advantage: The protective cover can be removed for cleaning or can be put on a new book.
Important: As long as the coating is not completely dry, sewing will be difficult. Therefore, it is best to let it stand for 24 hours so that the coating really does not stick anymore.
Snack pocket made with TexWax
Sewing instructions
Cut both fabrics to 40 x 20 cm, plus 1 cm seam allowance. Lay the fabric pieces crosswise on the table, and draw guide lines on the back of the printed fabric:First, set a vertical center line in the middle.
Make a mark on the center line about 1.5 cm from the bottom and about 1.5 cm from the top (calculated without seam allowance). These are the places where the zipper will start and end later. Draw a cross line at these marks, starting from the center line 0.3 cm long each, so that both cross lines are 0.6 cm long each.
Join both cross lines at the ends so that you have a narrow rectangle of 0.6 x 17 cm.
Cut this rectangle at the center line and cut crosswise into the corners: you have thus created the opening for the zipper.
Only now sew everything together with the sewing machine using a zipper foot, then you can remove the rough auxiliary seams.
Now sew the printed fabric together from all sides. Repeat this process for the plain fabric as well, but allow for a turnaround opening here. You can chain the seam allowances or trim them with pinking shears.
Turn your bag over and close the turning opening.