- Secure order
- Easy return shipment
- Service-Hotline 04231 - 66811
Instructions No. 3188
Difficulty: Beginner
Working time: 2 Hours

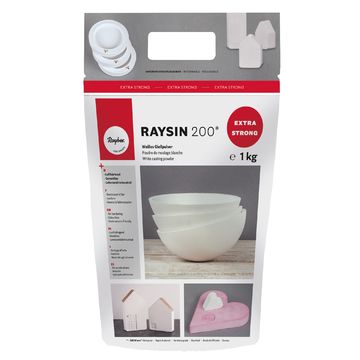
Difference between Raysin 100 and Raysin 200
Raysin 100 is perfect for smaller objects and has a slightly lower strength. This makes it ideal for intricate details. Raysin 200, on the other hand, is more robust and is therefore ideal for larger casting projects that require increased stability.
Preparing and mixing the casting compound
"Plate with grooves" silicone mold: approx. 12 heaped tablespoons
Silicone mold "Tin with grooves": approx. 5 heaped tablespoons
Silicone casting mold " "tealight holders Ronny": approx. 2 heaped tablespoons
Silicone mold "Stick candle holder Ronny", large: approx. 2 heaped tablespoons
Silicone mold "Stick candle holder Ronny, small": approx. 1.5 heaped tablespoons
"Fluted bowl" mold: approx. 8 heaped tablespoons
Start by mixing your Raysin powder with water to form a smooth, creamy mixture. Make sure that no powder settles to the bottom and that all lumps are thoroughly dissolved. A smooth mixture guarantees the best result!
Pouring the molds
Choose a silicone mold that meets your requirements and pour the finished mixture into it. Gently shaking and tapping the mold will help to distribute the mixture evenly and remove any air bubbles. This ensures a particularly smooth surface for your castings.
Drying and demolding
After about one hour is the ideal time to remove your creations from the mold. Then leave them to dry in the air further to achieve optimum strength. Remember that your castings may initially have a slight gray tint, which will disappear once they are completely dry, leaving them pure white.
Finishing the castings
Rough edges can easily be smoothed with fine sandpaper . If you want to create a lid to close a tin, for example, you can use self-adhesive cork. Cover the cut edges by cutting them neatly.
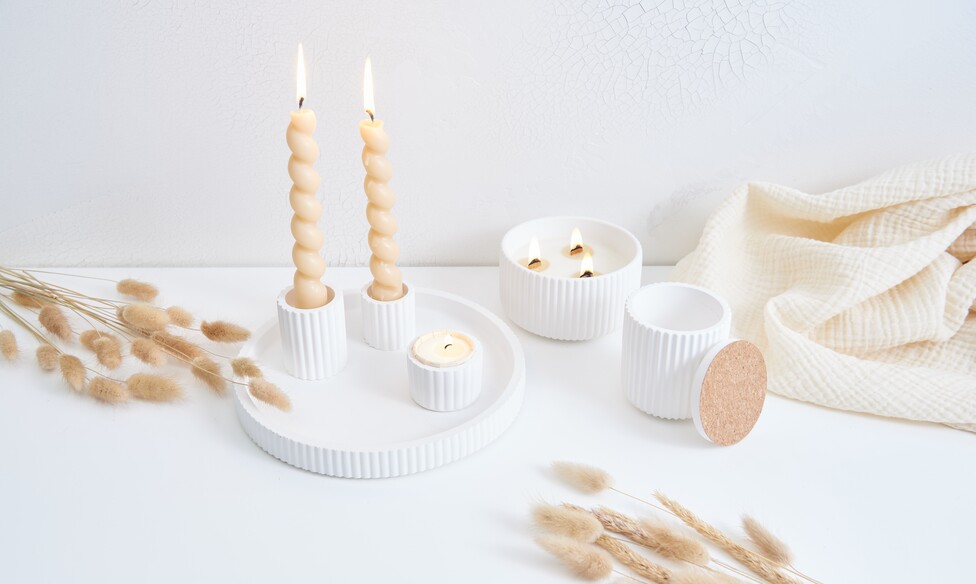
Creative final design and candle molding
Now comes the fun of decorating! Place a Paper-tea light in your tealight holders and the spiral candles in the corresponding stick candle holders. To ensure that everything is stable, place wax plates on the bottom of the holders.
Melt wax for the candle bowl - measure out approx. 1.5 bowls of wax for this. Organic wax with a melting point between 60 and 70 °C is ideal as it is environmentally friendly and easy to work with. Make sure that you do not exceed this temperature. Insert the wicks into their holders and dip them briefly into the liquid wax before placing them in the prepared bowl. Now carefully pour in the liquid wax.
Ready to create your own stylish decorative objects? You can find all the materials you need to start your creative casting projects in our online store. Discover the variety of silicone casting molds and the right Raysin powder for your ideas. Start your project today DIY-Project today and create unique works of art to suit your taste!