 www.vbs-hobby.com
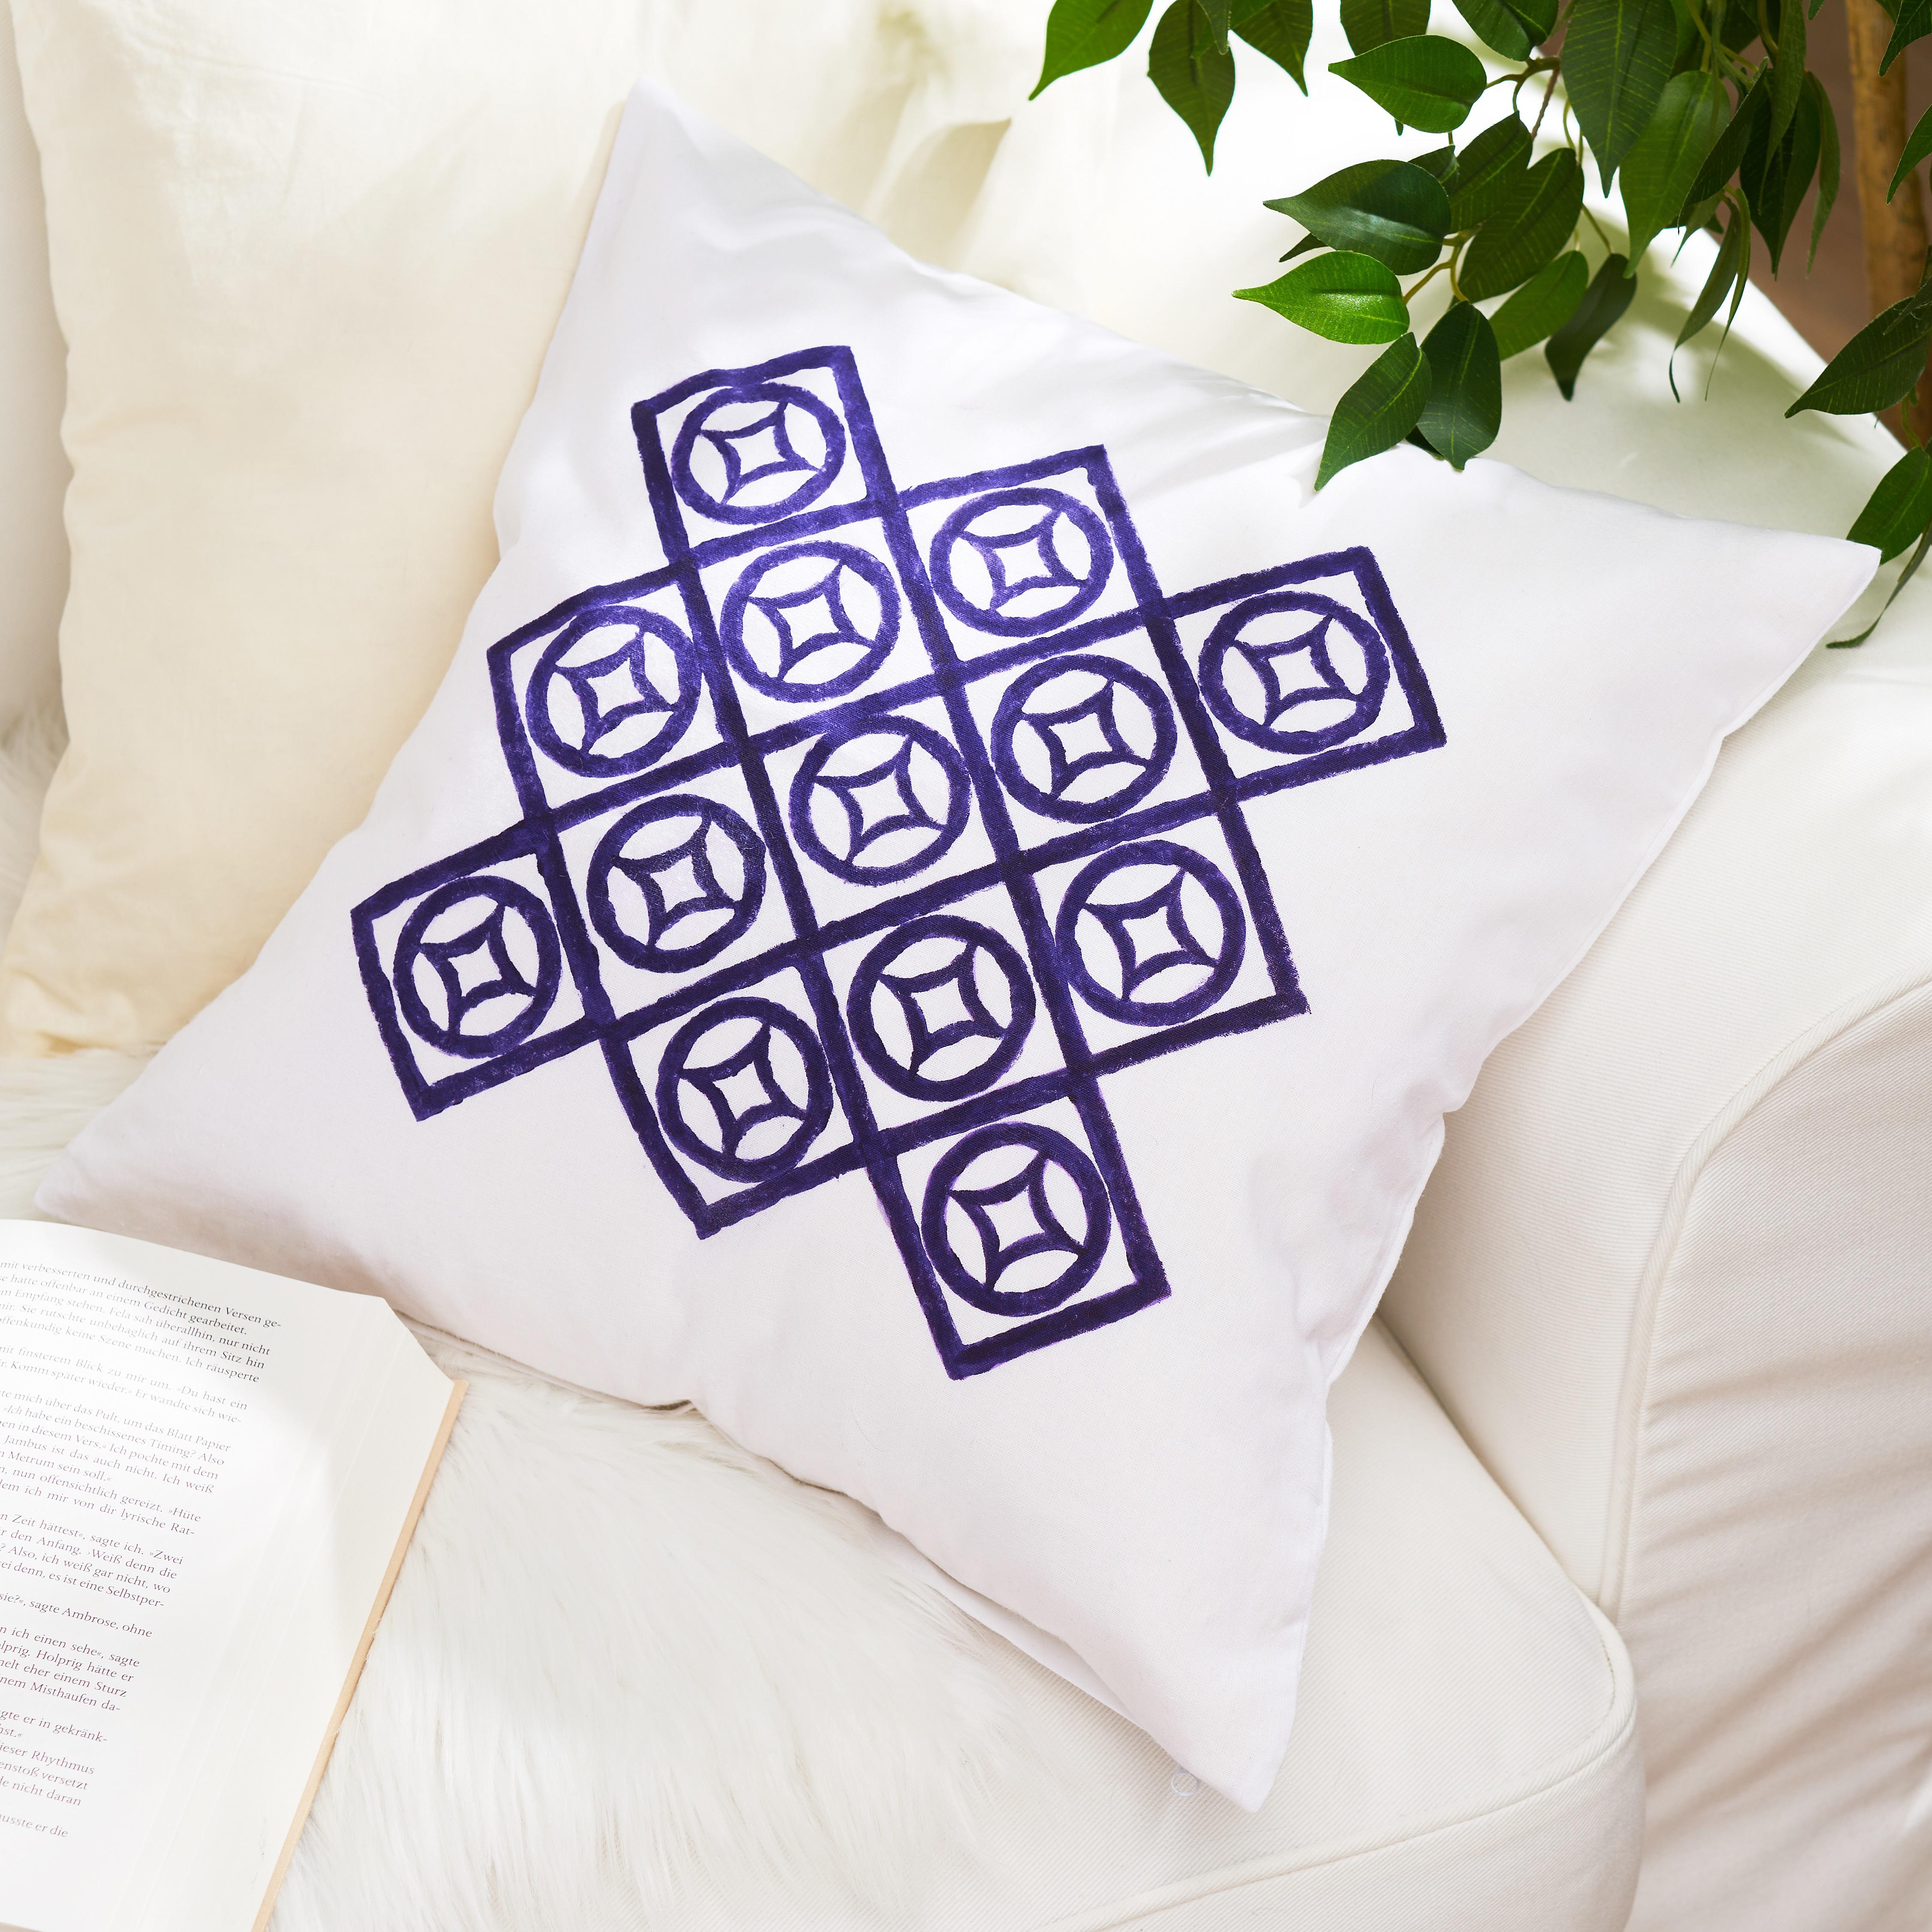
Cushion printed with DIY stamps
Instructions No. 2994 Instructions No. 2994 Difficulty: Beginner Working time: 3 Hours
Why not arrange your living room with self-printed cushions? With the stamp carving "starter set", you can create your own personalised stamp and then become a textile designer!
Preparations
This idea is a great example of how fabric can be printed with colour in a creative way.As a general rule for colouring textiles, it is essential to wash the fabric thoroughly with cold water without fabric softener beforehand. Fabric paint will only bond with the textile fibres if they are free of finishes.
Things to know about finishes
Most new textiles are finished by the manufacturer to give them a nice smooth and ironed look. If there is still some finish left in the fabric, the applied fabric paint will wash out and possibly discolour the fabricthe next time it is washed.
Stamp carving
Simply draw the desired motif or lettering on the stamp plate with a pen and carve it with the carving tool provided.Fabric print on the cushion cover
Now take the cushion cover and draw guide lines with the sublimat pen. It is best to draw an "x" and a "+". This way you have determined the centre and can easily orientate yourself.Then use a brush to apply the fabric paint to your stamp(s) and then transfer it to the cushion cover. The best way to stamp is to start stamping in the centre and then work outwards from there.
Tip:
To stamp as straight as possible, place guide lines on the back of your DIY stamps to show you how to align your motif.
After the drying time, you can iron-fix the colour.


