- Kauf auf Rechnung
- Sichere Bestellung
- Gratis Rückversand
- Bestell-Telefon 04231 - 66811
Anleitung Nr. 3207
Schwierigkeitsgrad: Einsteiger
Arbeitszeit: 2 Stunden


Schritt 1: Schneiden der Streifen
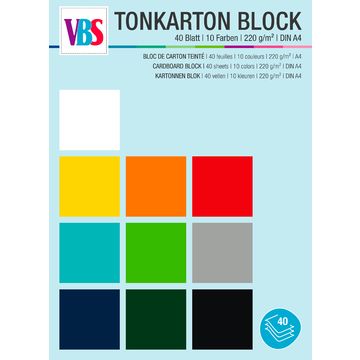
Beginne damit, dir einen Bogen Pappe zu nehmen. Schneide daraus zwei Streifen mit einer Breite von 4 cm aus. Diese Streifen sind die Grundlage deines Hasen.
Schritt 2: Hexentreppe falten
Jetzt wird es spannend: Falte die beiden Streifen zu einer sogenannten Hexentreppe. Das bedeutet, dass du die beiden Streifen abwechselnd übereinanderlegst, indem du sie immer im rechten Winkel faltigst. Dadurch entsteht ein lustiges, gestuftes Muster. Klebe die Enden der Streifen am Anfang und Ende fest, damit sich die Hexentreppe nicht wieder löst.
Schritt 3: Hasenkopf gestalten
Schneide oben etwas über die Mitte von beiden Seiten rein und falte es hoch.
Schritt 4: Gesicht verzieren
Jetzt ist es an der Zeit, deinem Hasen ein Gesicht zu geben. Beginne mit den Augen: Klebe kleine Augen auf die Oberseite der Hexentreppe. Male anschließend die Nase und den Mund mit einem Stift auf. Für die Wangen kannst du mit einem Locher kleine Kreise ausstanzen und sie neben der Nase befestigen. Diese kleinen Details verleihen deinem Hasen einen freundlichen Ausdruck.
Schritt 5: Ohren hinzufügen
Jetzt fehlen noch die richtigen Hasenohren! Übertrage die Vorlage der Ohren auf ein Stück Papier oder Pappe und schneide sie sauber aus. Klebe die beiden Ohrenteile und befestige sie dann an der Oberseite des Kopfes deines Hasen.
Schritt 6: Schleife anbringen
Zum krönenden Abschluss kannst du eine kleine Schleife nehmen und sie unterhalb des Gesichts ankleben. Sie verleiht deinem Hasen einen charmanten Touch und verdeckt die Falte an der Hexentreppe.